Phantom Moon
To enhance the atmosphere while reading about our project, you may play the following background music:
Introduction
Our goal is to add the effects of lunar eclipses and blood moons to the game. However, in Genshin Impact, almost all environmental elements, including clouds and the moon, are fixed textures, which limits the effectiveness of Reshade. Reshade primarily affects the overall post-processing effects of the image and cannot directly modify in-game models or specific object details. For example, you can use Reshade to enhance the overall sky effect, making it appear more vibrant or better harmonized with the background, but you may not be able to individually adjust the moon or clouds. Therefore, we decided to inject our own textures to add a fully customizable moon.
Unfortunately, due to Genshin Impact’s unique art style in the industry, it is difficult to find suitable moon textures online that match the game’s aesthetic. As a result, we have to focus more on implementing the relevant effects for the moon.
Adding Our Own Moon
In the first step of implementing the shader, we focused on adding a custom moon to the game and providing adjustable parameters to control its appearance and behavior. To achieve this, we utilized ReShade’s texture and sampler features to load a custom moon texture and apply it to the game’s rendering pipeline.
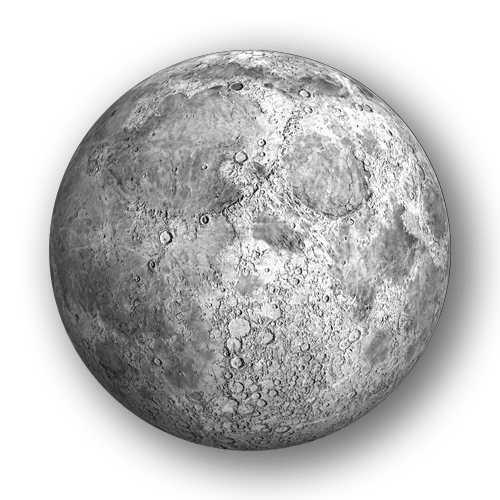
We started by defining a texture and specifying its source image file, width, height, and format. This texture serves as the visual representation of the moon. We also created a corresponding sampler to access and sample the moon’s texture.
Customizing the Moon’s Size and Position
To make the moon adjustable, we introduced several uniform variables that control various aspects of its appearance and position. One of the key variables is the moon position, which allows adjusting the position of the moon on the screen using X, Y, and Z coordinates. The X and Y coordinates determine the moon’s horizontal and vertical position within the screen space, while the Z coordinate represents the depth or distance of the moon from the camera.
In the pixel shader responsible for rendering the moon, we calculate the sampling coordinates based on the moon’s position and size. The shader takes the current pixel’s texture coordinates (texcoord) and subtracts the moon’s position (stored in the uniform variable) from them. This effectively shifts the texture coordinates relative to the moon’s position.
To adjust the size of the moon, we divide the shifted texture coordinates by the moon size uniform variables (horizontal and vertical size). This scaling operation allows us to control the moon’s dimensions independently.
Furthermore, to ensure proper aspect ratio and alignment, we multiply the horizontal texture coordinate by the ratio of the screen width to height (BUFFER_WIDTH * BUFFER_RCP_HEIGHT). This step accounts for any differences in the screen’s aspect ratio. Finally, we add 0.5 to the scaled and adjusted texture coordinates to center the moon texture correctly.
By using these calculated sampling coordinates, we can sample the moon texture at the desired position and size. The sampled moon color is then blended with the original frame color based on the moon’s opacity and depth range.
Depth Control
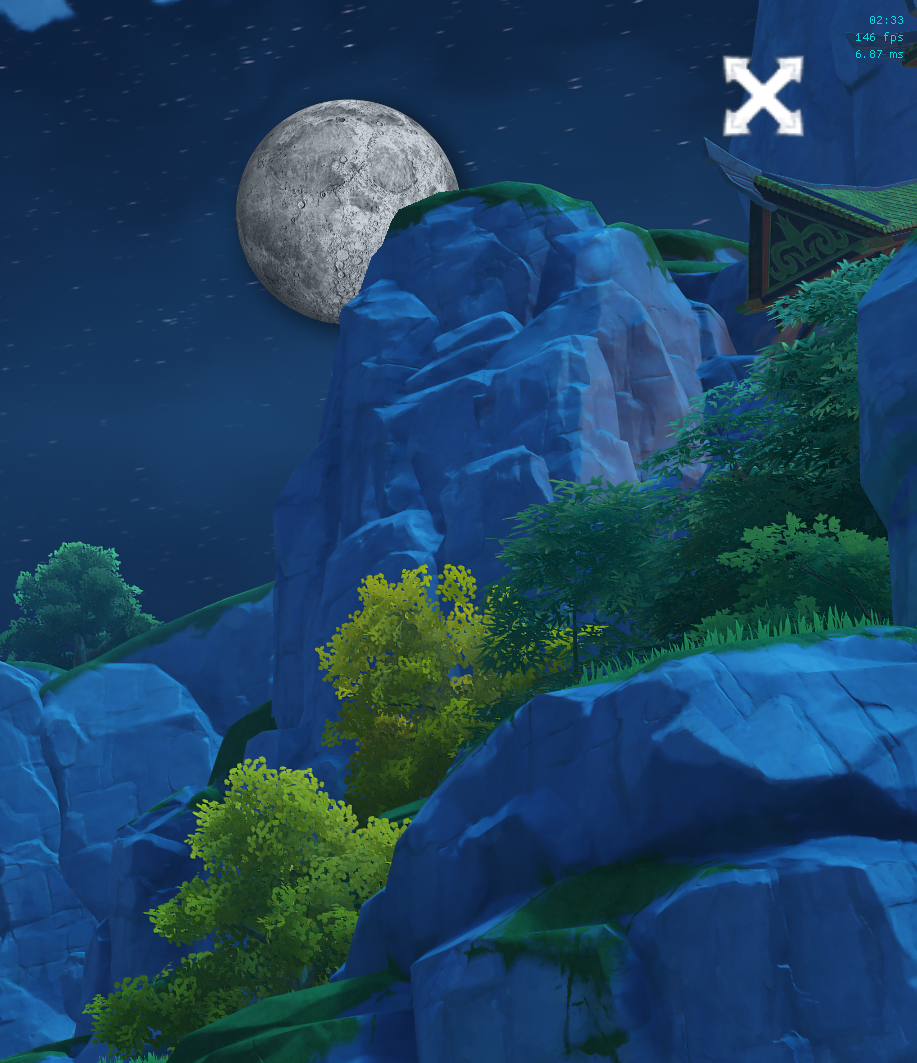
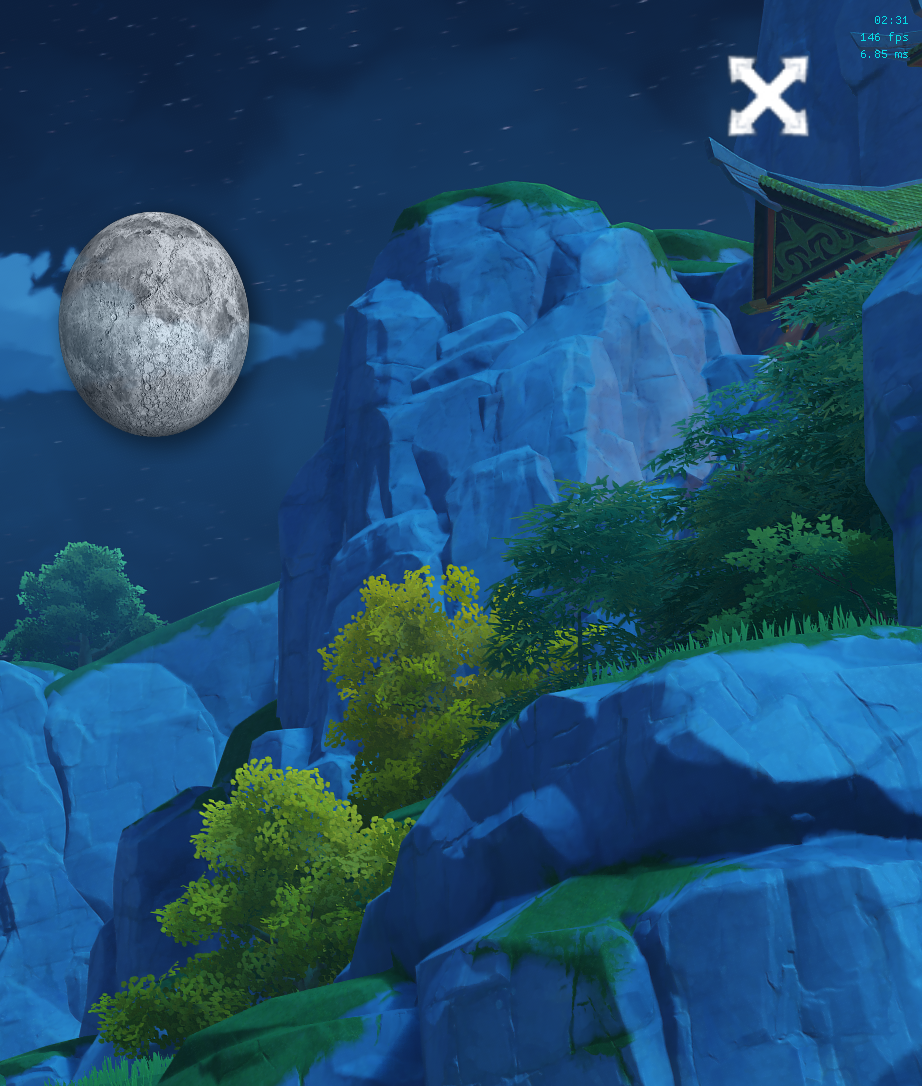
To implement depth control and allow adjusting the moon’s position relative to other objects in the game, such as mountains, we utilize the depth information provided by the game’s rendering pipeline. The depth value of each pixel represents its distance from the camera. By comparing the pixel’s depth value with a defined depth range for the moon, we can determine whether the moon should be visible at that pixel or not.
We introduce two adjustable parameters: the moon’s depth position and the depth range. The moon’s depth position represents its distance from the camera, while the depth range defines the range of depth values within which the moon is visible. In the shader code, we calculate the minimum and maximum depth values for the moon’s visibility range based on the moon’s depth position and the specified depth range. If a pixel’s depth value falls within this range, we proceed with rendering the moon at that position. Otherwise, the moon is not rendered, and the original pixel color is used.
To create a smooth transition, we calculate the moon’s opacity based on the difference between the pixel’s depth and the moon’s depth position. The opacity gradually decreases as the pixel’s depth moves away from the moon’s depth, ensuring a seamless blend with the surrounding environment.
By adjusting the moon’s depth position and depth range parameters, we can control the moon’s position relative to other objects in the game. Setting the moon’s depth position to a smaller value will make it appear closer to the camera and in front of objects with greater depth values, while increasing the depth position will make the moon appear farther away and behind objects with smaller depth values.
Color Control
To implement color inversion and turn the moon red, we use color manipulation techniques in the shader code.
For color inversion, we introduce a parameter that controls the intensity of the inversion effect. In the shader, we calculate the inverted color by subtracting the moon’s original color from the maximum color value (usually 1.0). We then perform a linear interpolation between the original color and the inverted color using the inversion intensity parameter. This allows for a smooth transition between the original and inverted colors based on the intensity value.
To turn the moon red, we define a target red color using RGB values. In the shader, we perform a linear interpolation between the moon’s original color and the target red color using a parameter that controls the intensity of the red coloring effect. This parameter determines the strength of the red tint applied to the moon.
The linear interpolation is achieved using a built-in function that takes the original color, target color, and a blending factor as arguments. By adjusting the blending factor (i.e., the red coloring intensity parameter), we can control the amount of red tint applied to the moon.
By exposing the color inversion intensity and red coloring intensity parameters to the user interface, we allow users to interactively adjust the moon’s color effects. Users can modify these parameters to achieve the desired appearance of the moon, whether it’s a partially inverted color or a fully red moon.
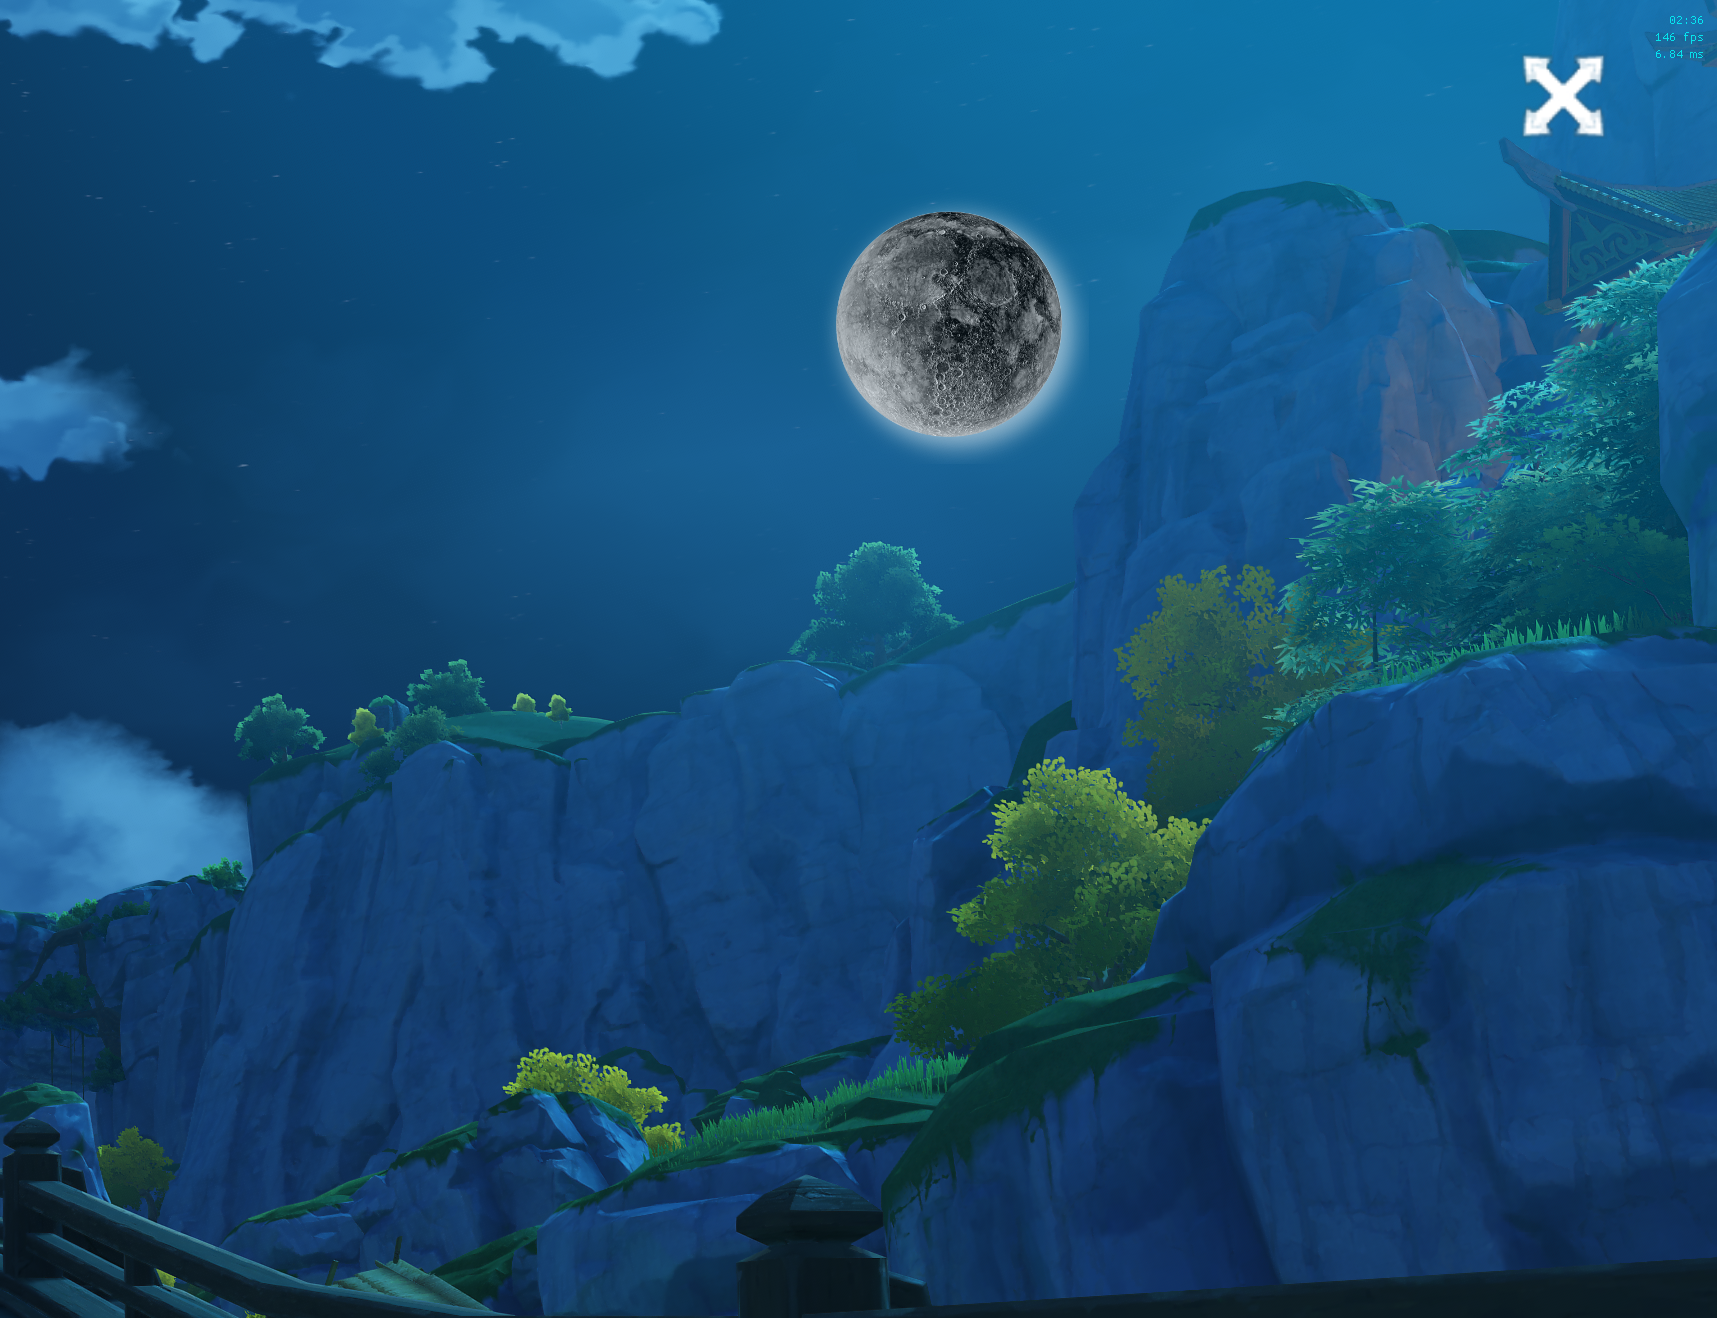
Bloom Effect
To simulate the light around the moon after color inversion, we utilize a bloom mask in the shader. The bloom mask is generated based on the moon’s alpha value and a specified threshold. By comparing the moon’s alpha value with the threshold, we isolate the bright areas of the moon that will contribute to the bloom effect. The resulting bloom mask is then used to intensify the moon’s color, creating a glowing effect around it. This bloom effect is applied after the color inversion step, allowing the inverted moon to emit a bright and luminous light. The bloom mask ensures that only the desired areas of the moon contribute to the glow, providing control over the intensity and spread of the light around the moon.
Magic Sky
To simulate the effect brought by the changing of the moon, we need to precisely control the color of the sky, we utilize depth-based color manipulation in the shader. By comparing the depth value of each pixel with a specified depth range, we can isolate the sky region and apply color changes specifically to that area.
In the shader, we define a depth range that represents the distance from the camera at which the sky is located. We also specify a target sky color that will be used to tint the sky. For each pixel being processed, we retrieve its depth value using the game’s depth buffer.
If the pixel’s depth value falls within the specified sky depth range, we consider it as part of the sky region. We then perform a linear interpolation between the pixel’s original color and the target sky color based on an intensity parameter. This parameter controls the strength of the sky color tint, allowing for a gradual blend between the original color and the desired sky color.
By applying the color change only to pixels within the sky depth range, we ensure that other parts of the game image, such as characters, objects, and landscapes, remain unaffected. The depth-based approach allows for precise control over the sky region, enabling us to modify its color independently.
To create a smooth transition between the sky and non-sky regions, we can adjust the depth range and intensity parameters. A larger depth range will include more pixels as part of the sky, while a smaller range will restrict the color change to a narrower portion of the image. The intensity parameter determines the strength of the sky color tint, allowing for subtle or dramatic color changes.
Results
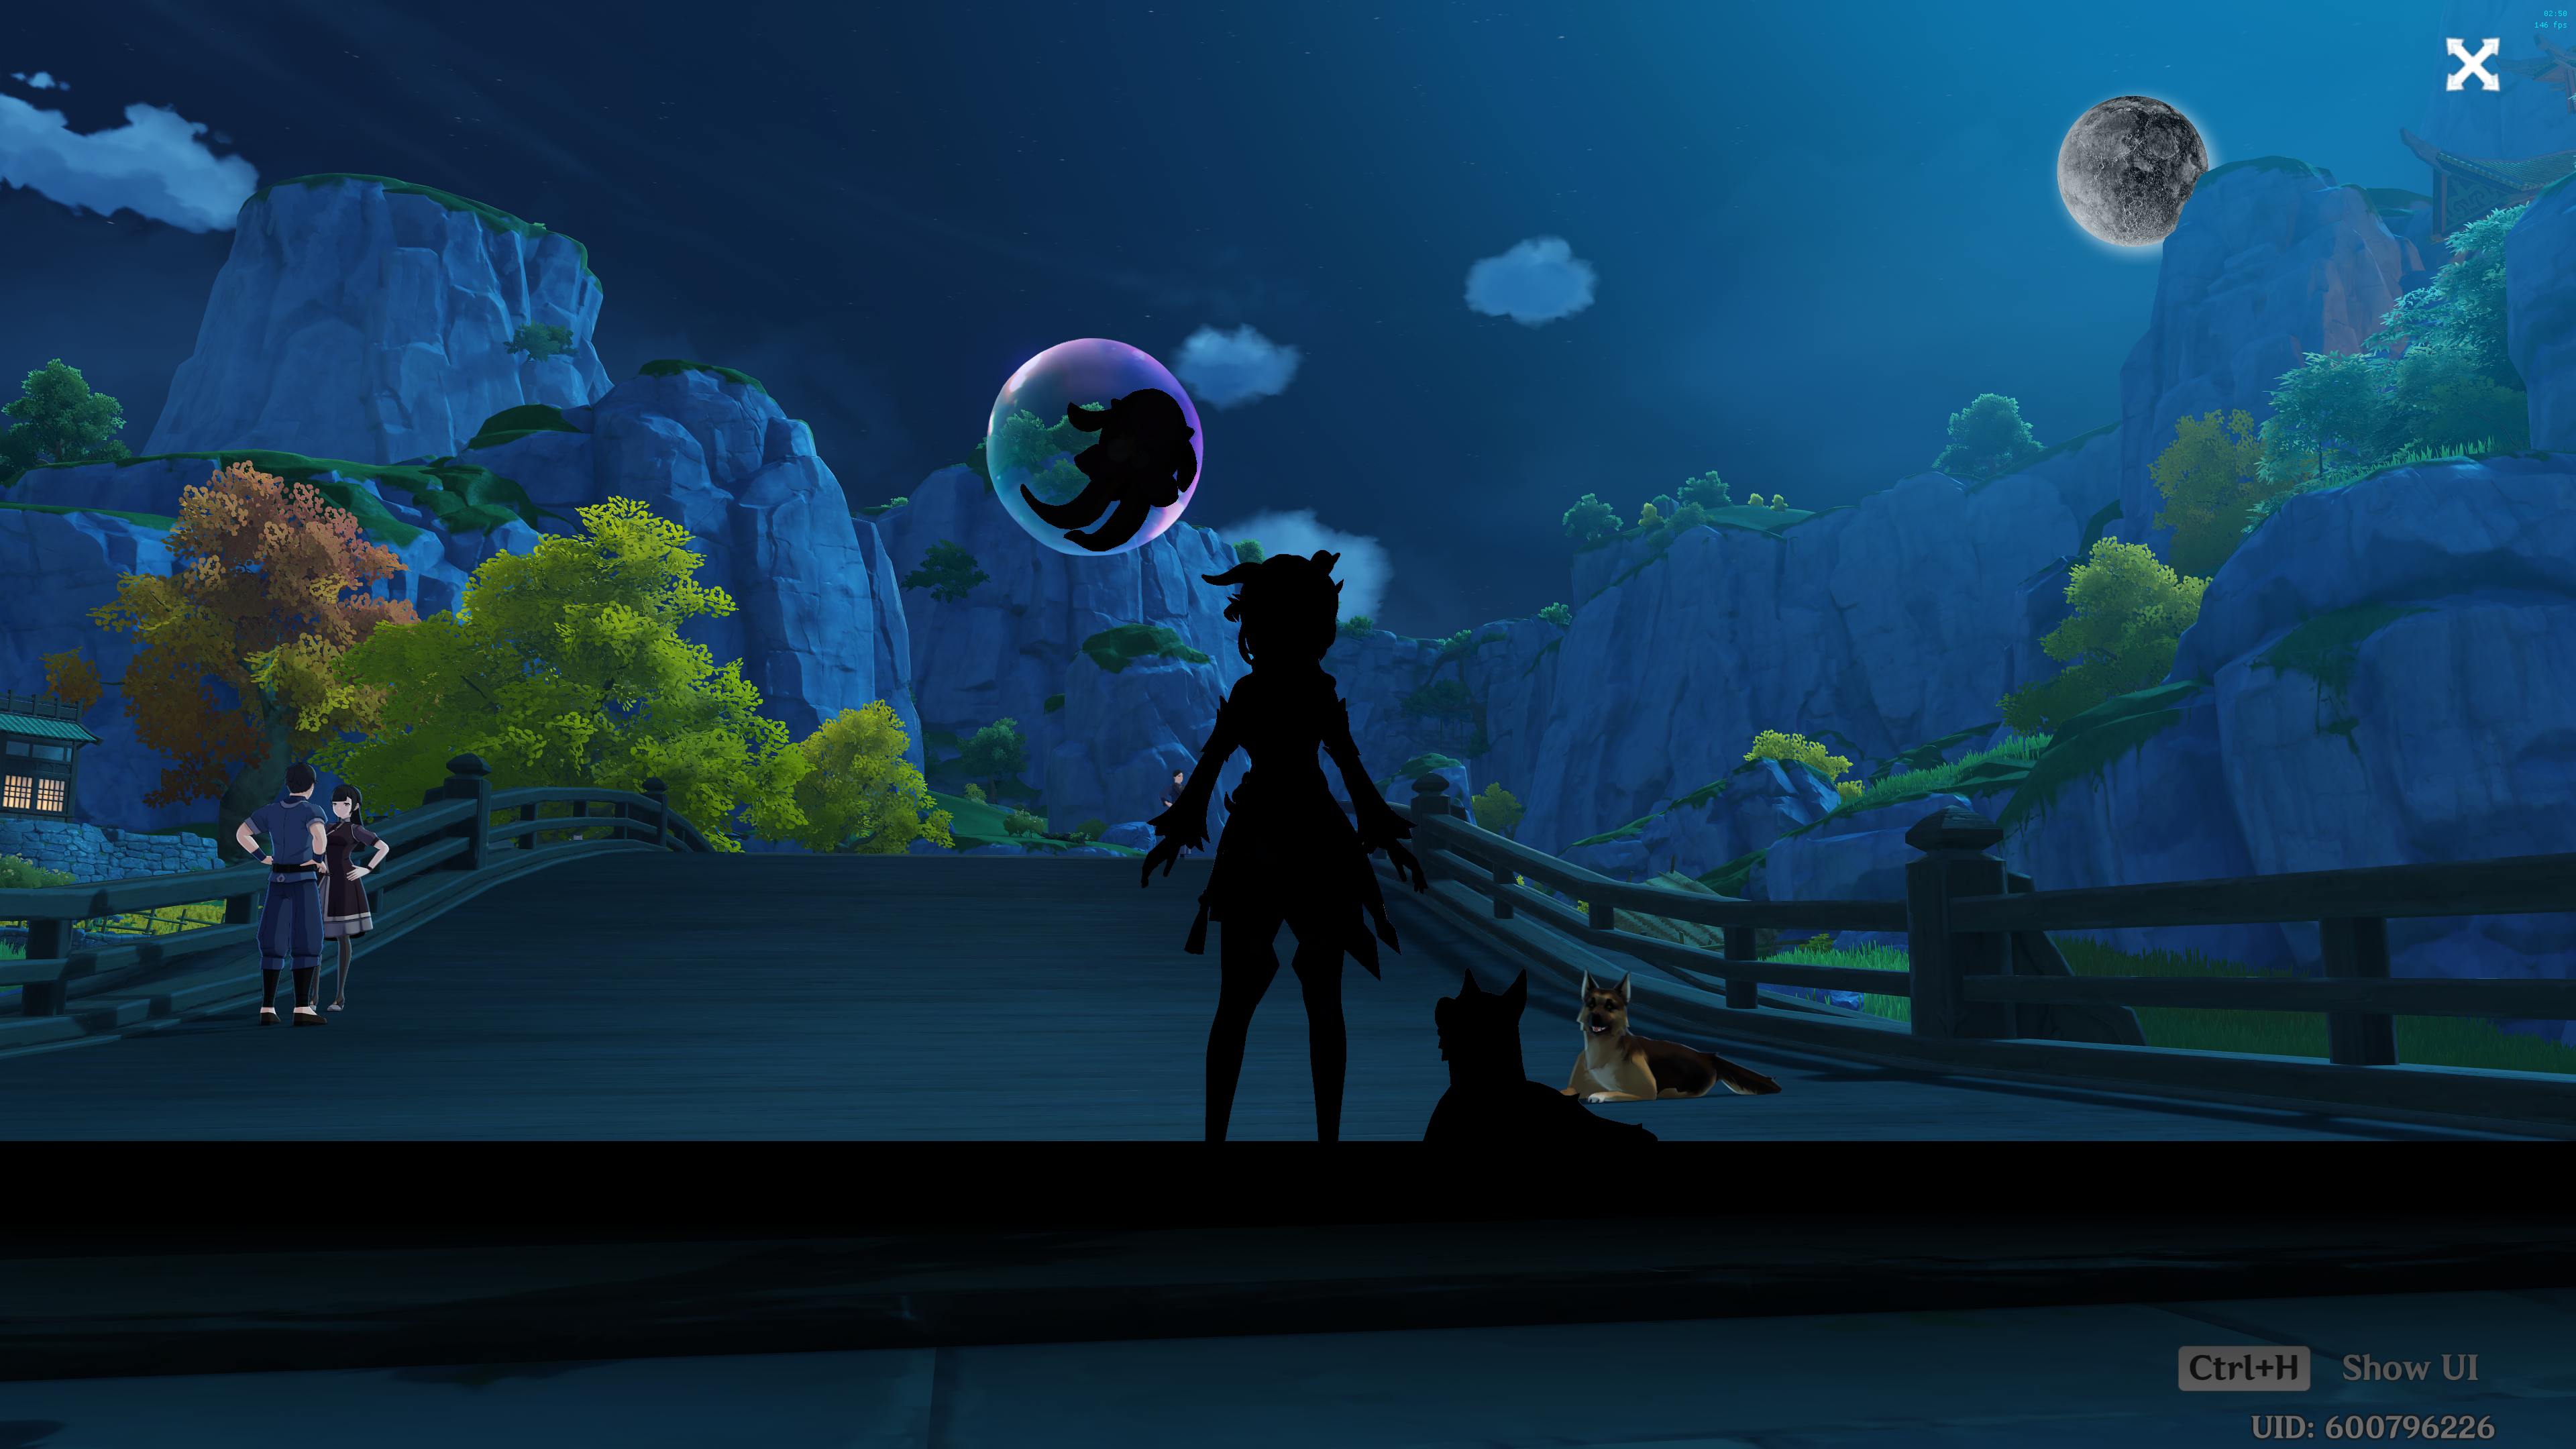
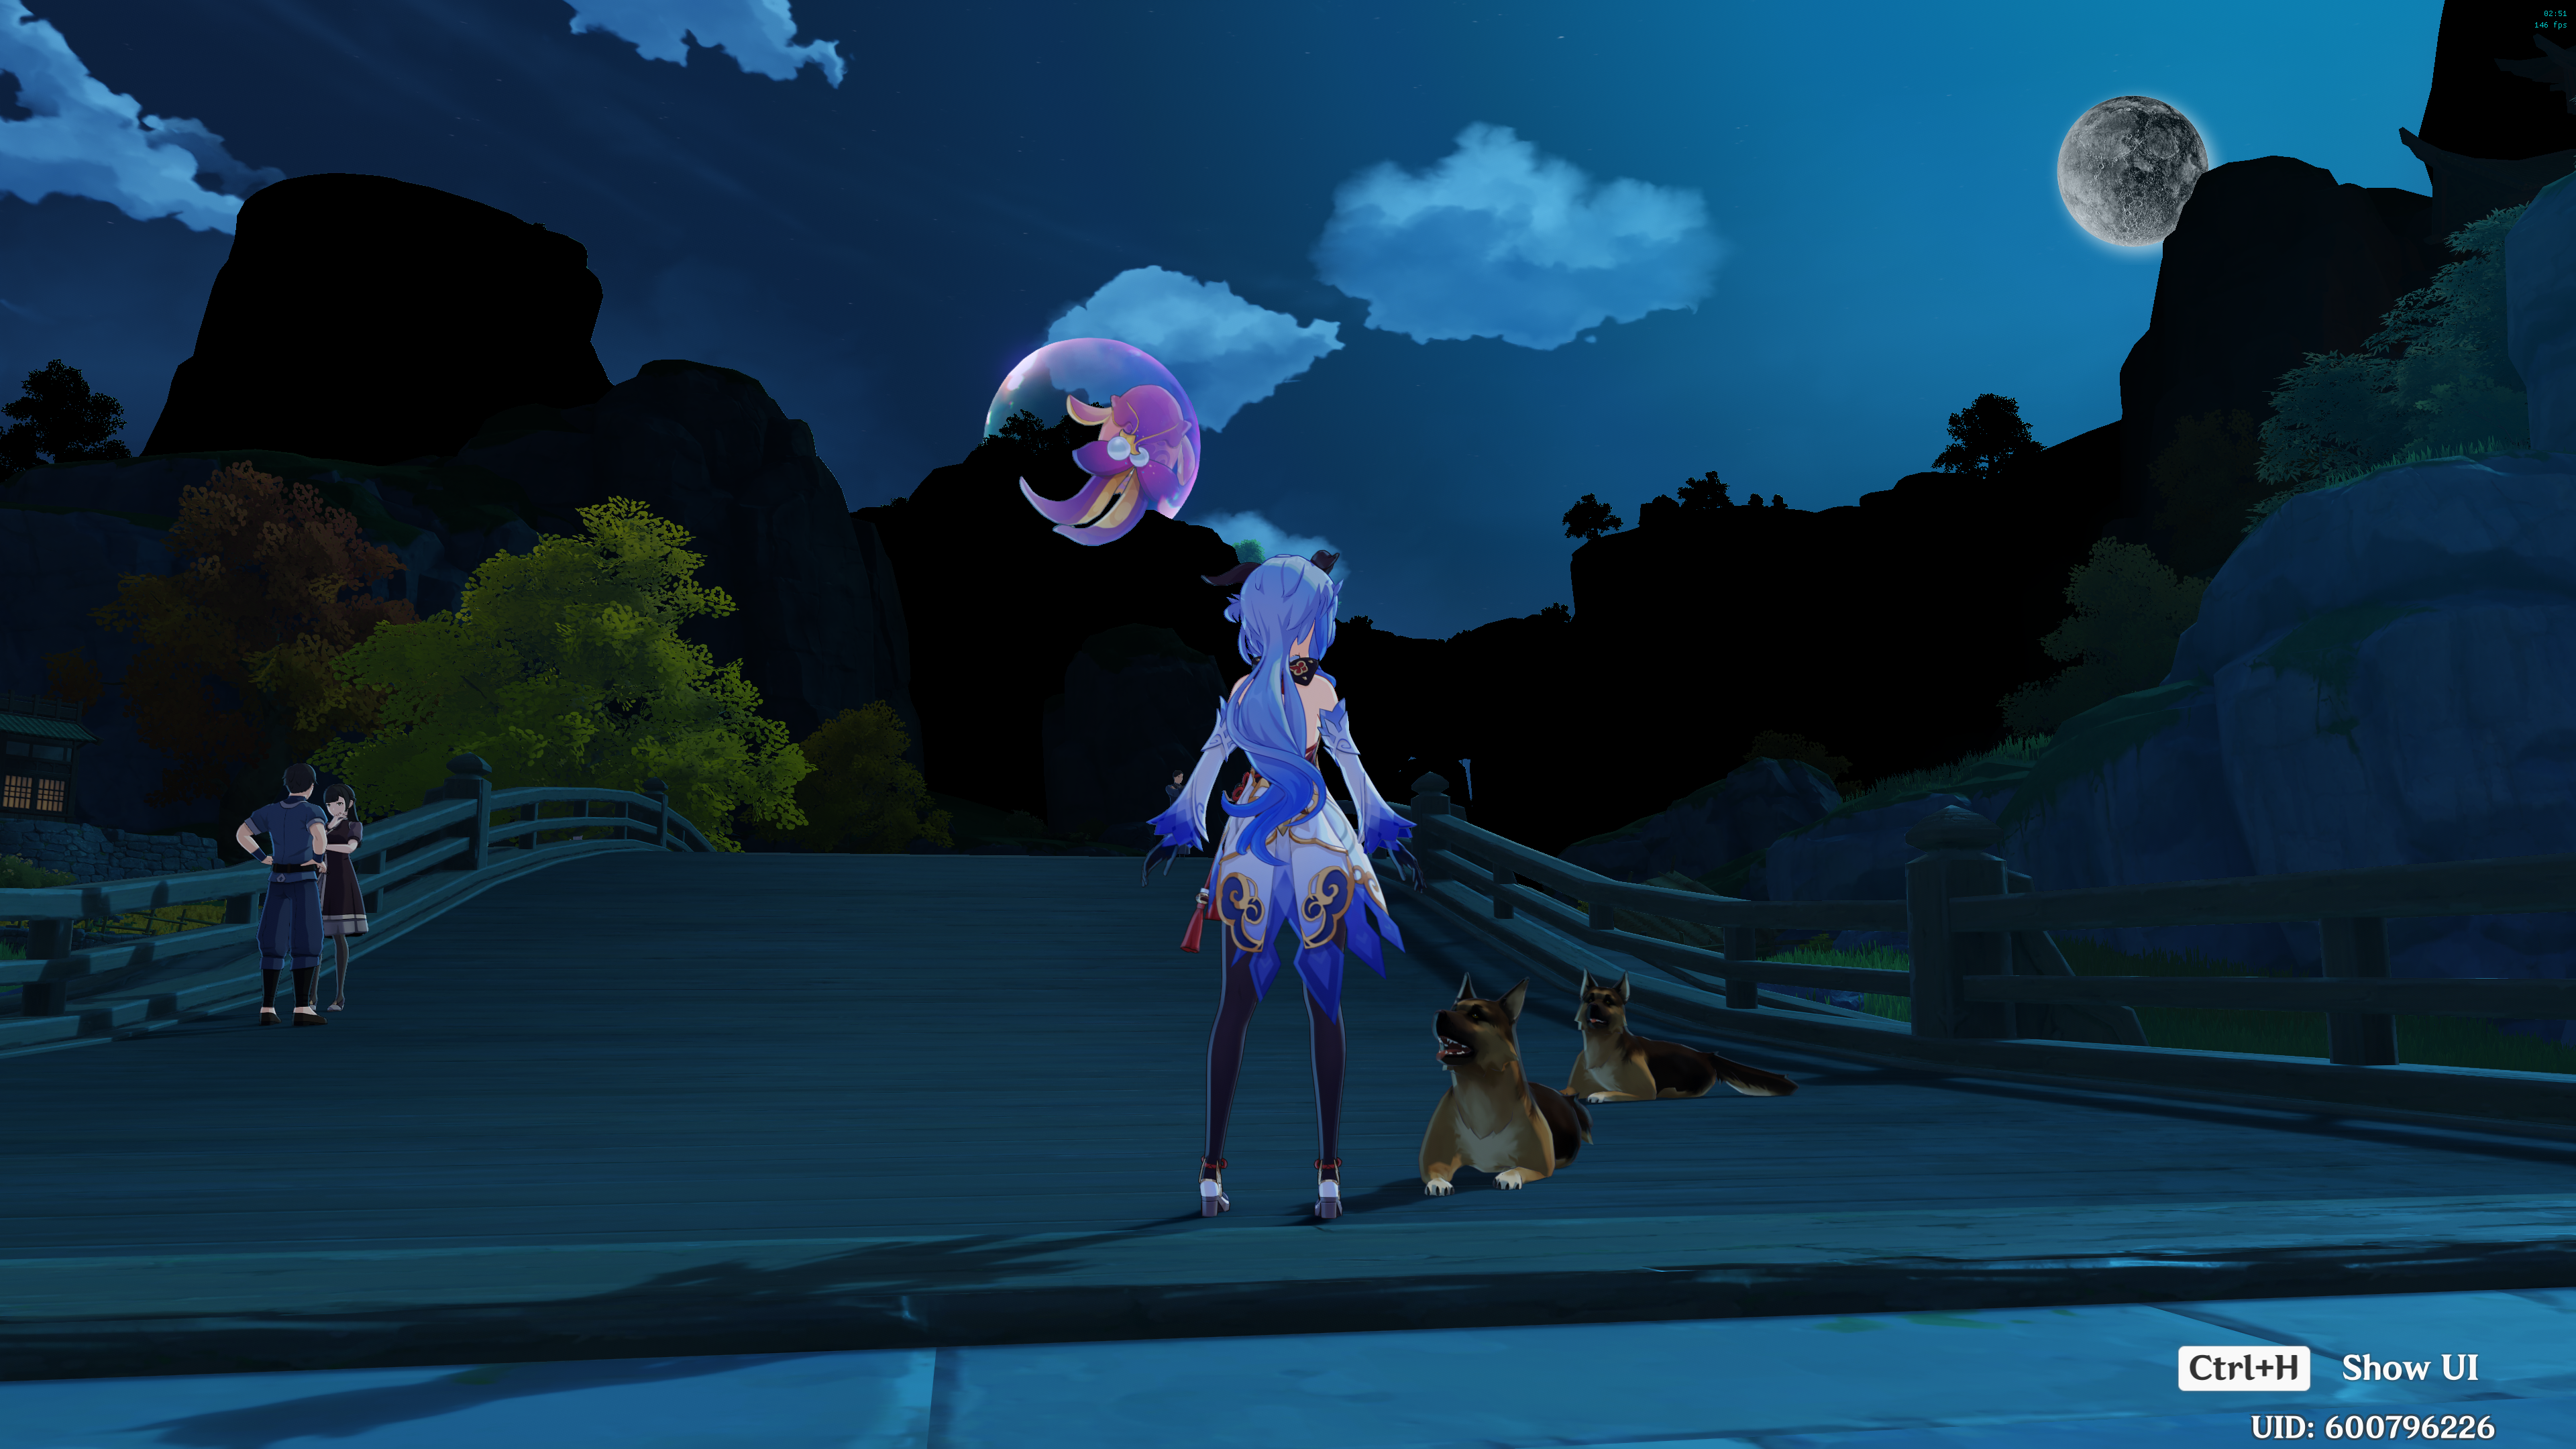
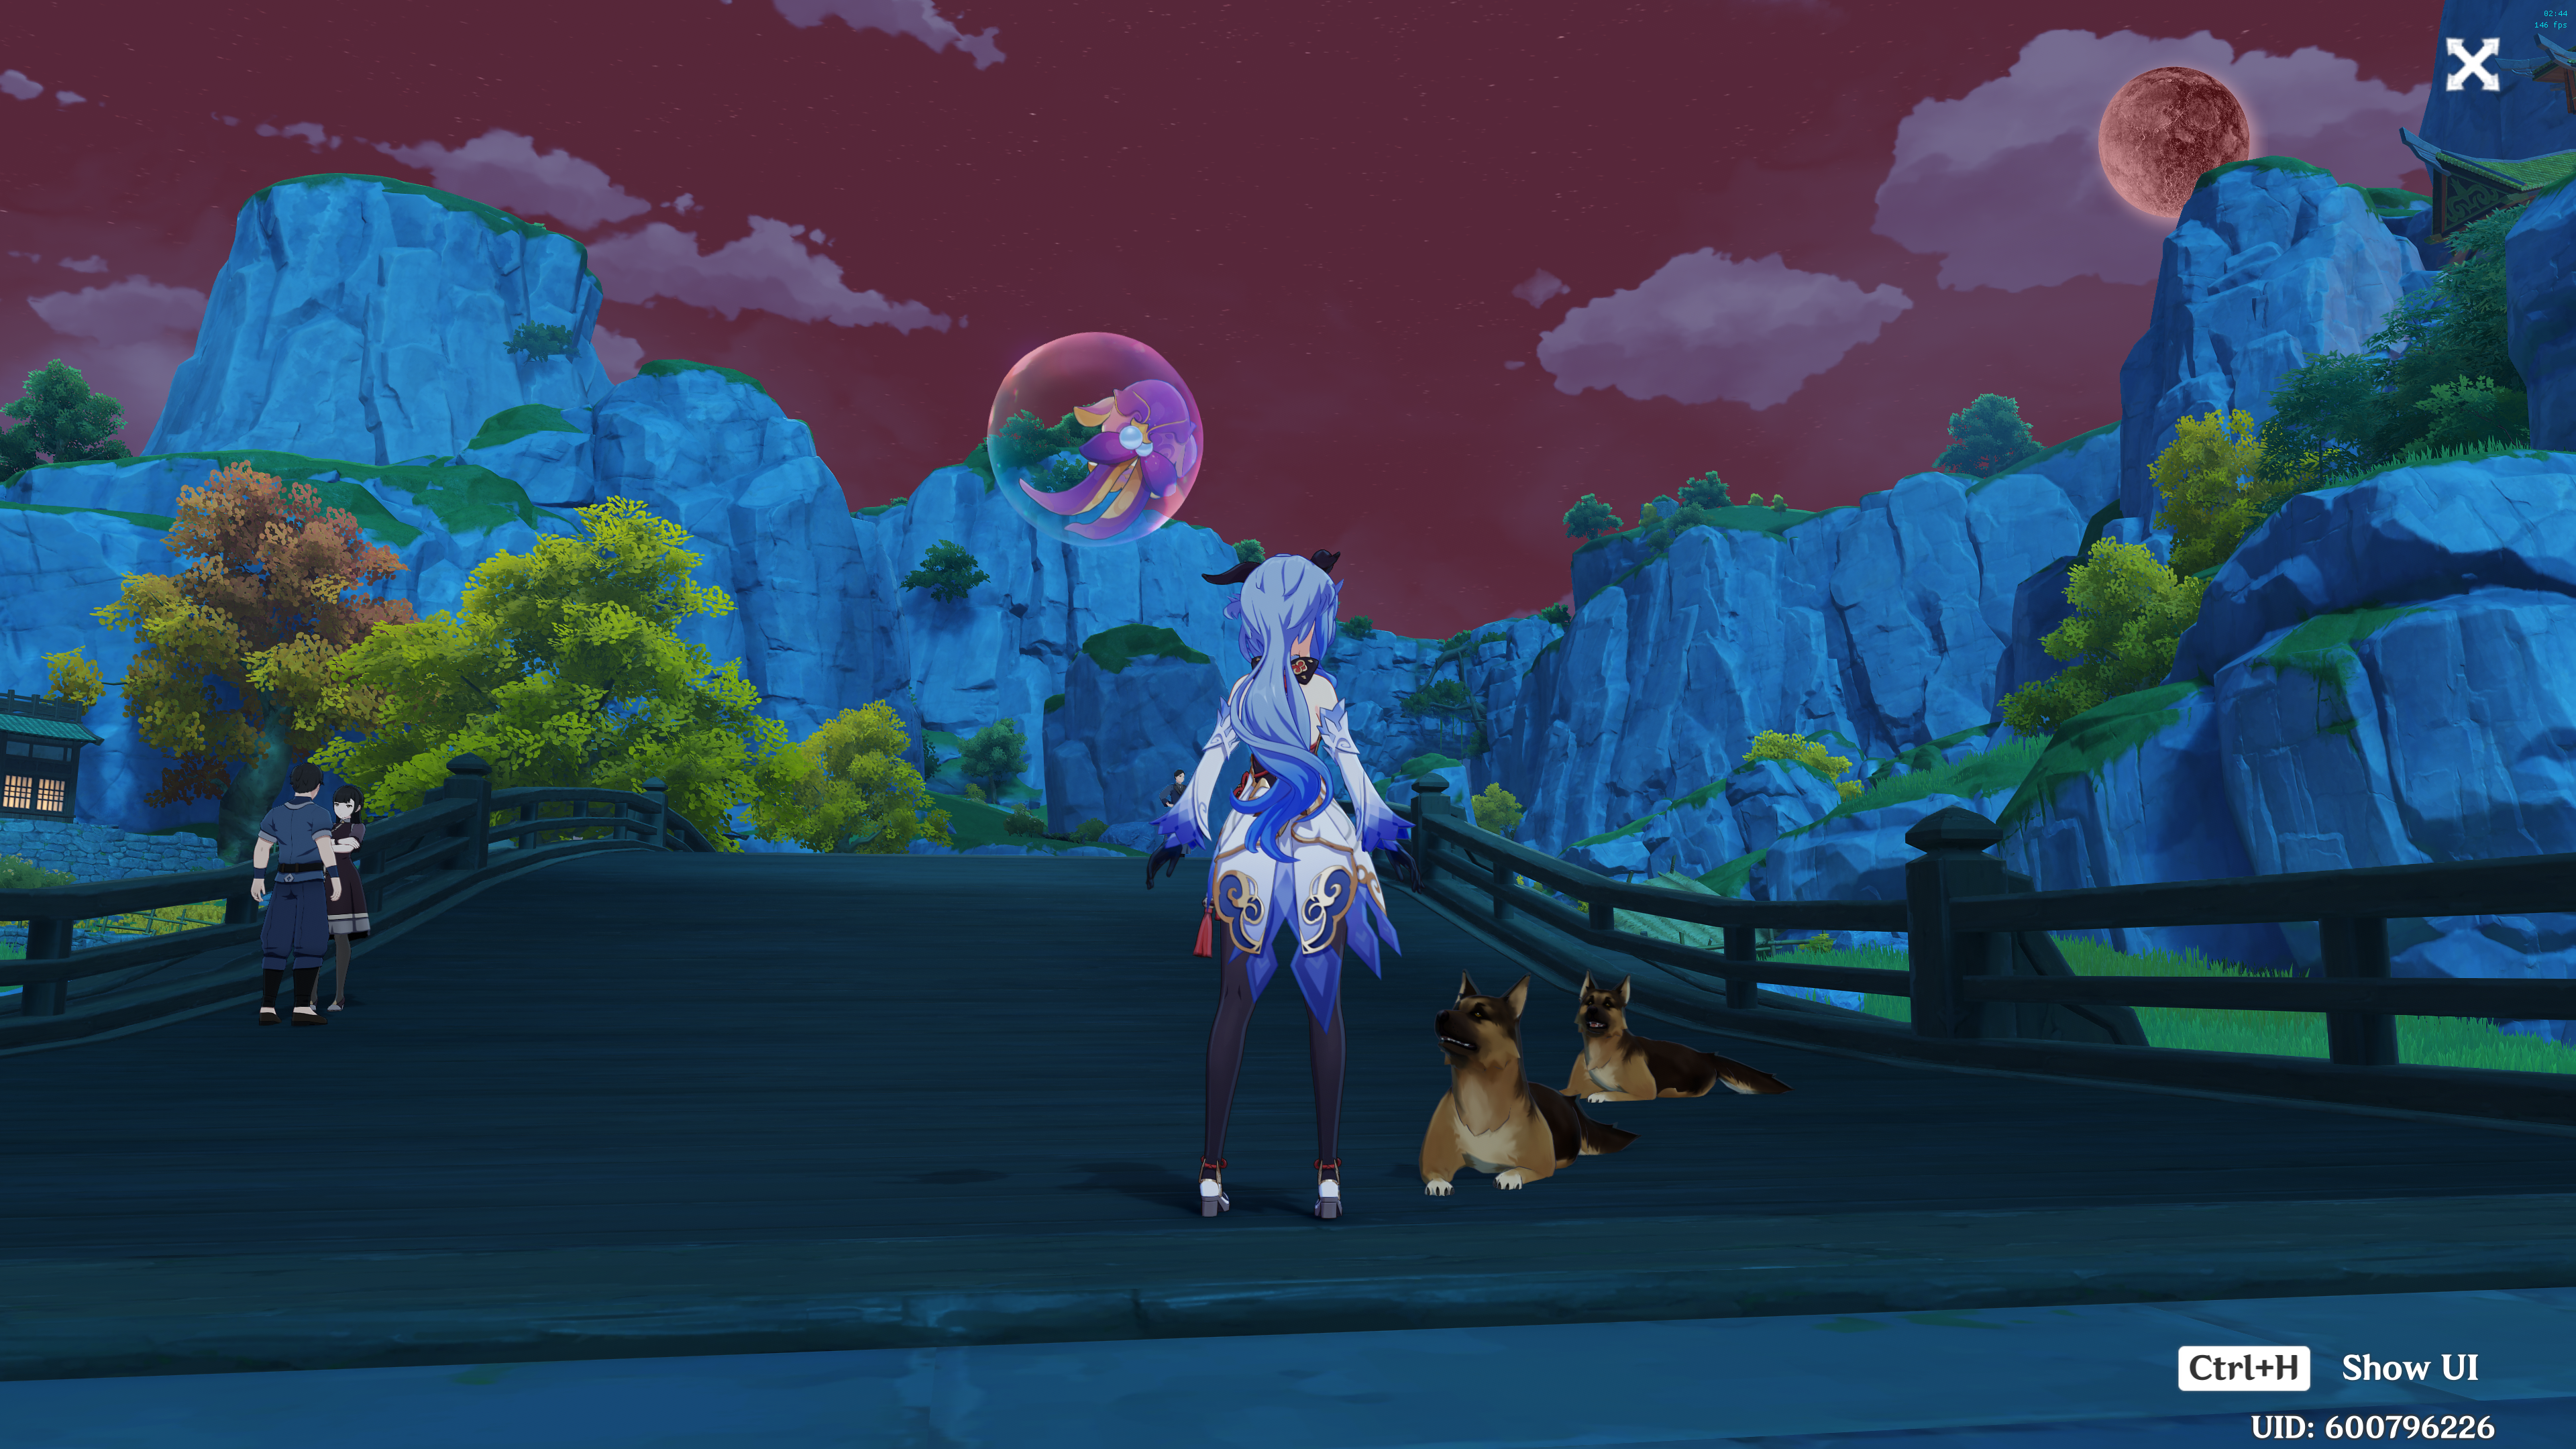
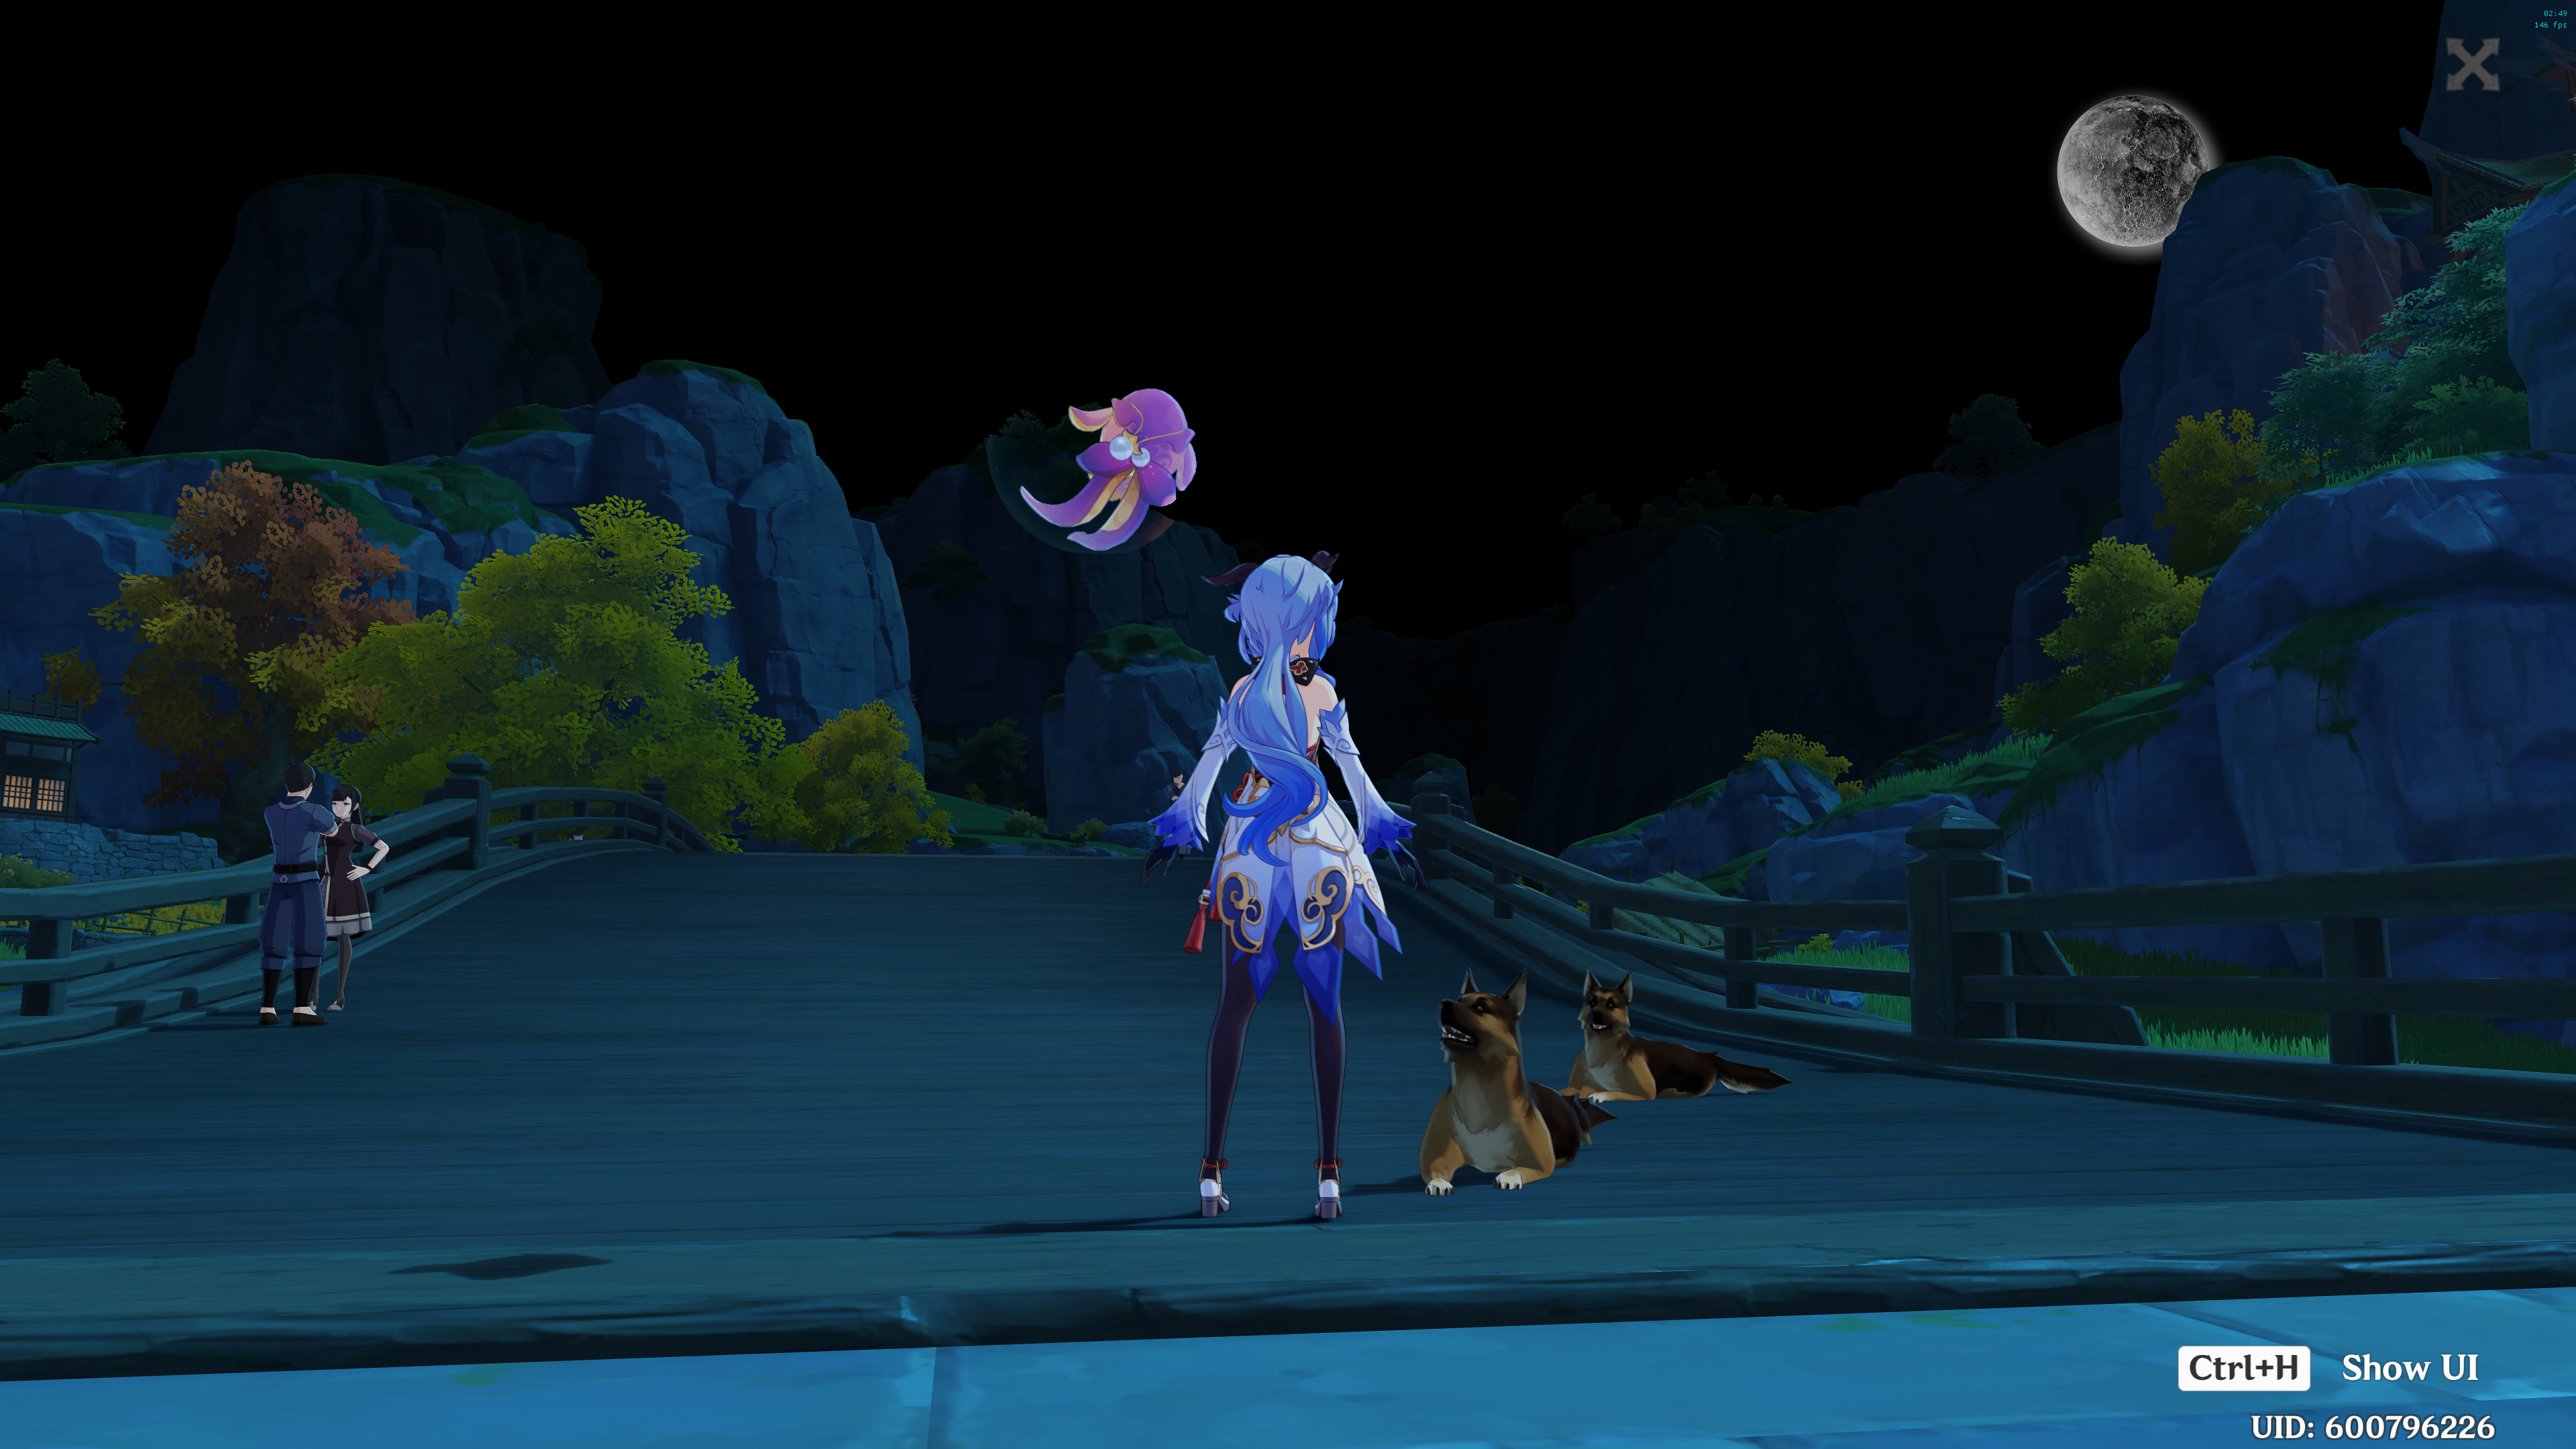 Lunar eclipse
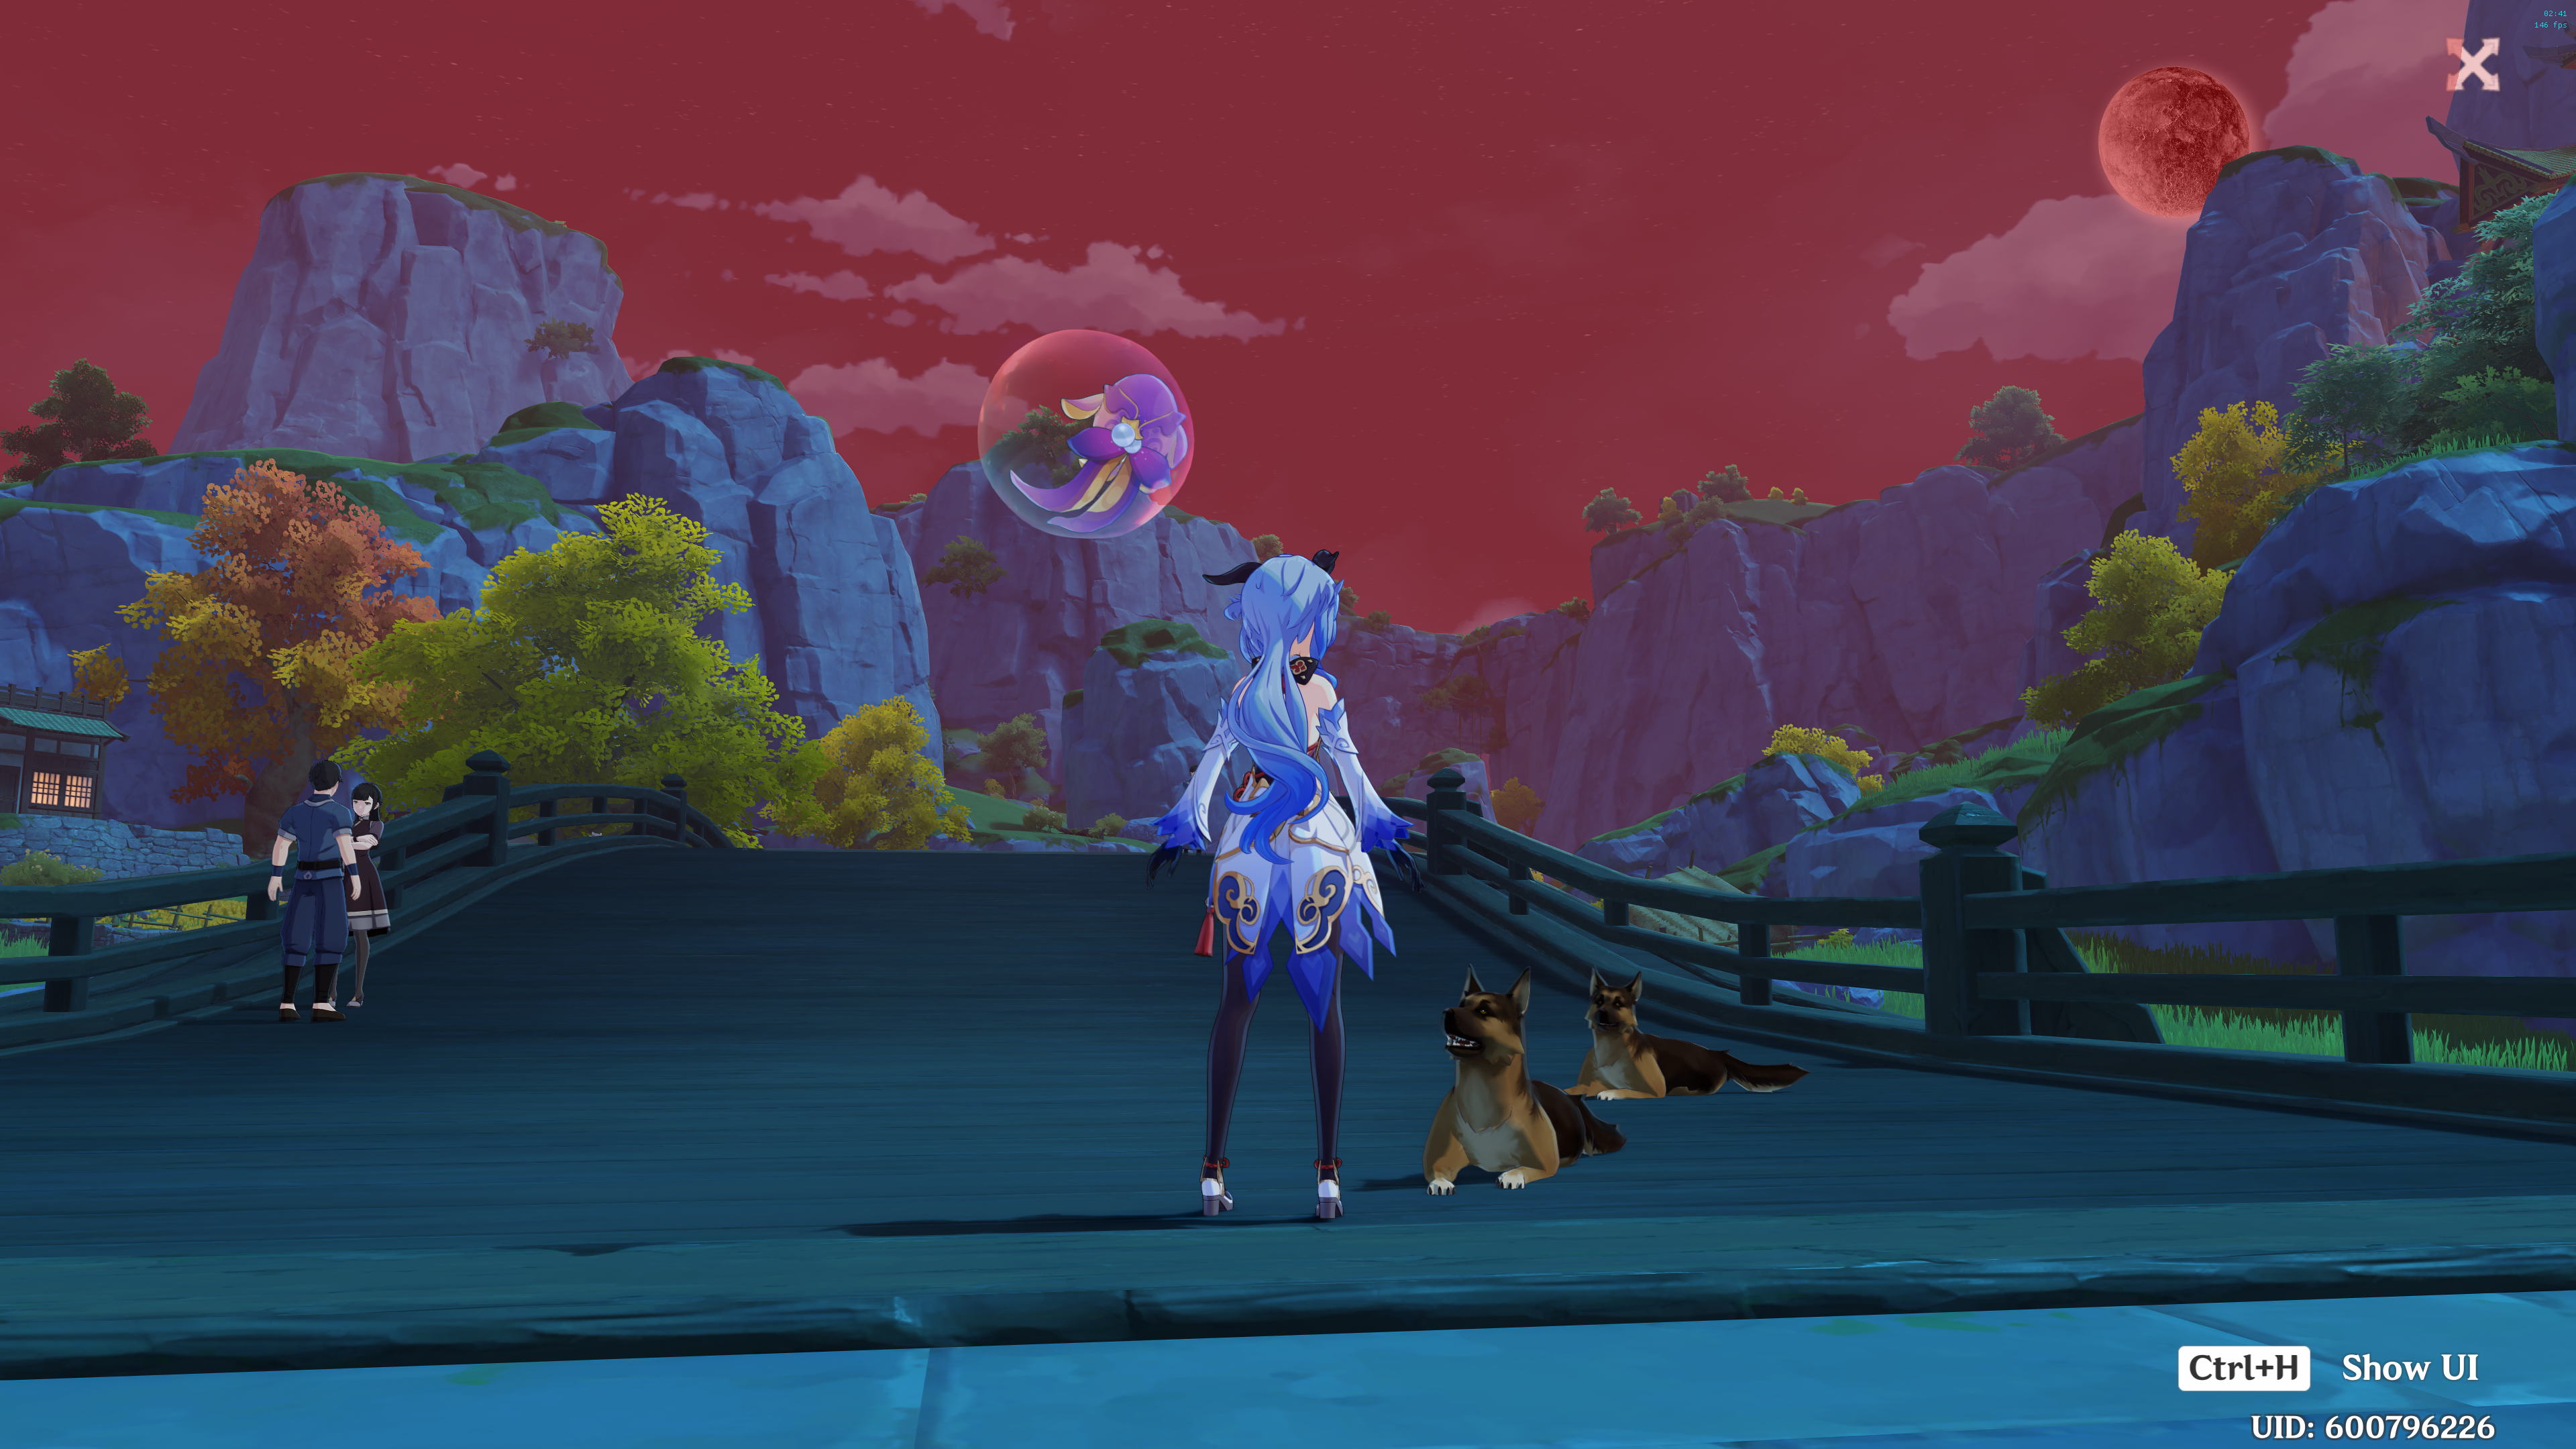
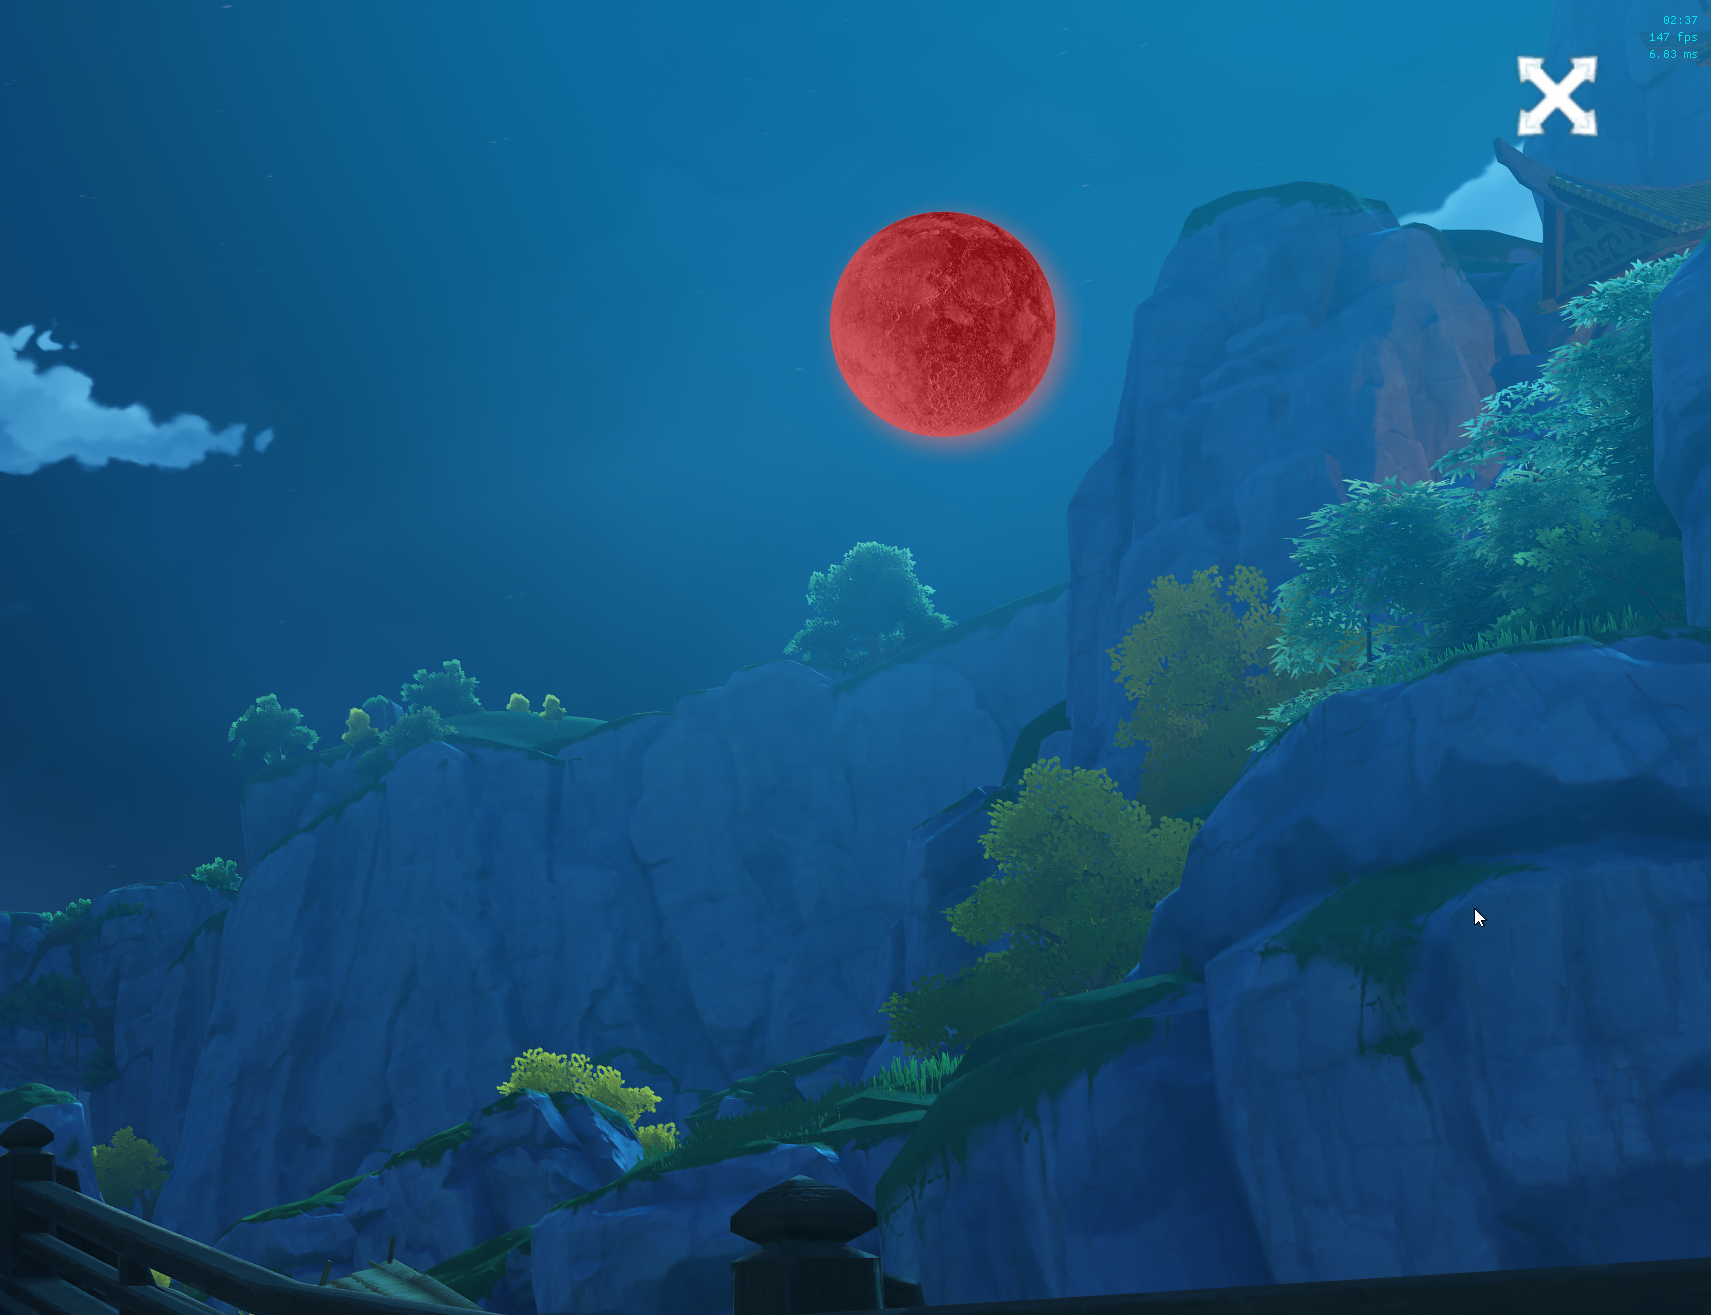
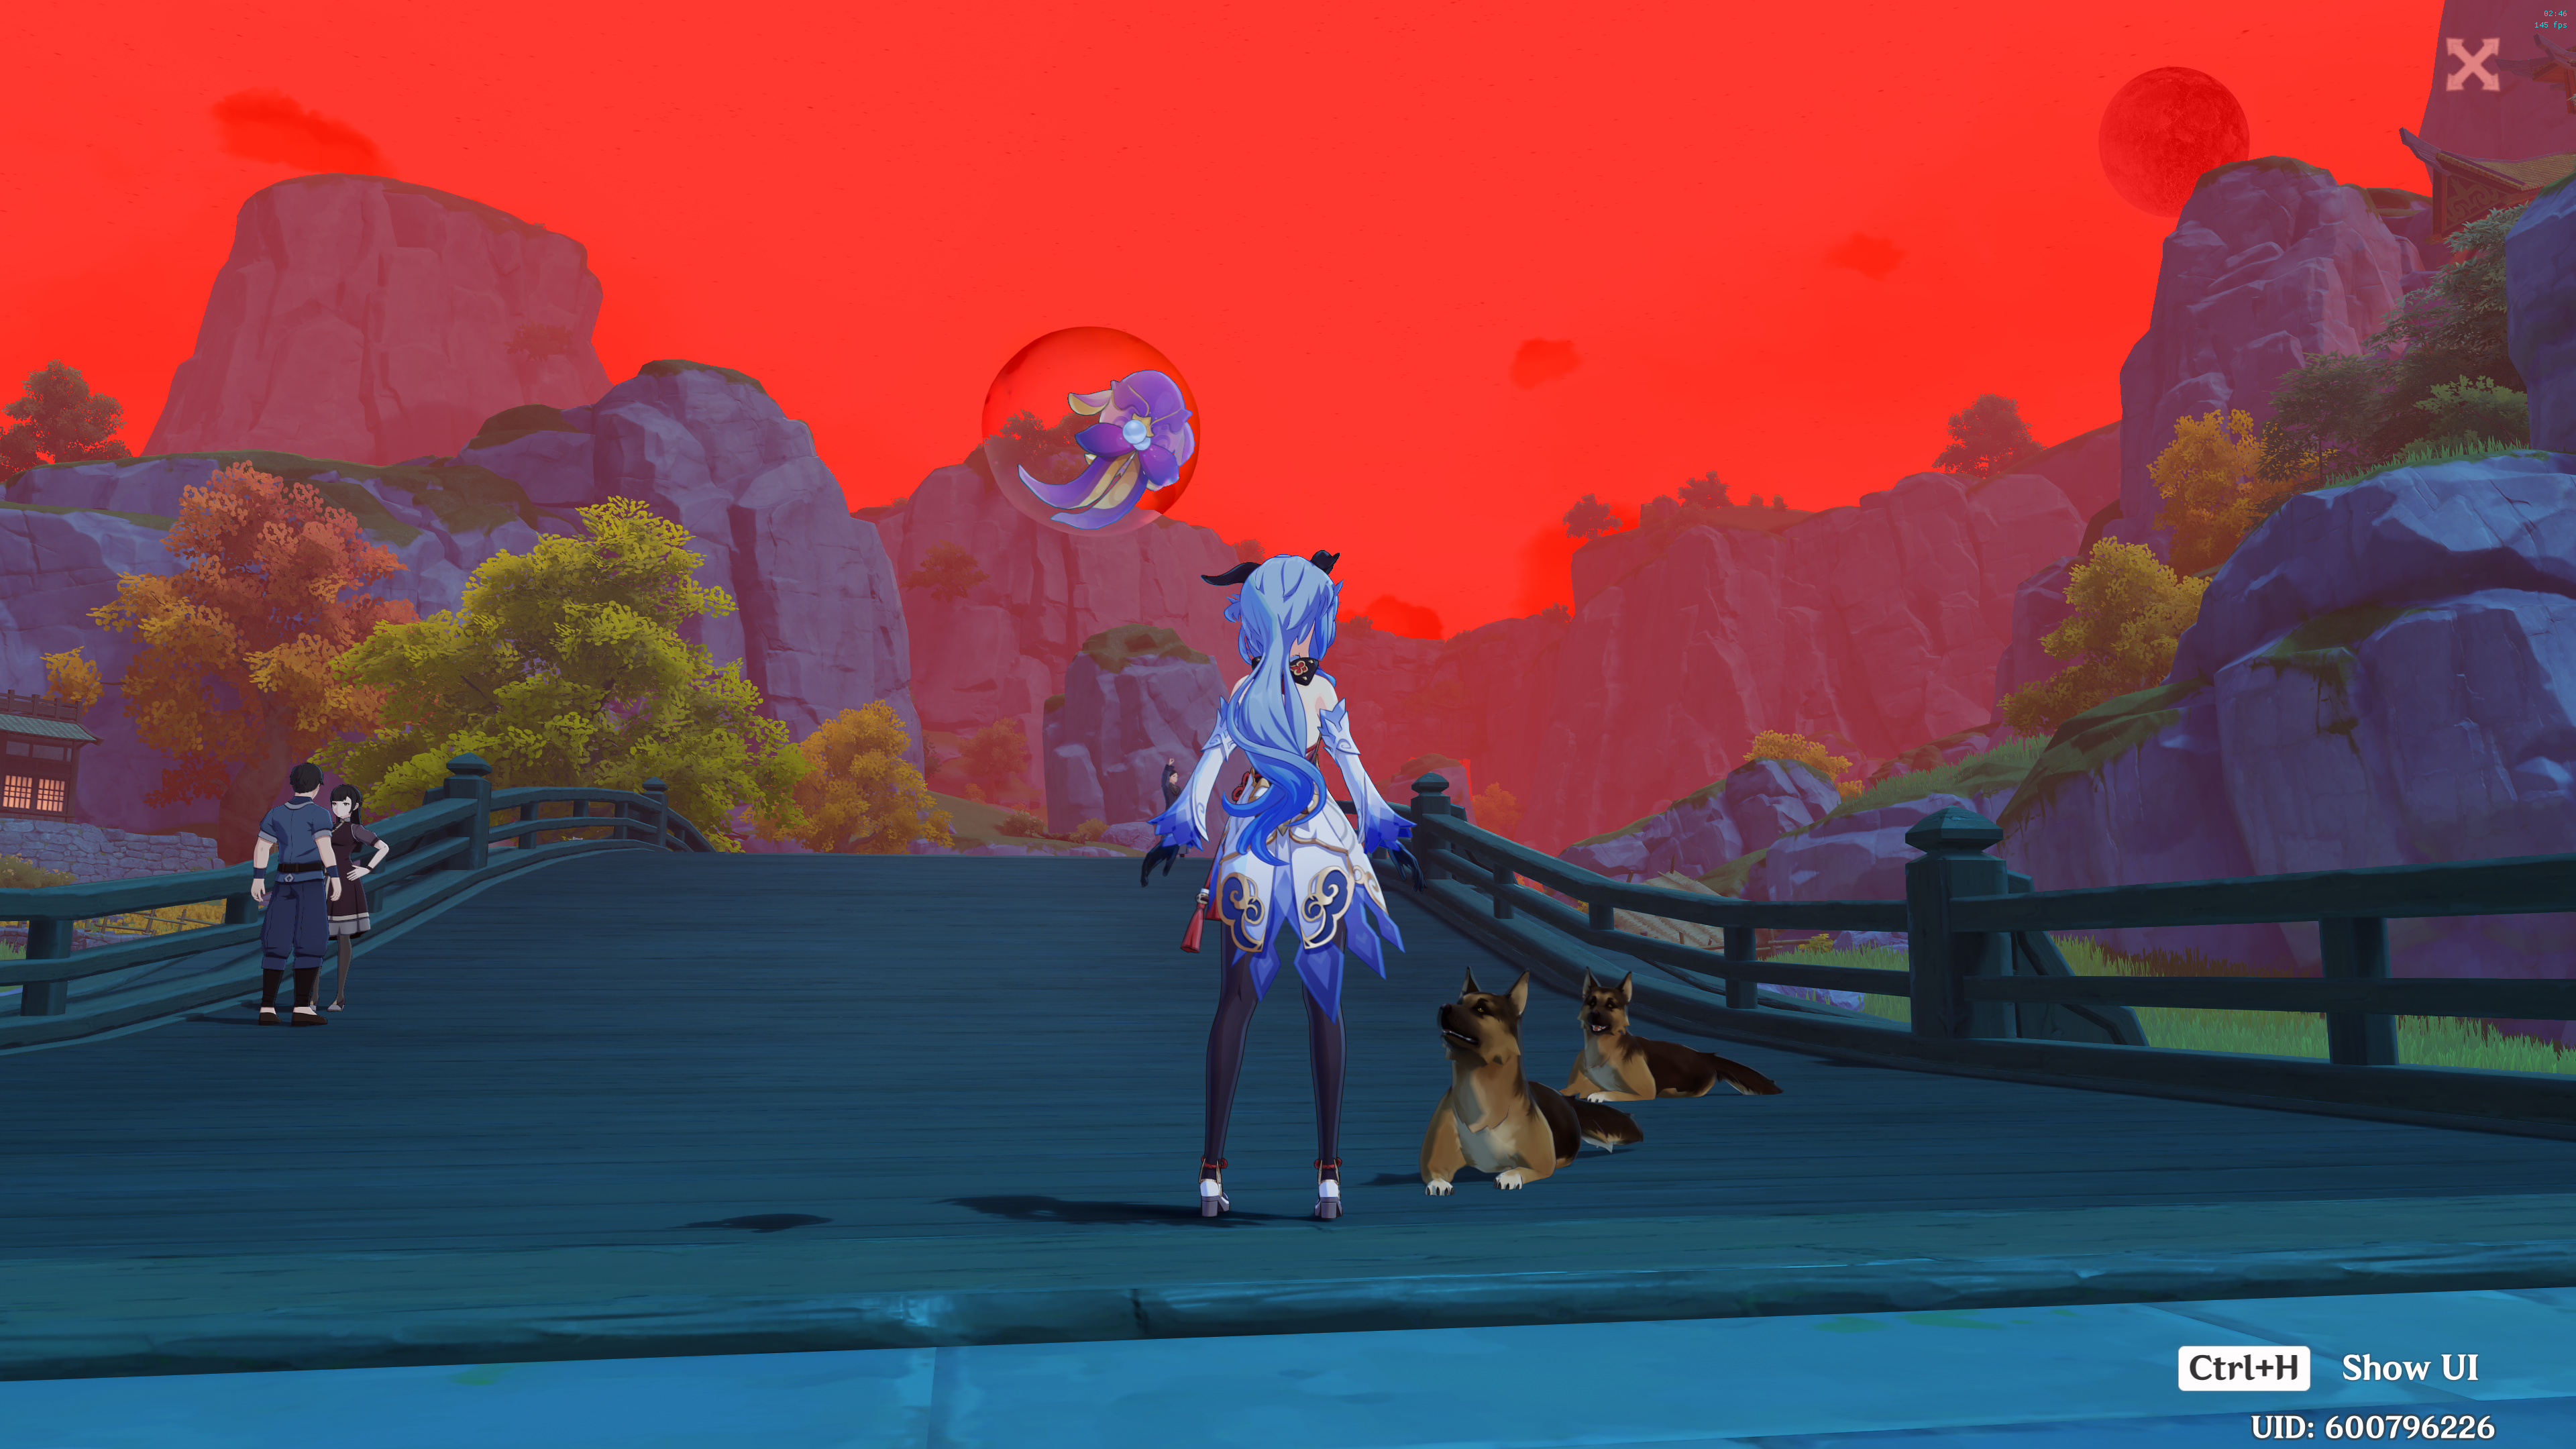 Blood moon
Problems We Encountered
When we first imported the moon texture into the shader, we noticed that the displayed moon had an unusual and distorted ratio. The moon appeared stretched or squished, indicating that the texture was not being mapped correctly onto the screen. This visual discrepancy broke the immersion and realism of the moon’s appearance in the game.
To address the issue of the incorrect moon texture ratio, we realized that we needed to take into account the screen’s aspect ratio when displaying the moon. The aspect ratio represents the proportional relationship between the width and height of the screen.
In the shader code, we introduced a calculation to adjust the moon’s texture coordinates based on the screen’s aspect ratio. Specifically, we multiplied the moon’s horizontal texture coordinate by the ratio of the screen’s width to its height. This adjustment ensures that the moon texture is mapped correctly onto the screen, regardless of the screen’s dimensions.
Lessons Learned
Through the development of this shader project, we gained valuable knowledge and experience in writing ReshadeFX code and creating shaders using a different rendering engine. This project provided us with a deeper understanding of various aspects of shader programming.
We learned how to implement advanced techniques such as depth-based effects, color manipulation, and bloom effects to enhance the visual quality and realism of the game’s graphics. Moreover, we explored the process of creating custom textures and learned how to efficiently manage and sample textures within the shader code.