Spirit Fog
To enhance the atmosphere while reading about our project, you may play the following background music:
Introduction
We designed a fog effect algorithm based on depth information, integrating depth adjustment and light source detection, to simulate the visual effect of light diffusion. This implementation uses the Reshade framework and supports real-time parameter adjustment, enhancing the dynamic and interactive visual effects.
Fog Blending
To simulate fog effects, we injected shaders into Genshin imapert. We found a publicly and legally usable Genshin-Impact-ReShade repository on GitHub, which can be applied to the rendering pipeline and implements rendering effects using the ReShade FX compiler. We registered a new Genshin account and tested the operation of Genshin with Reshade.
Next, we implemented the basic fog simulation. Our concept is that since the actual effect of fog is increasingly hazy from near to far, it is feasible to process the depth information of pixels. The depth fog is a viable approach.
1
depth = ReShade::GetLinearizedDepth(texcoord).r;
First, we obtain the linearized depth information from the current texture coordinates.
1
fogFactor = clamp(saturate(depth - FogStart) * FogCurve, 0.0, MaxFogFactor);
Then, calculate the fog factor (fogFactor) based on depth information, which determines the concentration of the fog. The fog factor is calculated by subtracting the depth from the fog’s start position (FogStart), multiplying by the fog curve (FogCurve), and then clamping the value between 0 and the maximum fog factor using the clamp function.
1
fogColor = lerp(sceneColor, float4(FogColor, 1.0), fogFactor);
After obtaining the fog factor, we process the blending of fog effects, making objects in the distance appear as if covered by fog. The original color of the scene and the fog color (FogColor) are linearly interpolated based on the fog factor to generate the final color output.
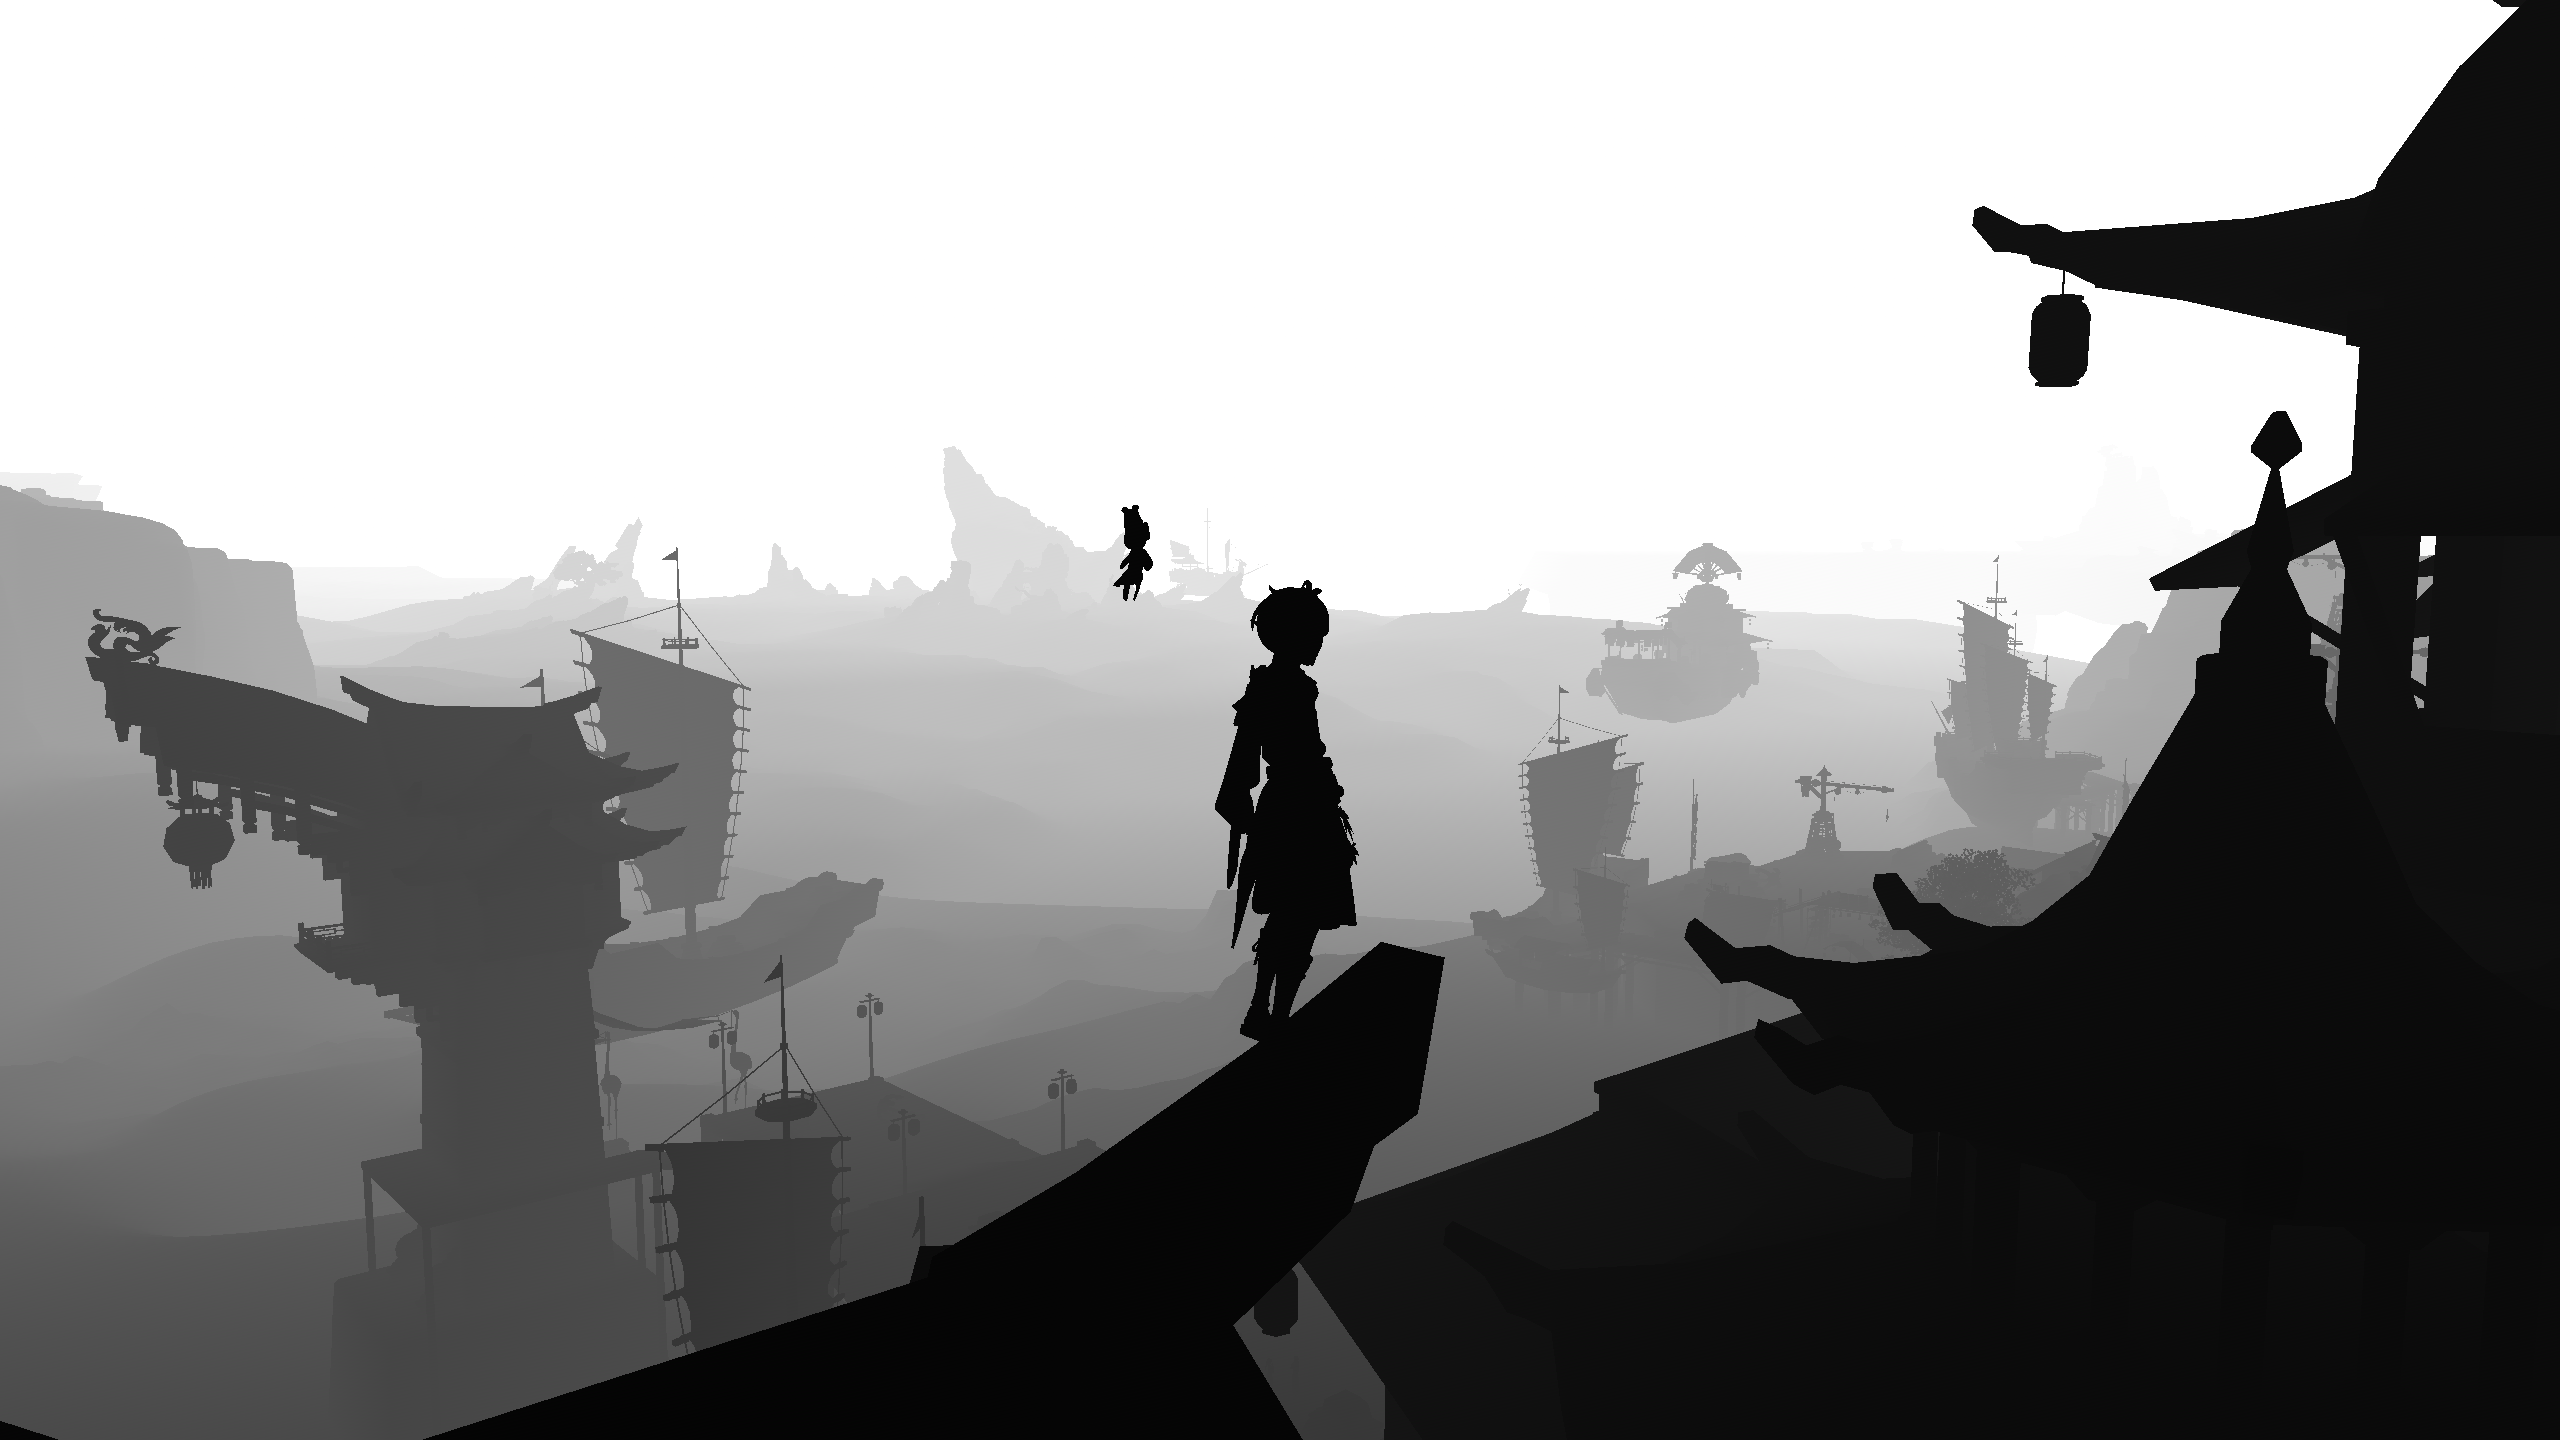
This achieves a depth fog model, which performs well during the day.
Results Of Daylight
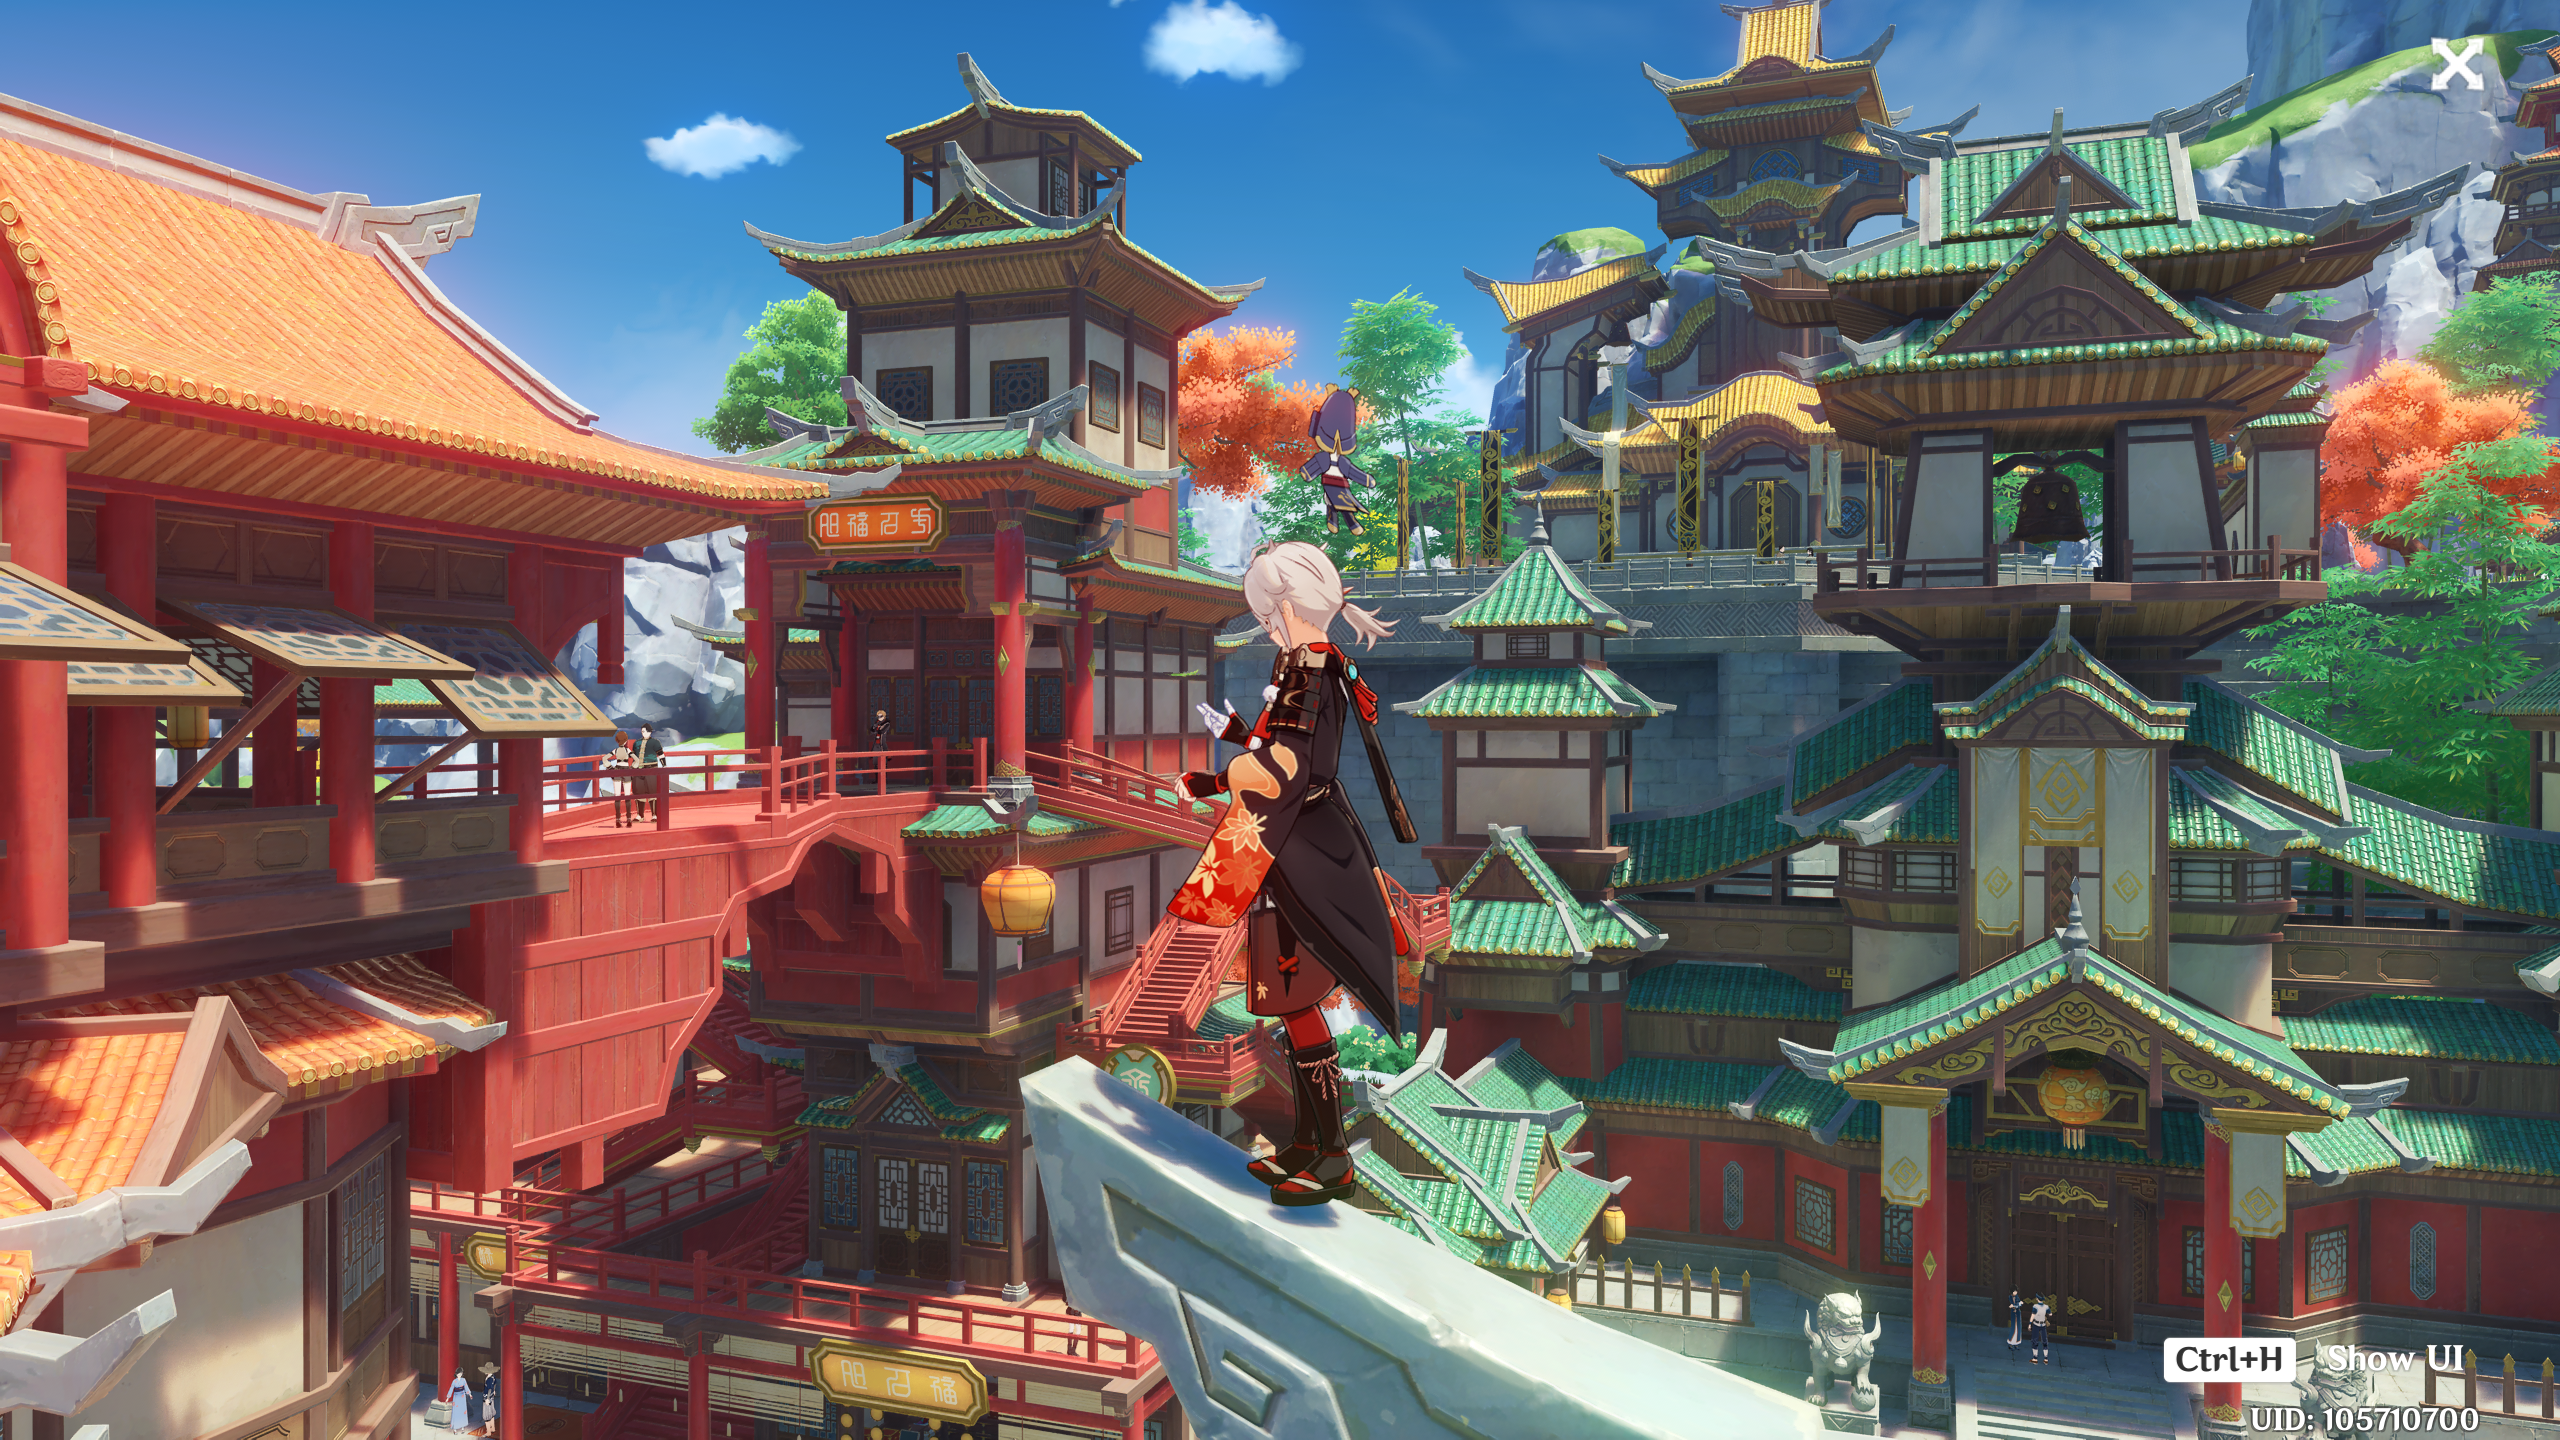 Origin
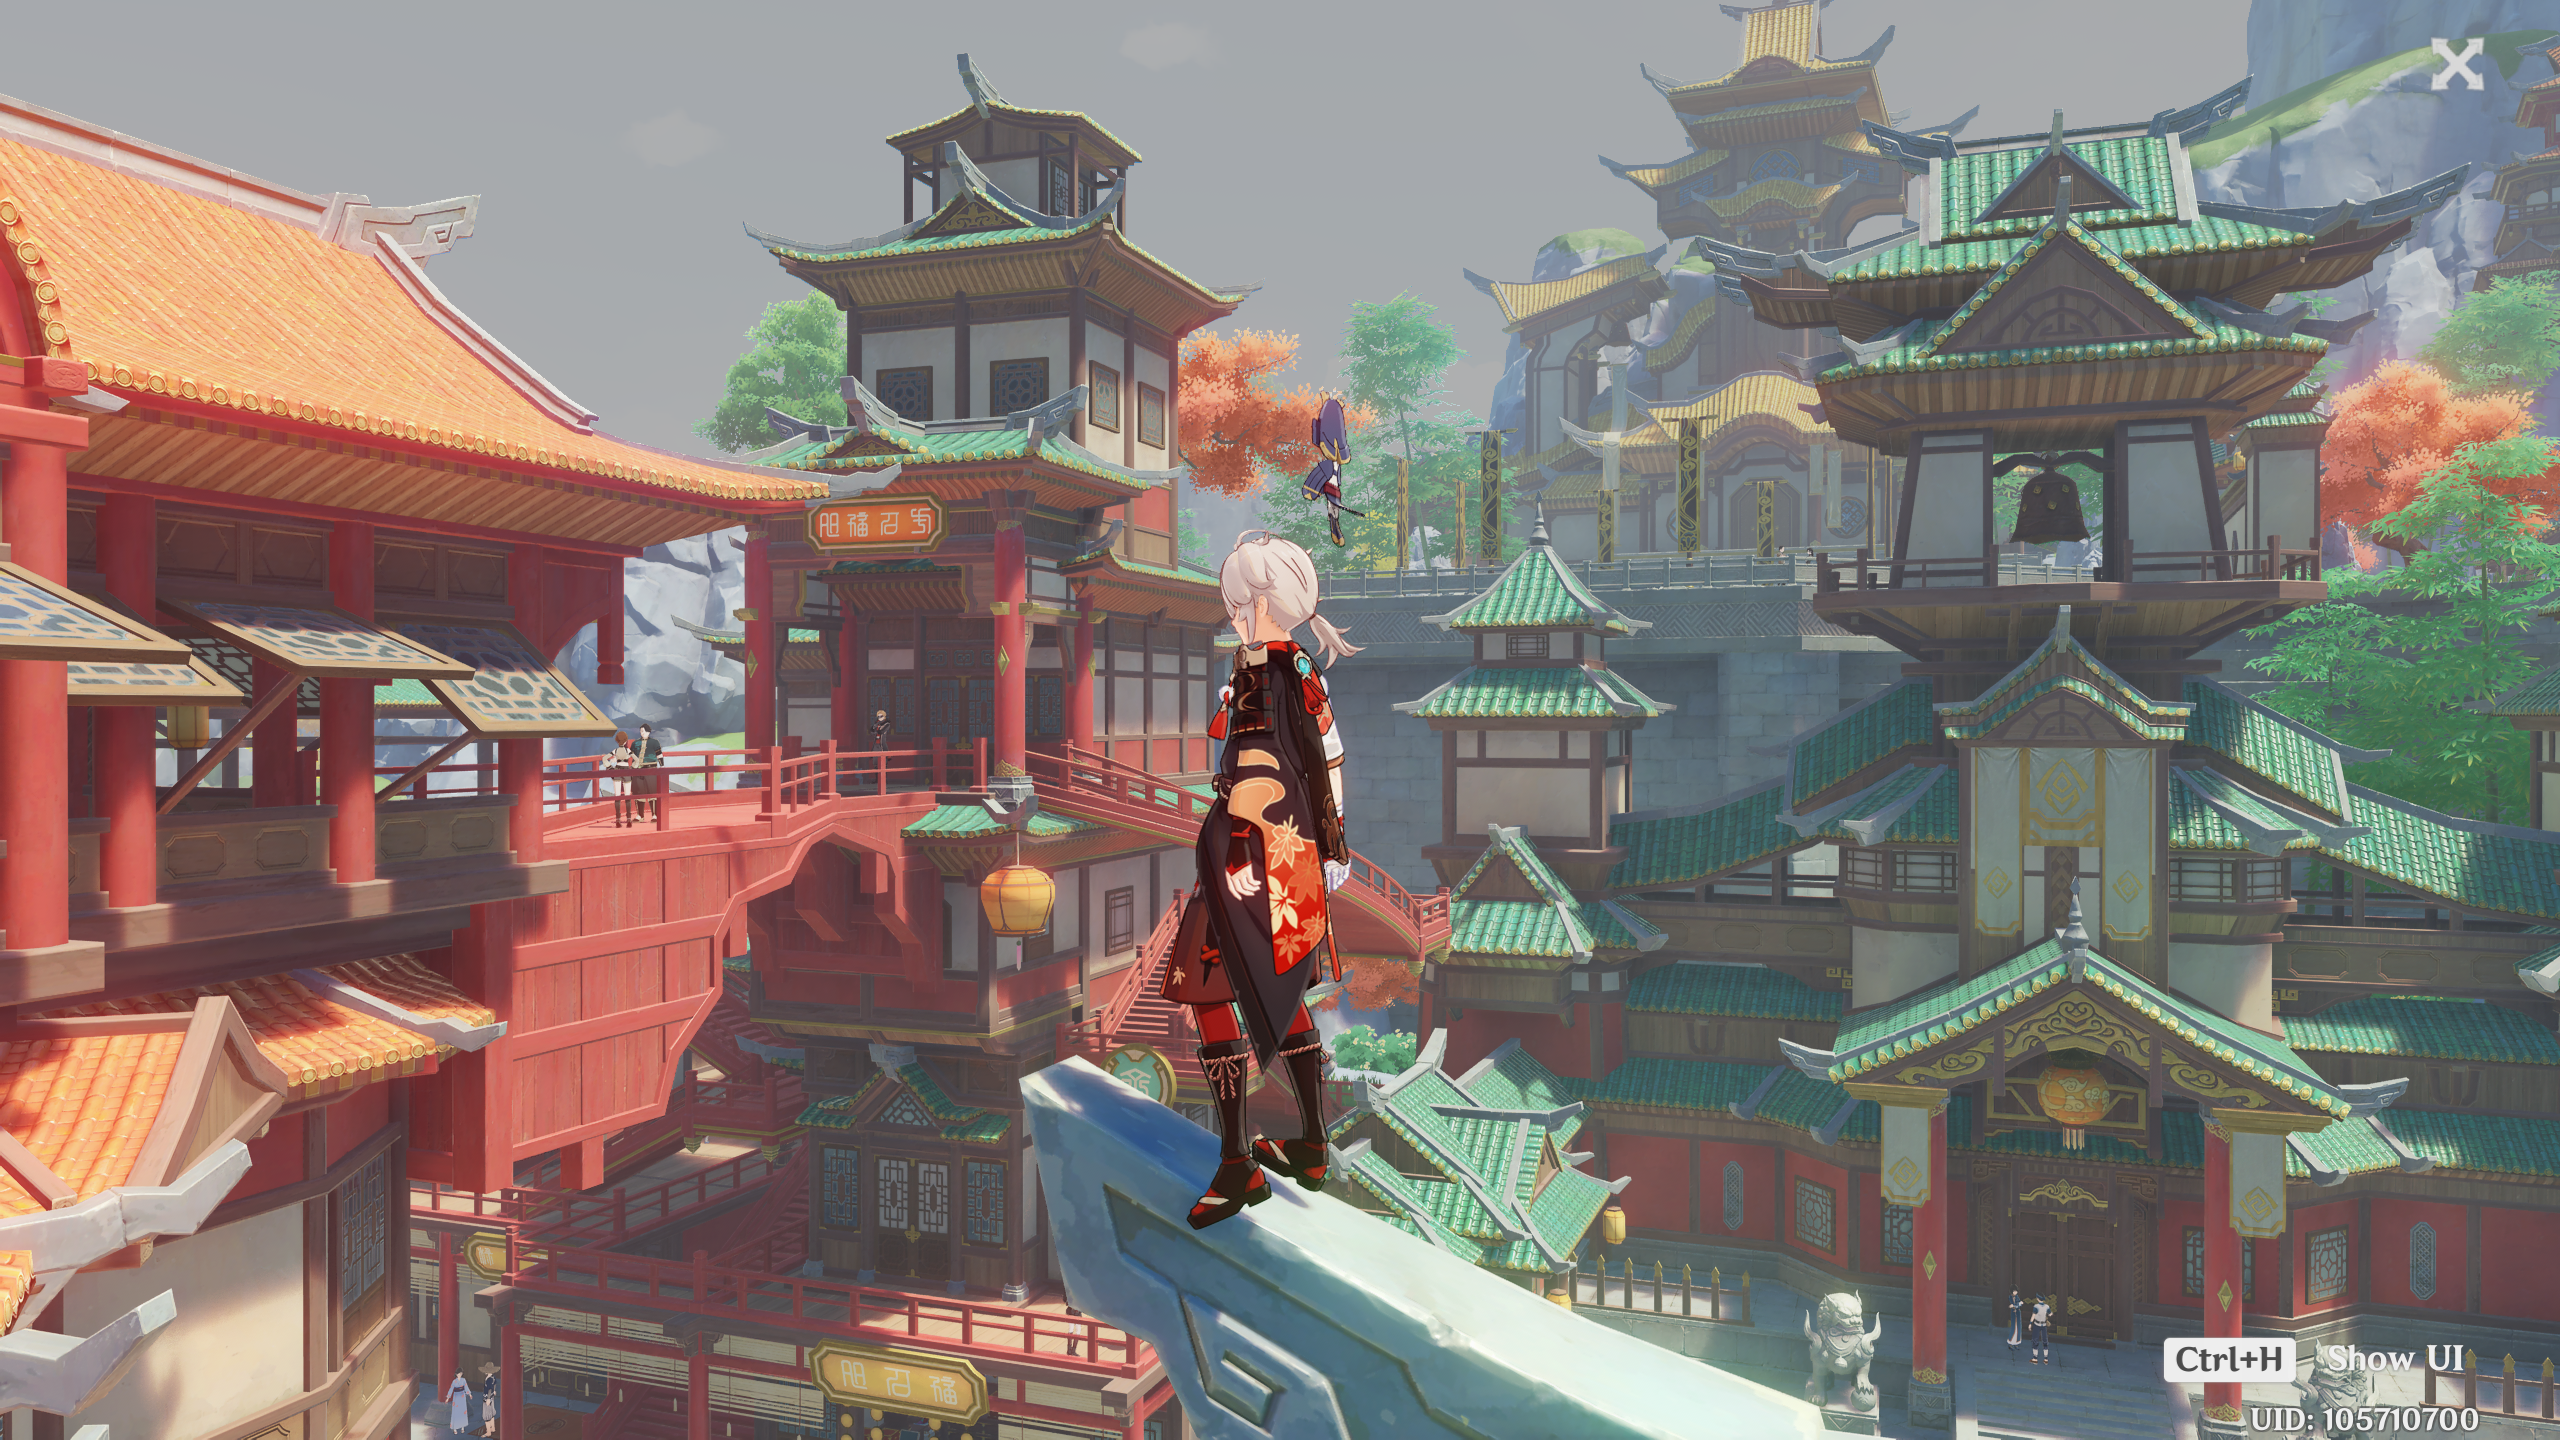 Default fog
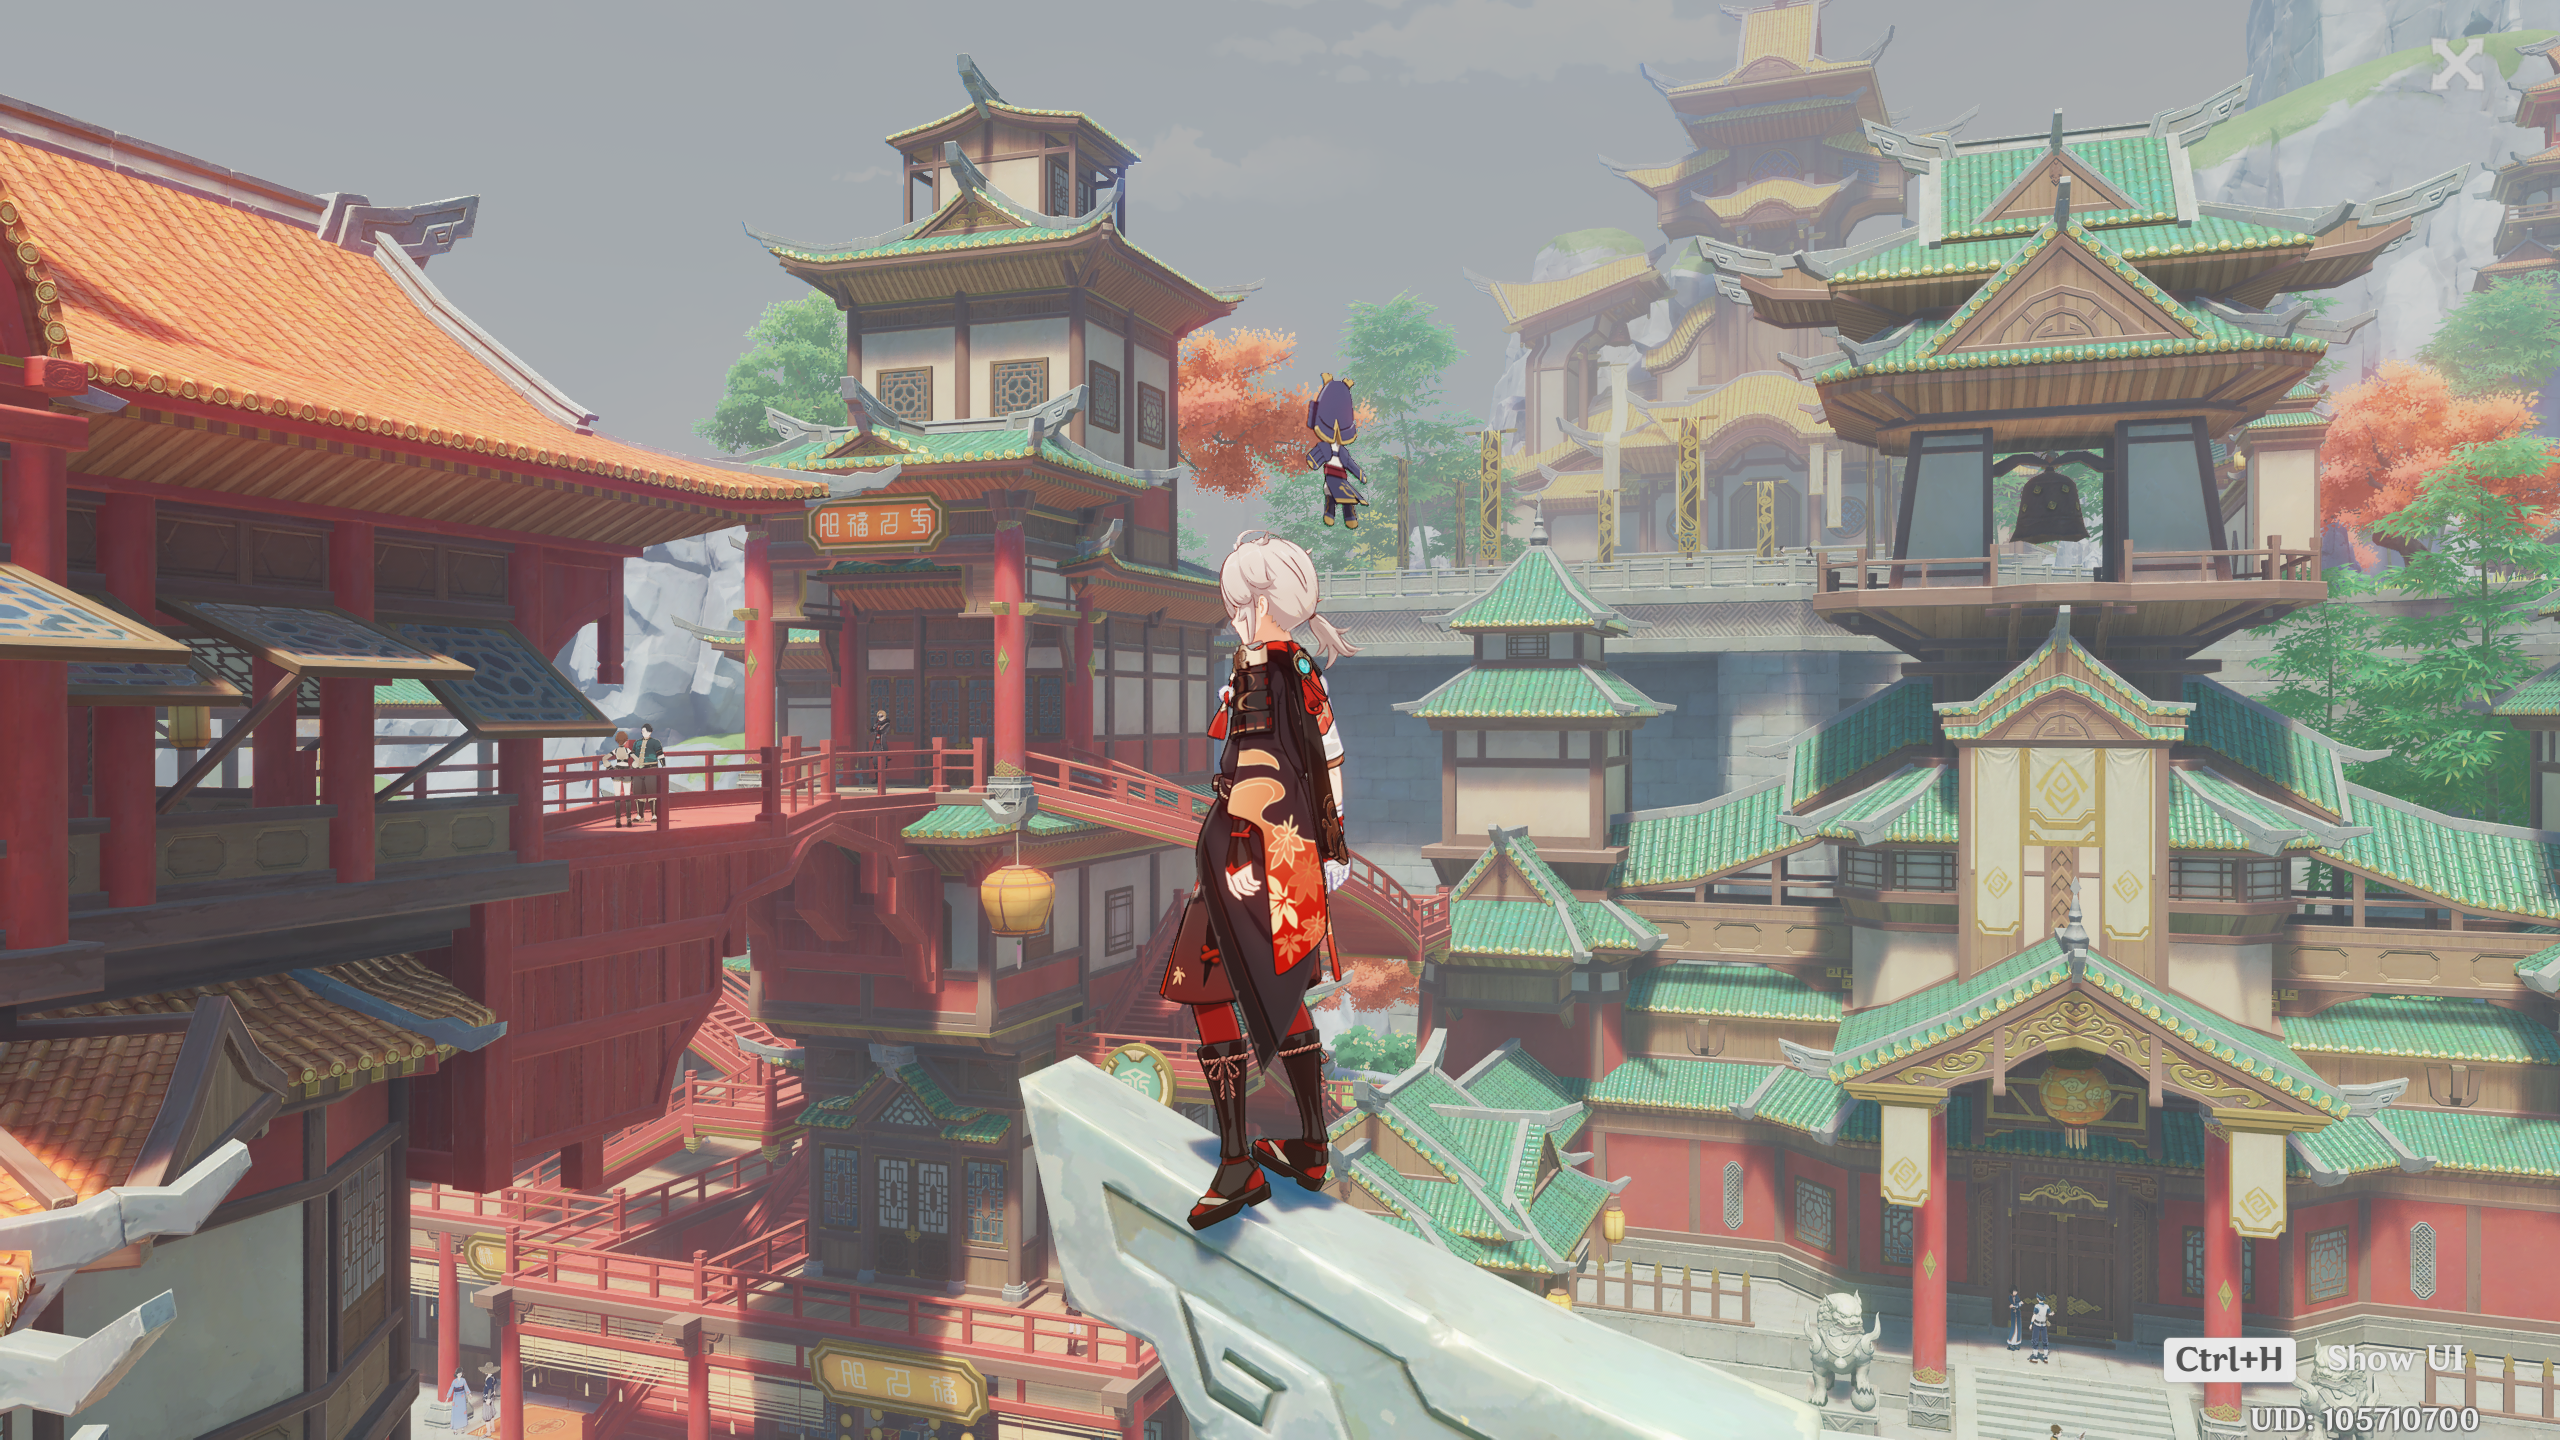 Adjusted Range
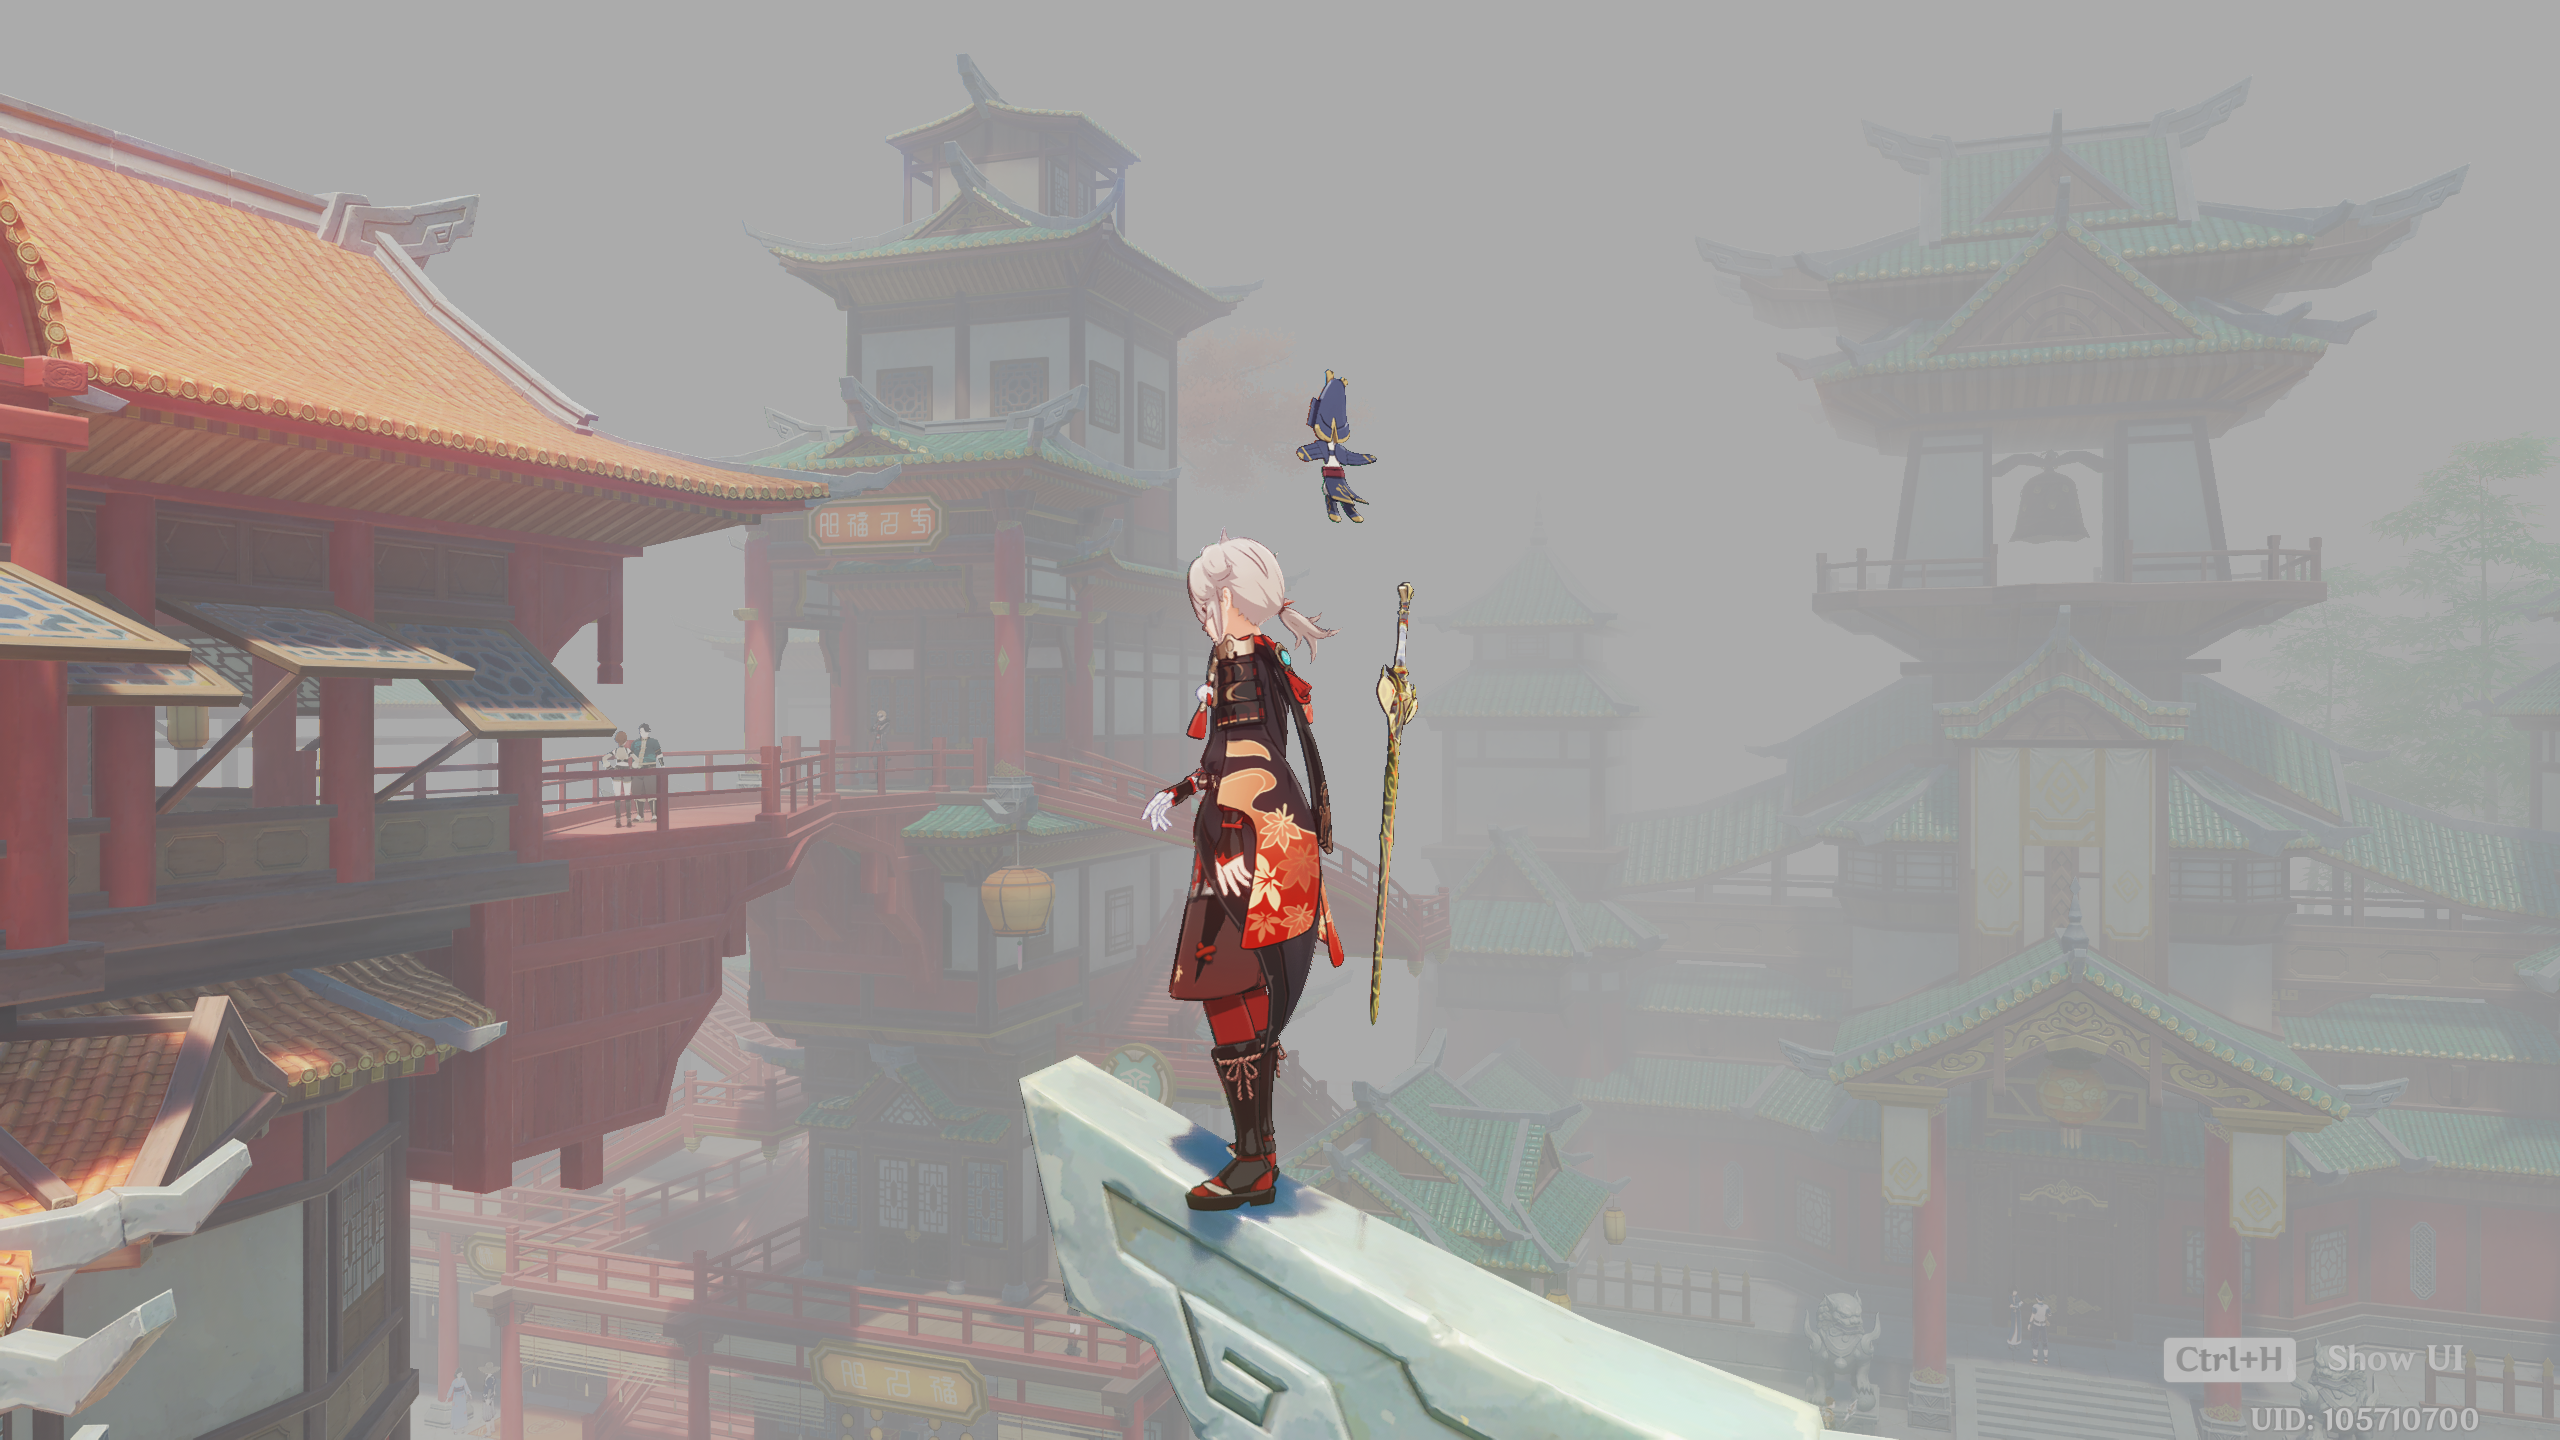 Adjusted Factor
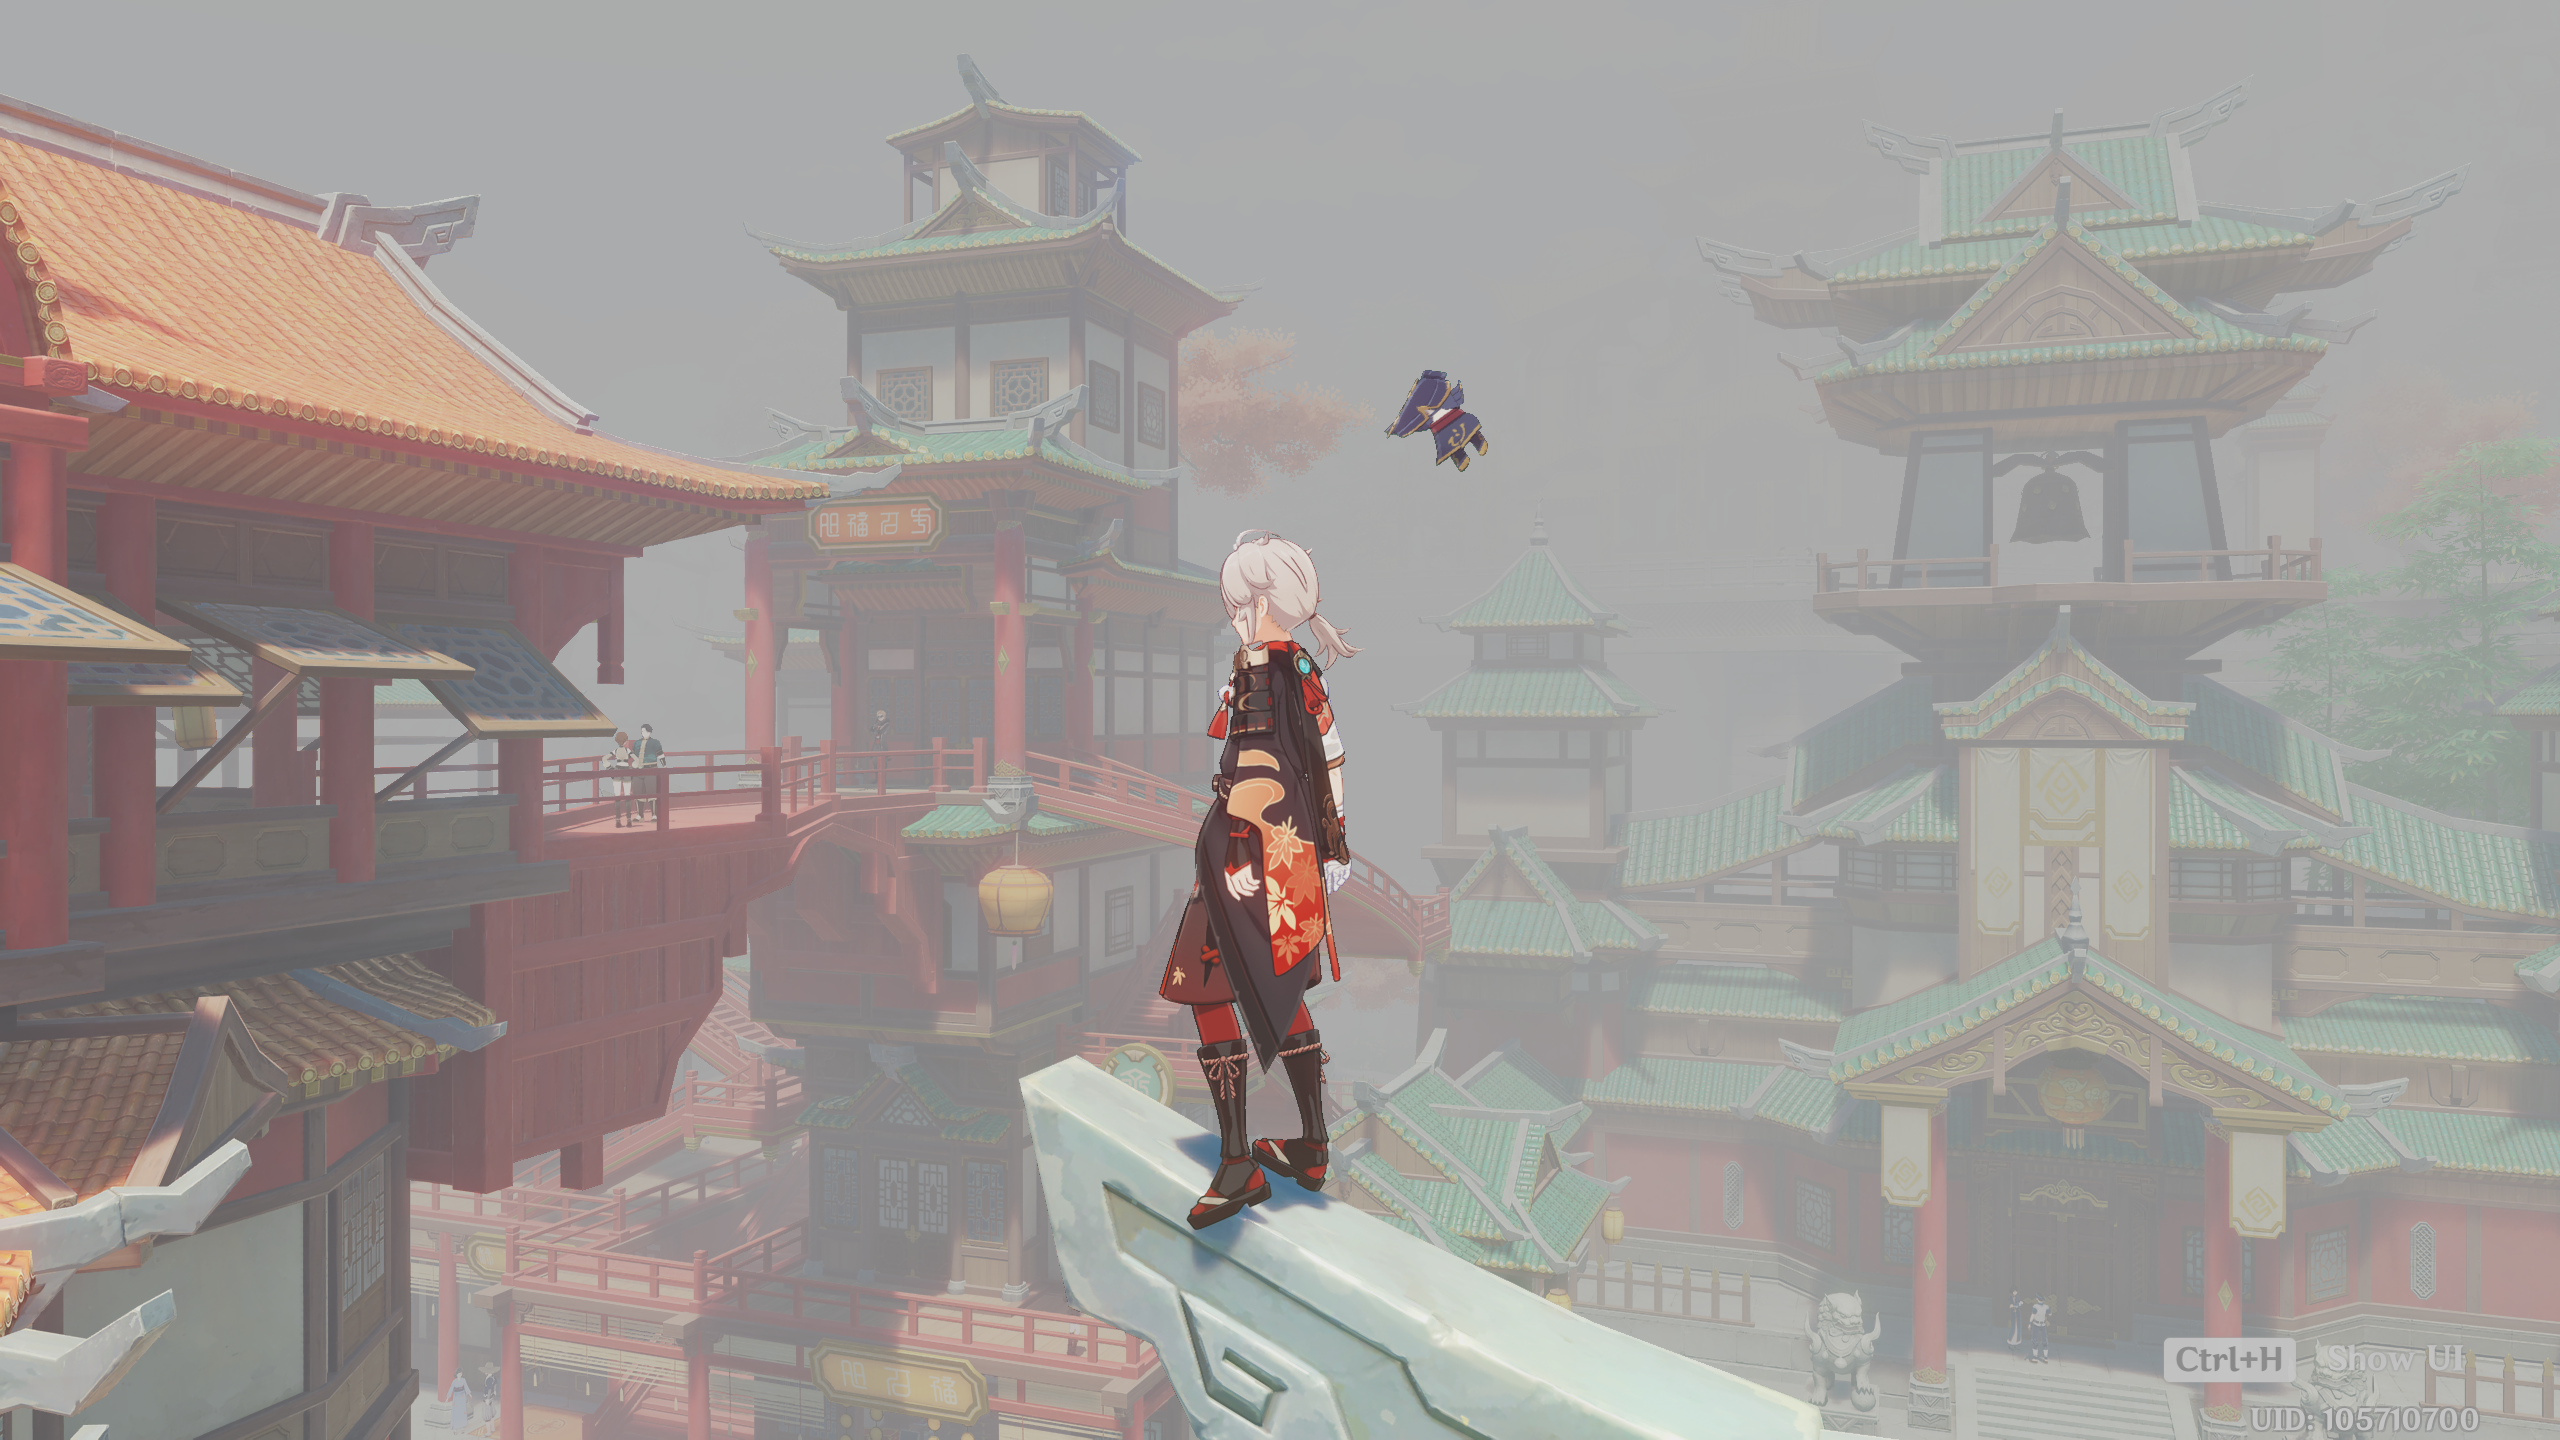 Adjusted Curve
Moreover, we set parameters that can be adjusted based on the actual environment to vary the range of the fog and the density effect of the fog factor, adapting it better.
Problems We Encountered
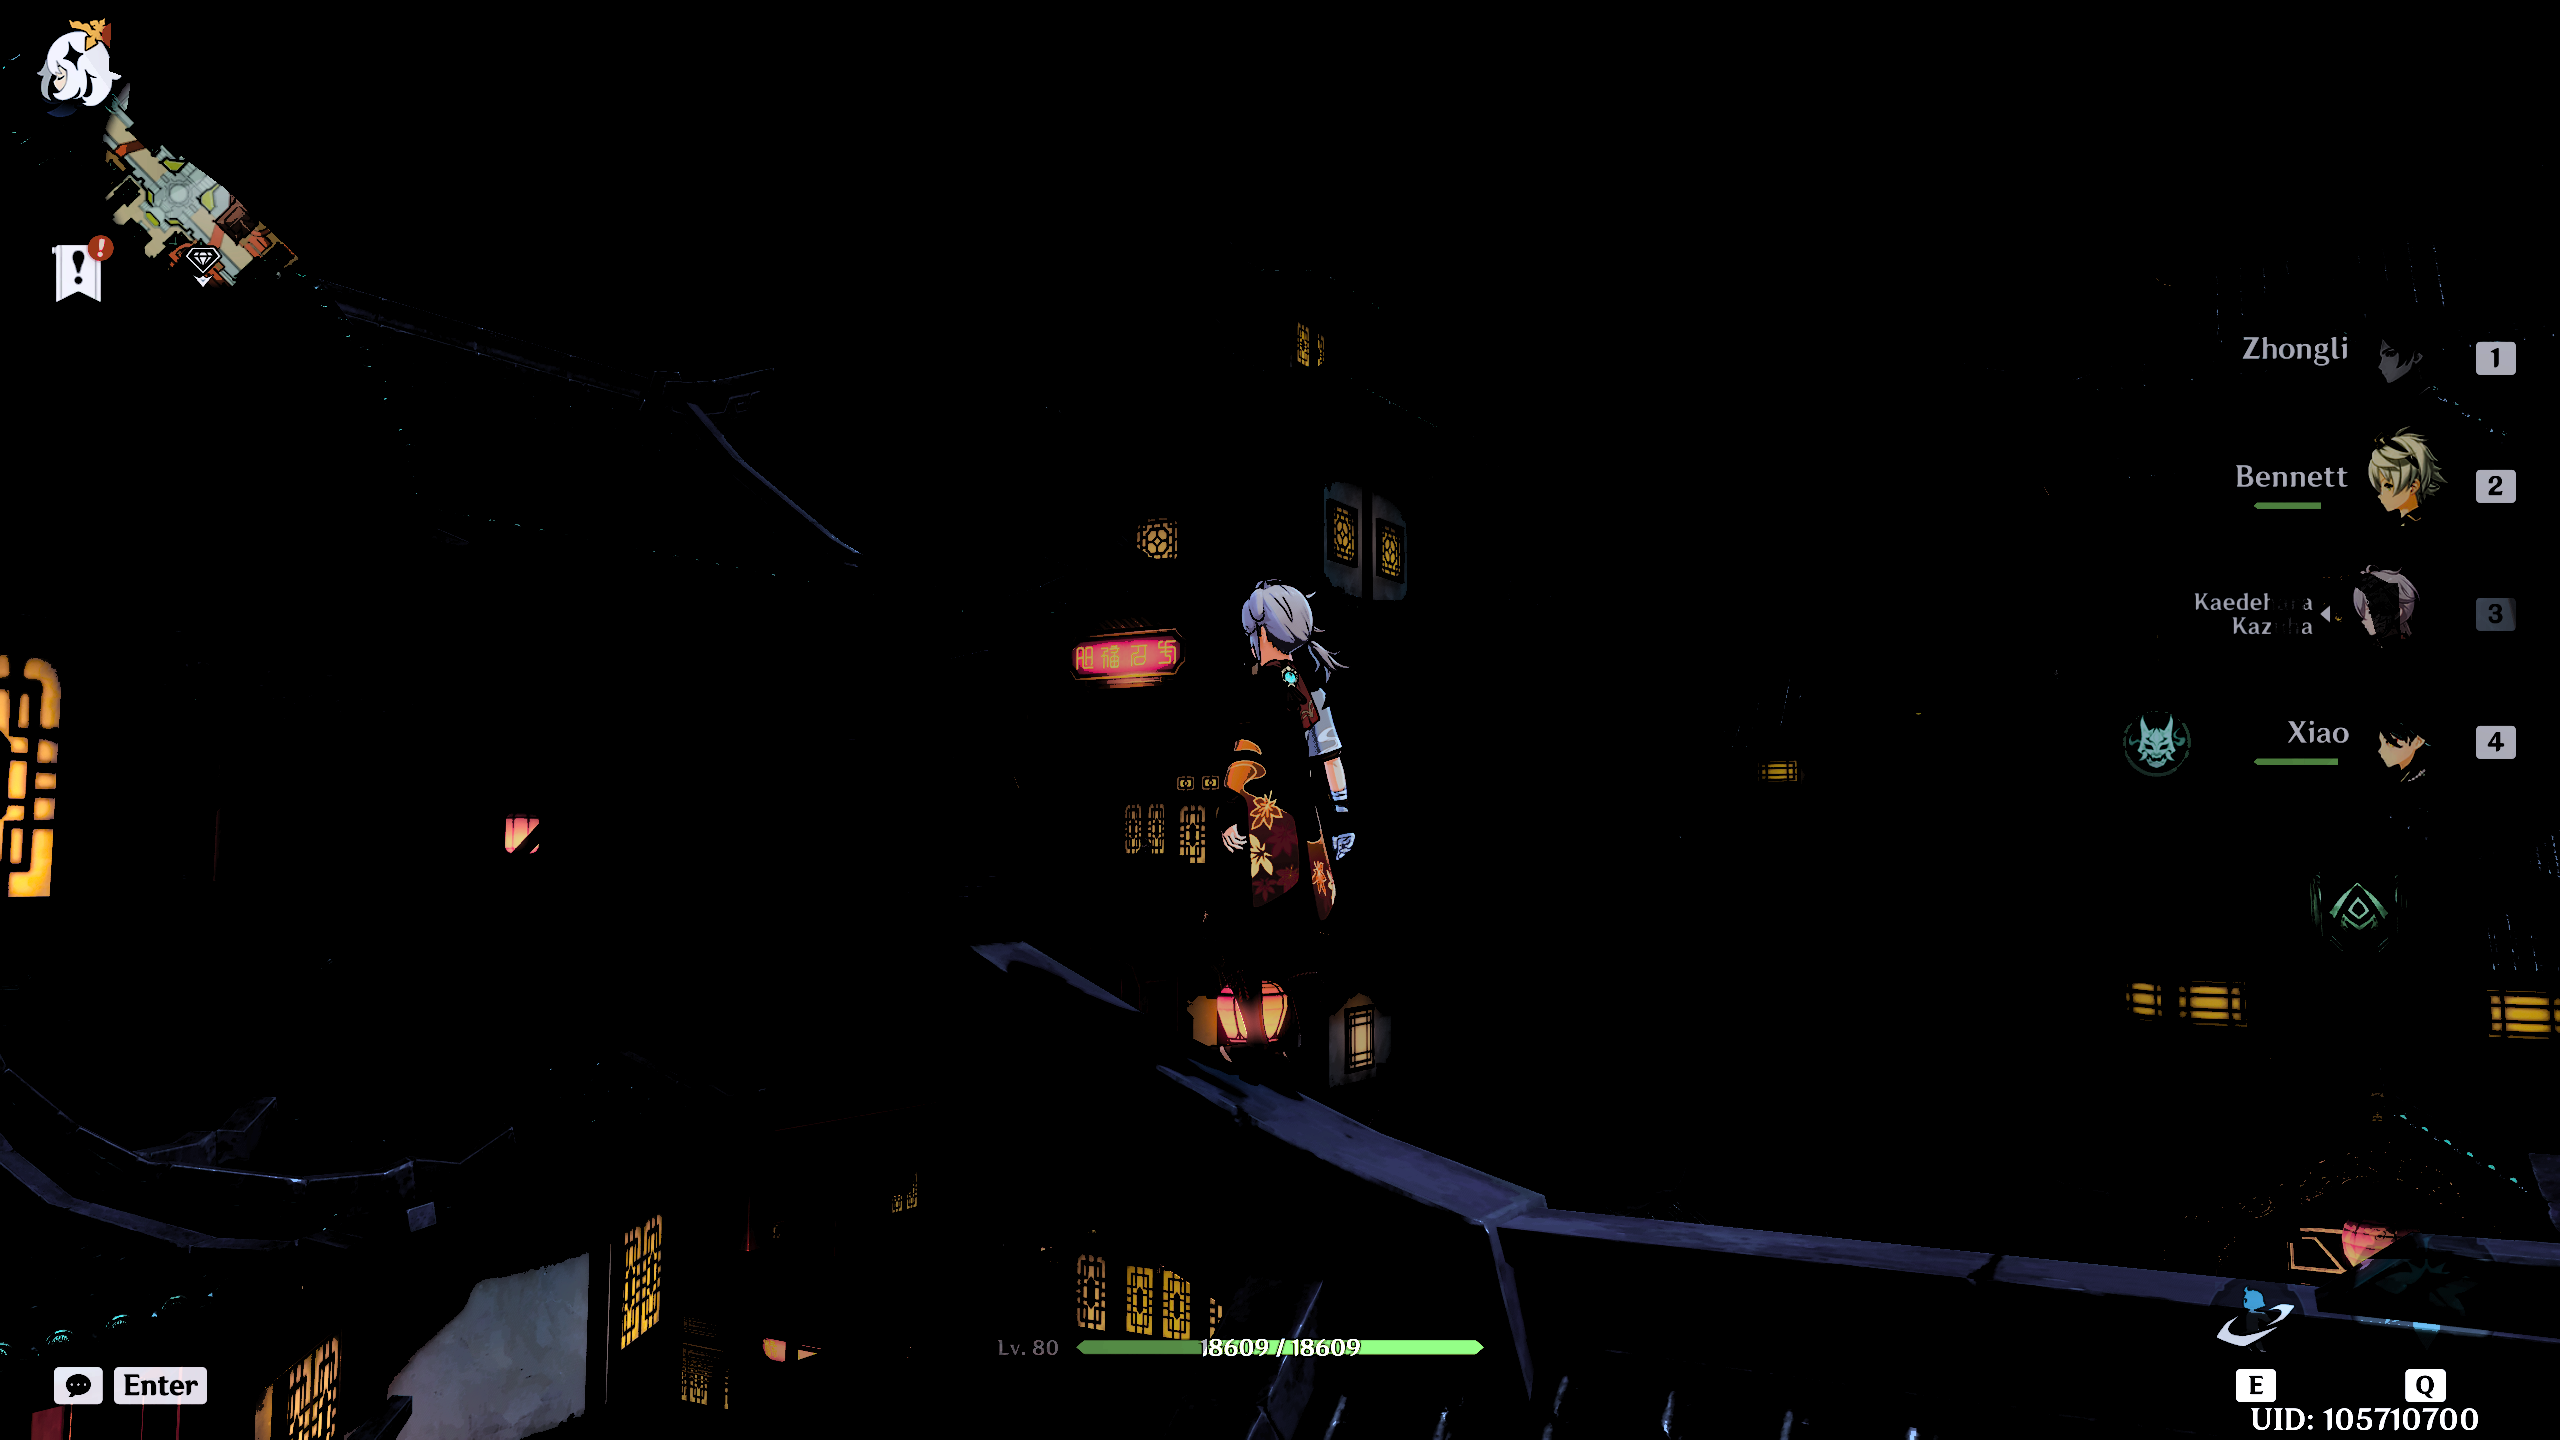
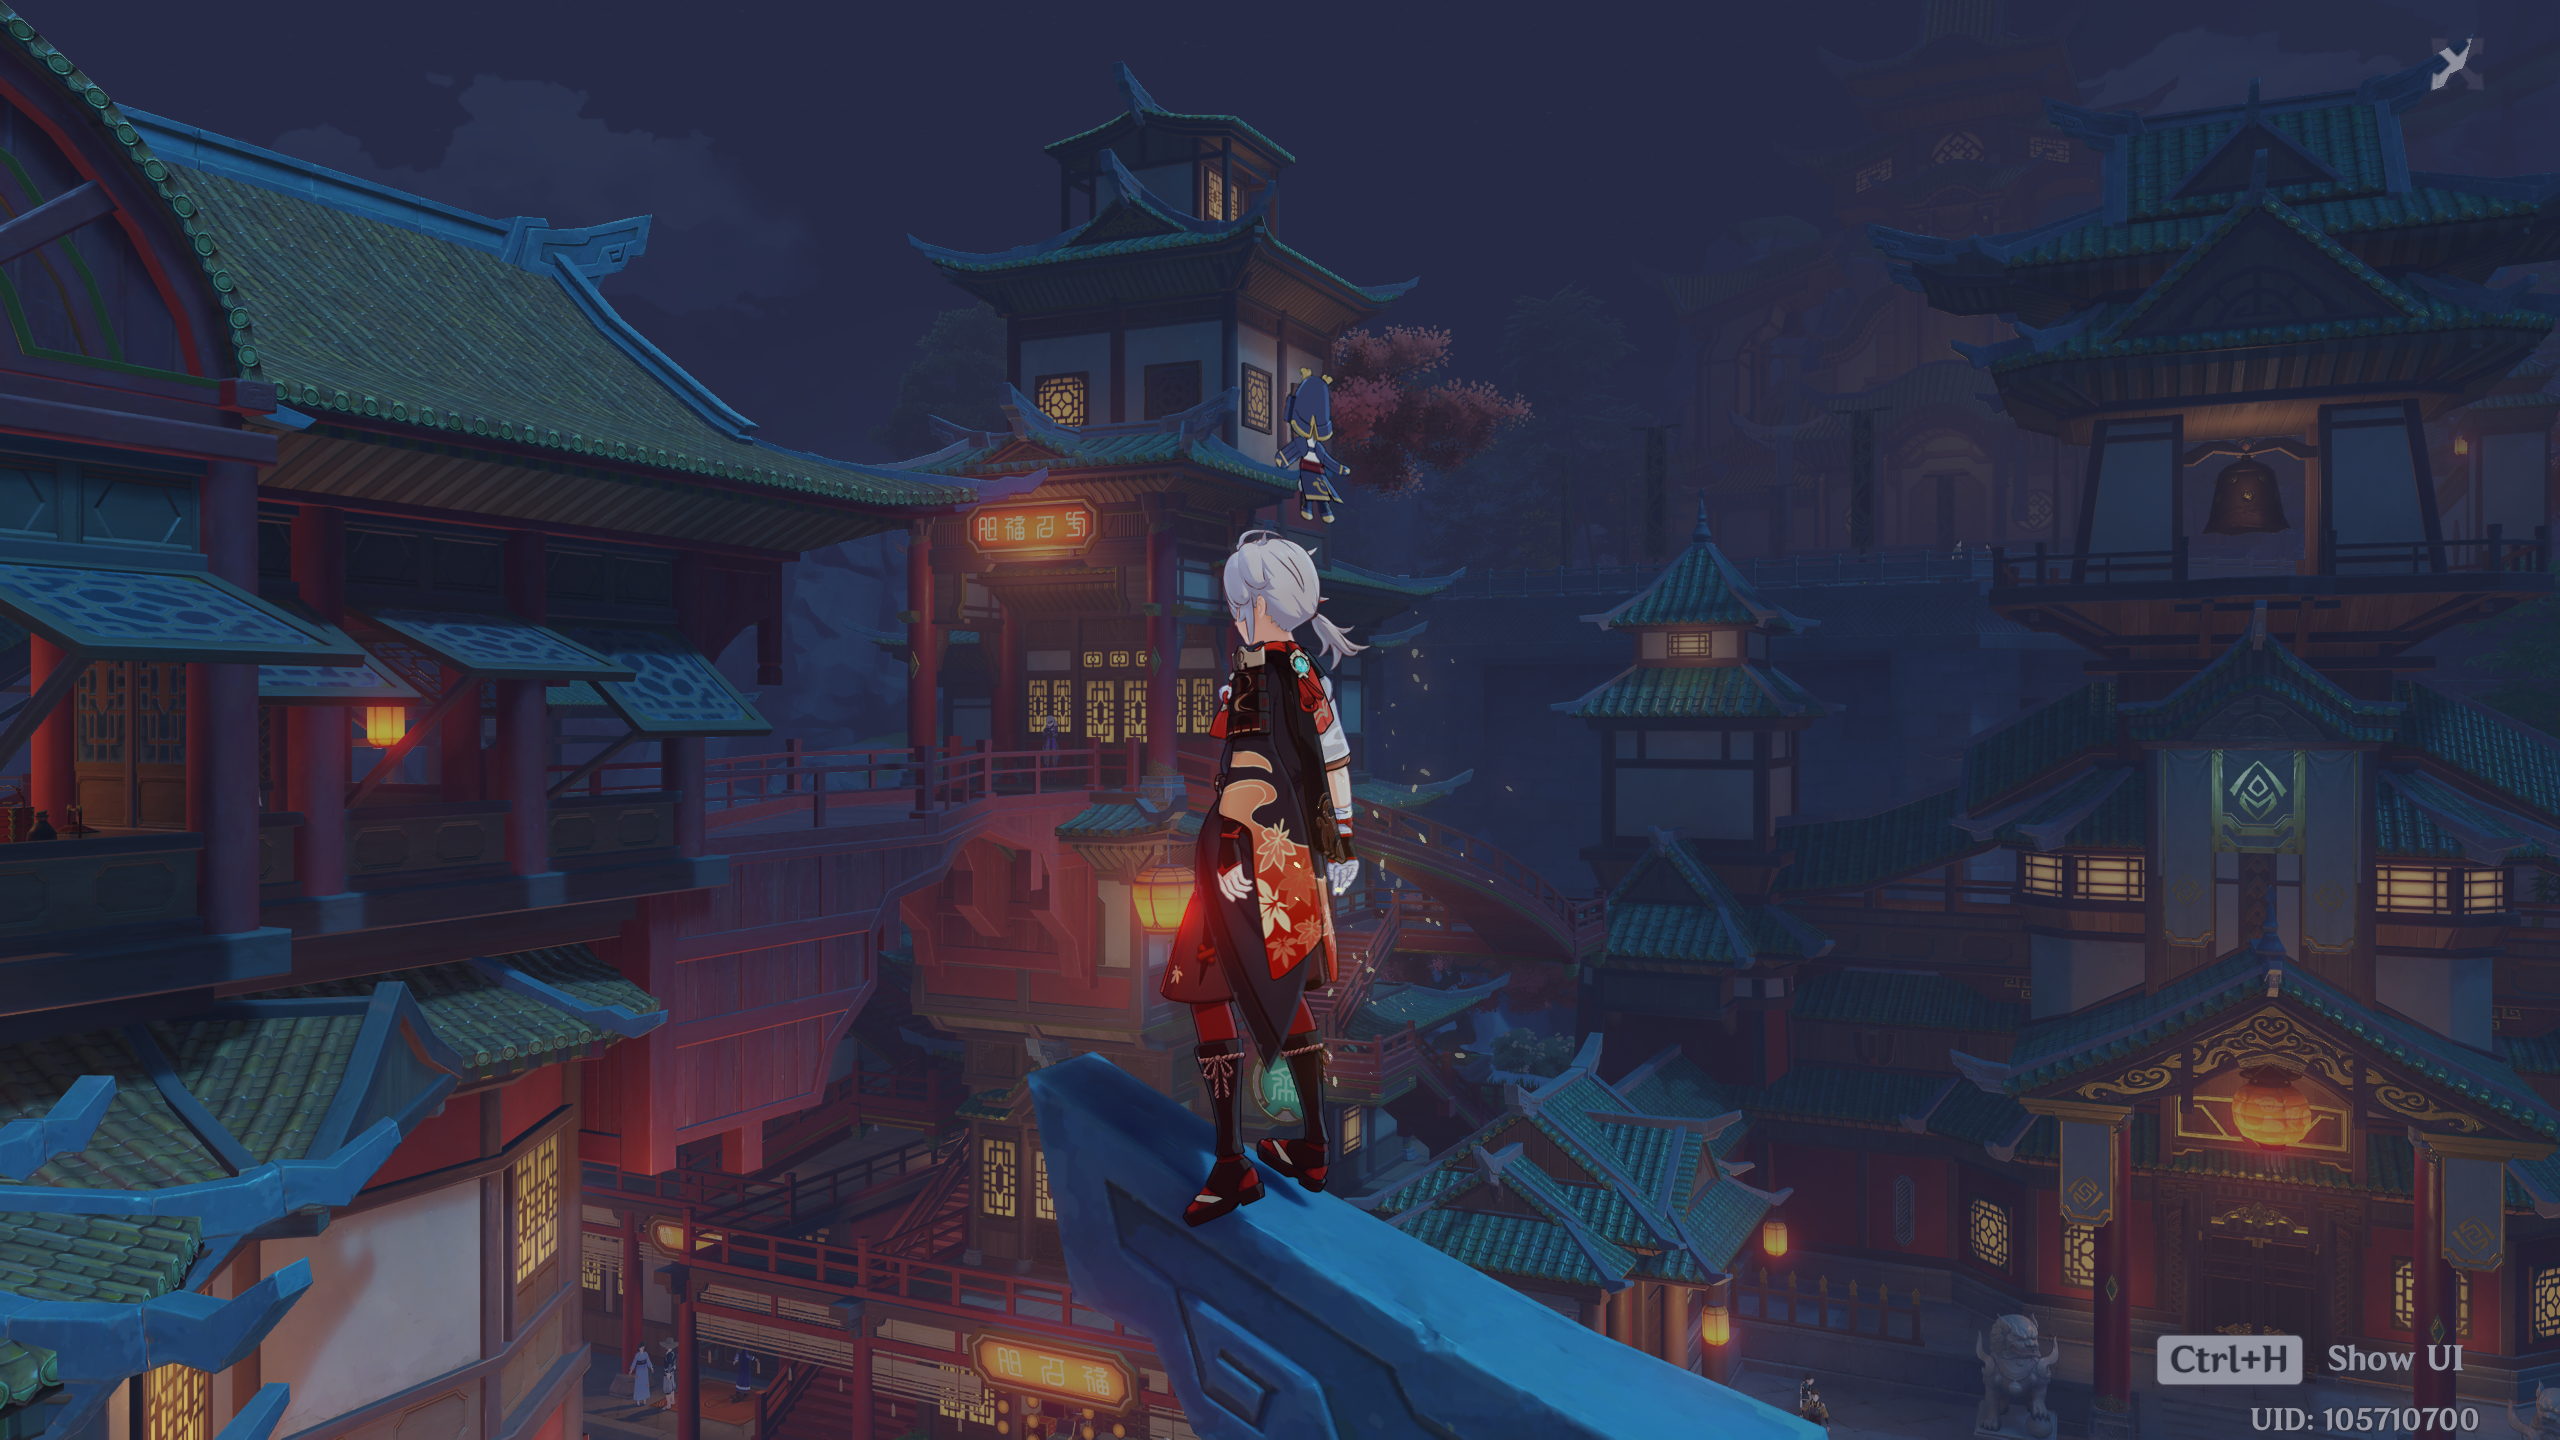
However, when switching to nighttime, the depth fog simulation did not perform well. Despite using the same factors as during the day, it did not resemble fog at all.
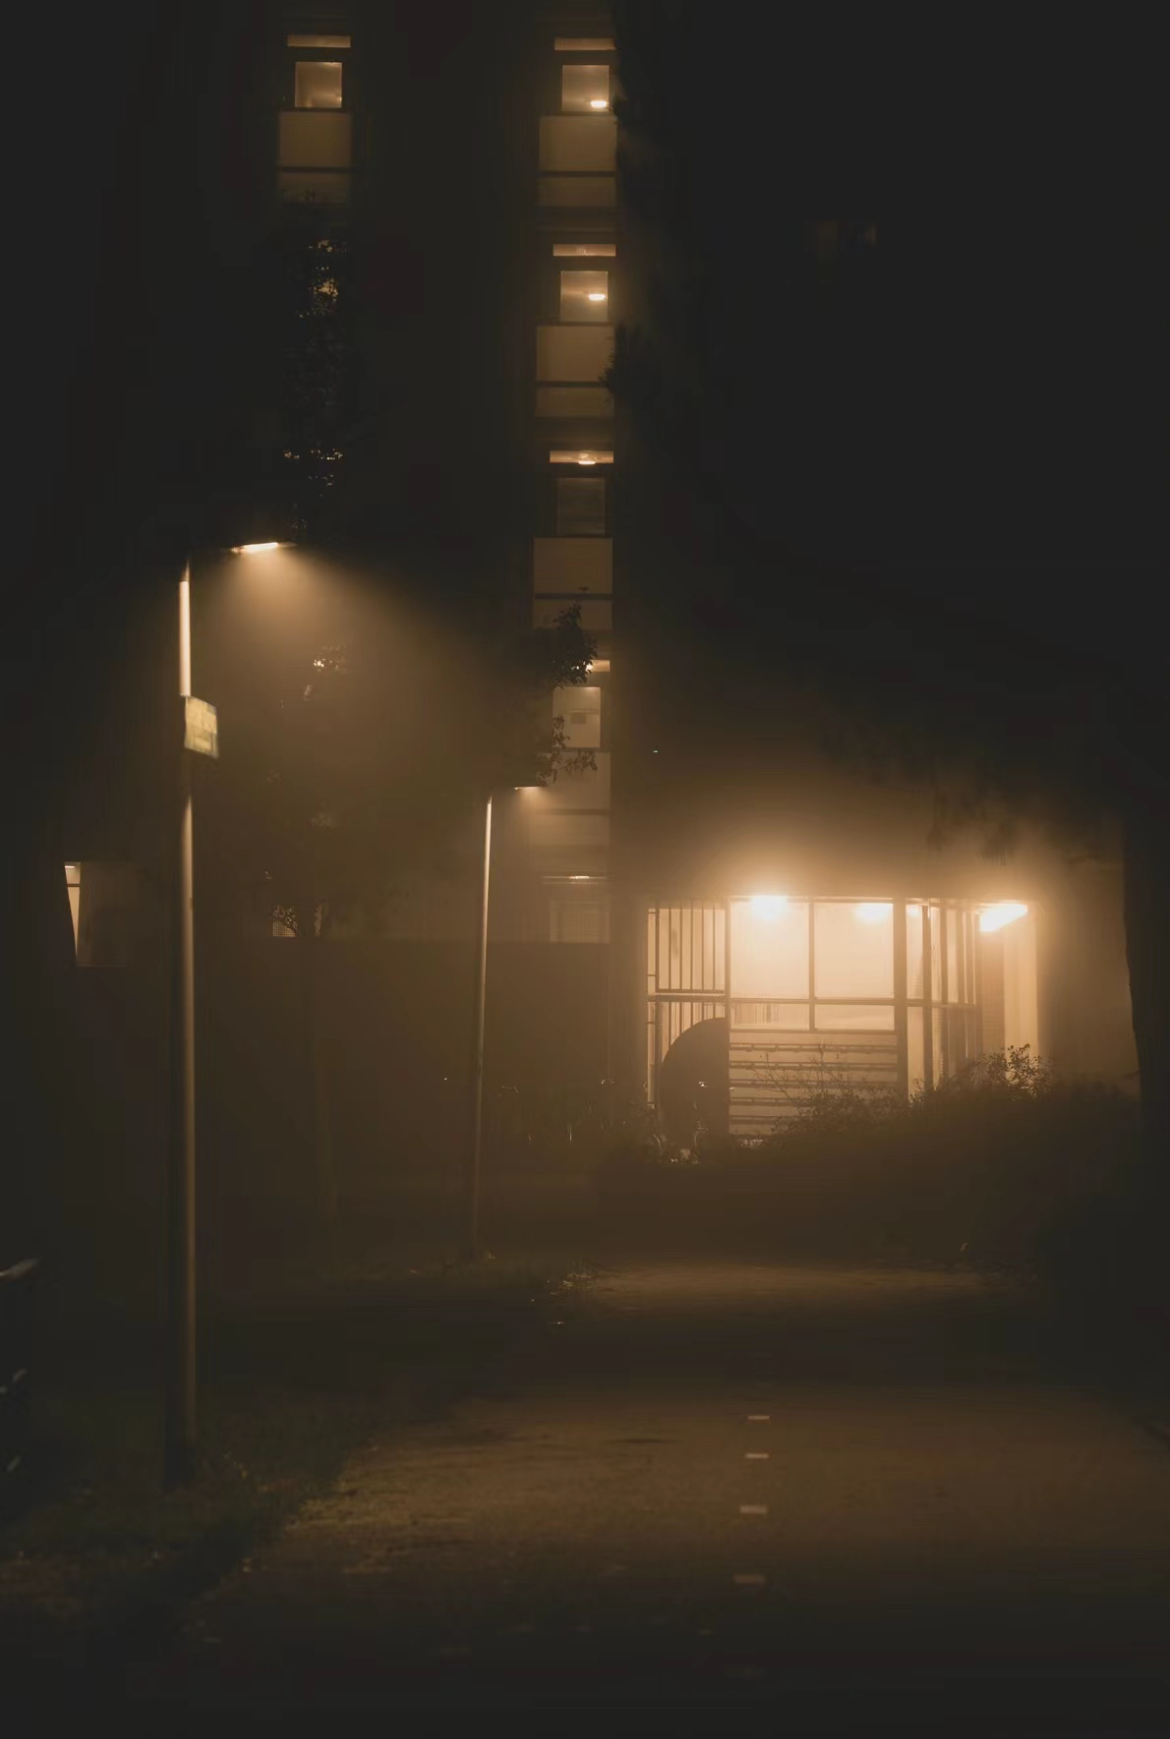
This is because in reality, during the day when there is sufficient light, observers perceive a “foggy day” through the contrast of distant and nearby objects brought by a sense of layering. At night, due to the lack of light, the layering of the scene is not prominent, and observers’ attention is more focused on positions in the scene with light sources, where fog particulates should illuminate around the light sources. Since depth fog does not handle light sources, it does not look like a foggy day.
Next, we implemented nighttime fog, requiring the capture and blurring of light sources.
Light Source Detection
As part of the rendering pipeline, shaders cannot directly access light sources in the scene. We keenly observed that at night, the brightest “object surfaces” are precisely where observers focus and judge the fog effect. Therefore, our code detects the “brightest parts” of the scene:
As part of the rendering pipeline, shaders cannot directly access light sources in the scene. We keenly observed that at night, the brightest “object surfaces” are precisely where observers focus and judge the fog effect. Therefore, our code detects the “brightest parts” of the scene:
\[L(x, y) = \begin{cases} 1 & \text{if } B(x, y) > T, \\ 0 & \text{otherwise} \end{cases}\]Where ( B(x, y) ) is obtained through the following brightness calculation:
\[B(x,y) = \text{dot}(\text{tex2D}(LightDetectSampler, \text{texcoord}).rgb, \text{float3}(0.299, 0.587, 0.114))\]$T$ is the light source threshold LightSourceThreshold. When $B(x, y)$ exceeds $T$, we consider that pixel as a light source. Obtain the current pixel’s color value (lowResColor) from a low-resolution texture (LightDetectSampler) and calculate its brightness using the weighted average formula of the Y channel in the YUV color image conversion.
The weights float3(0.299, 0.587, 0.114) correspond to the contributions of the R, G, and B color channels to human perception of brightness. The brightness is then compared with the set brightness threshold, and if it is a “brighter pixel,” it is packed into a container for deeper processing.
Similarly, the threshold and range for light source detection can be set, allowing it to adapt to light sources under different scene brightness levels, and to exclude interference from nearby or distant sources.
Light Fog Simulation
After obtaining bright pixels, as light areas in fog get darker with distance, brightness reduction based on pixel depth is applied, followed by halo effects on surrounding pixels.
Our approach is to apply a filter that creates a blur around the light source. There are several blurring filters to be used. Our final implementation is the 2nd order Bessel Filter which can provide a good effect to diffuse the light around the light source while preserve the clarity around the dark area.
\[H(s) = \frac{3}{s^2 + 3s + 3}\]We first use the same algorithm to select pixels of the light source. Then, instead of using a 2d filter, to increase performance, the implementation used 2 1d filters in vertical and horizontal directions.
 Selected Pixels
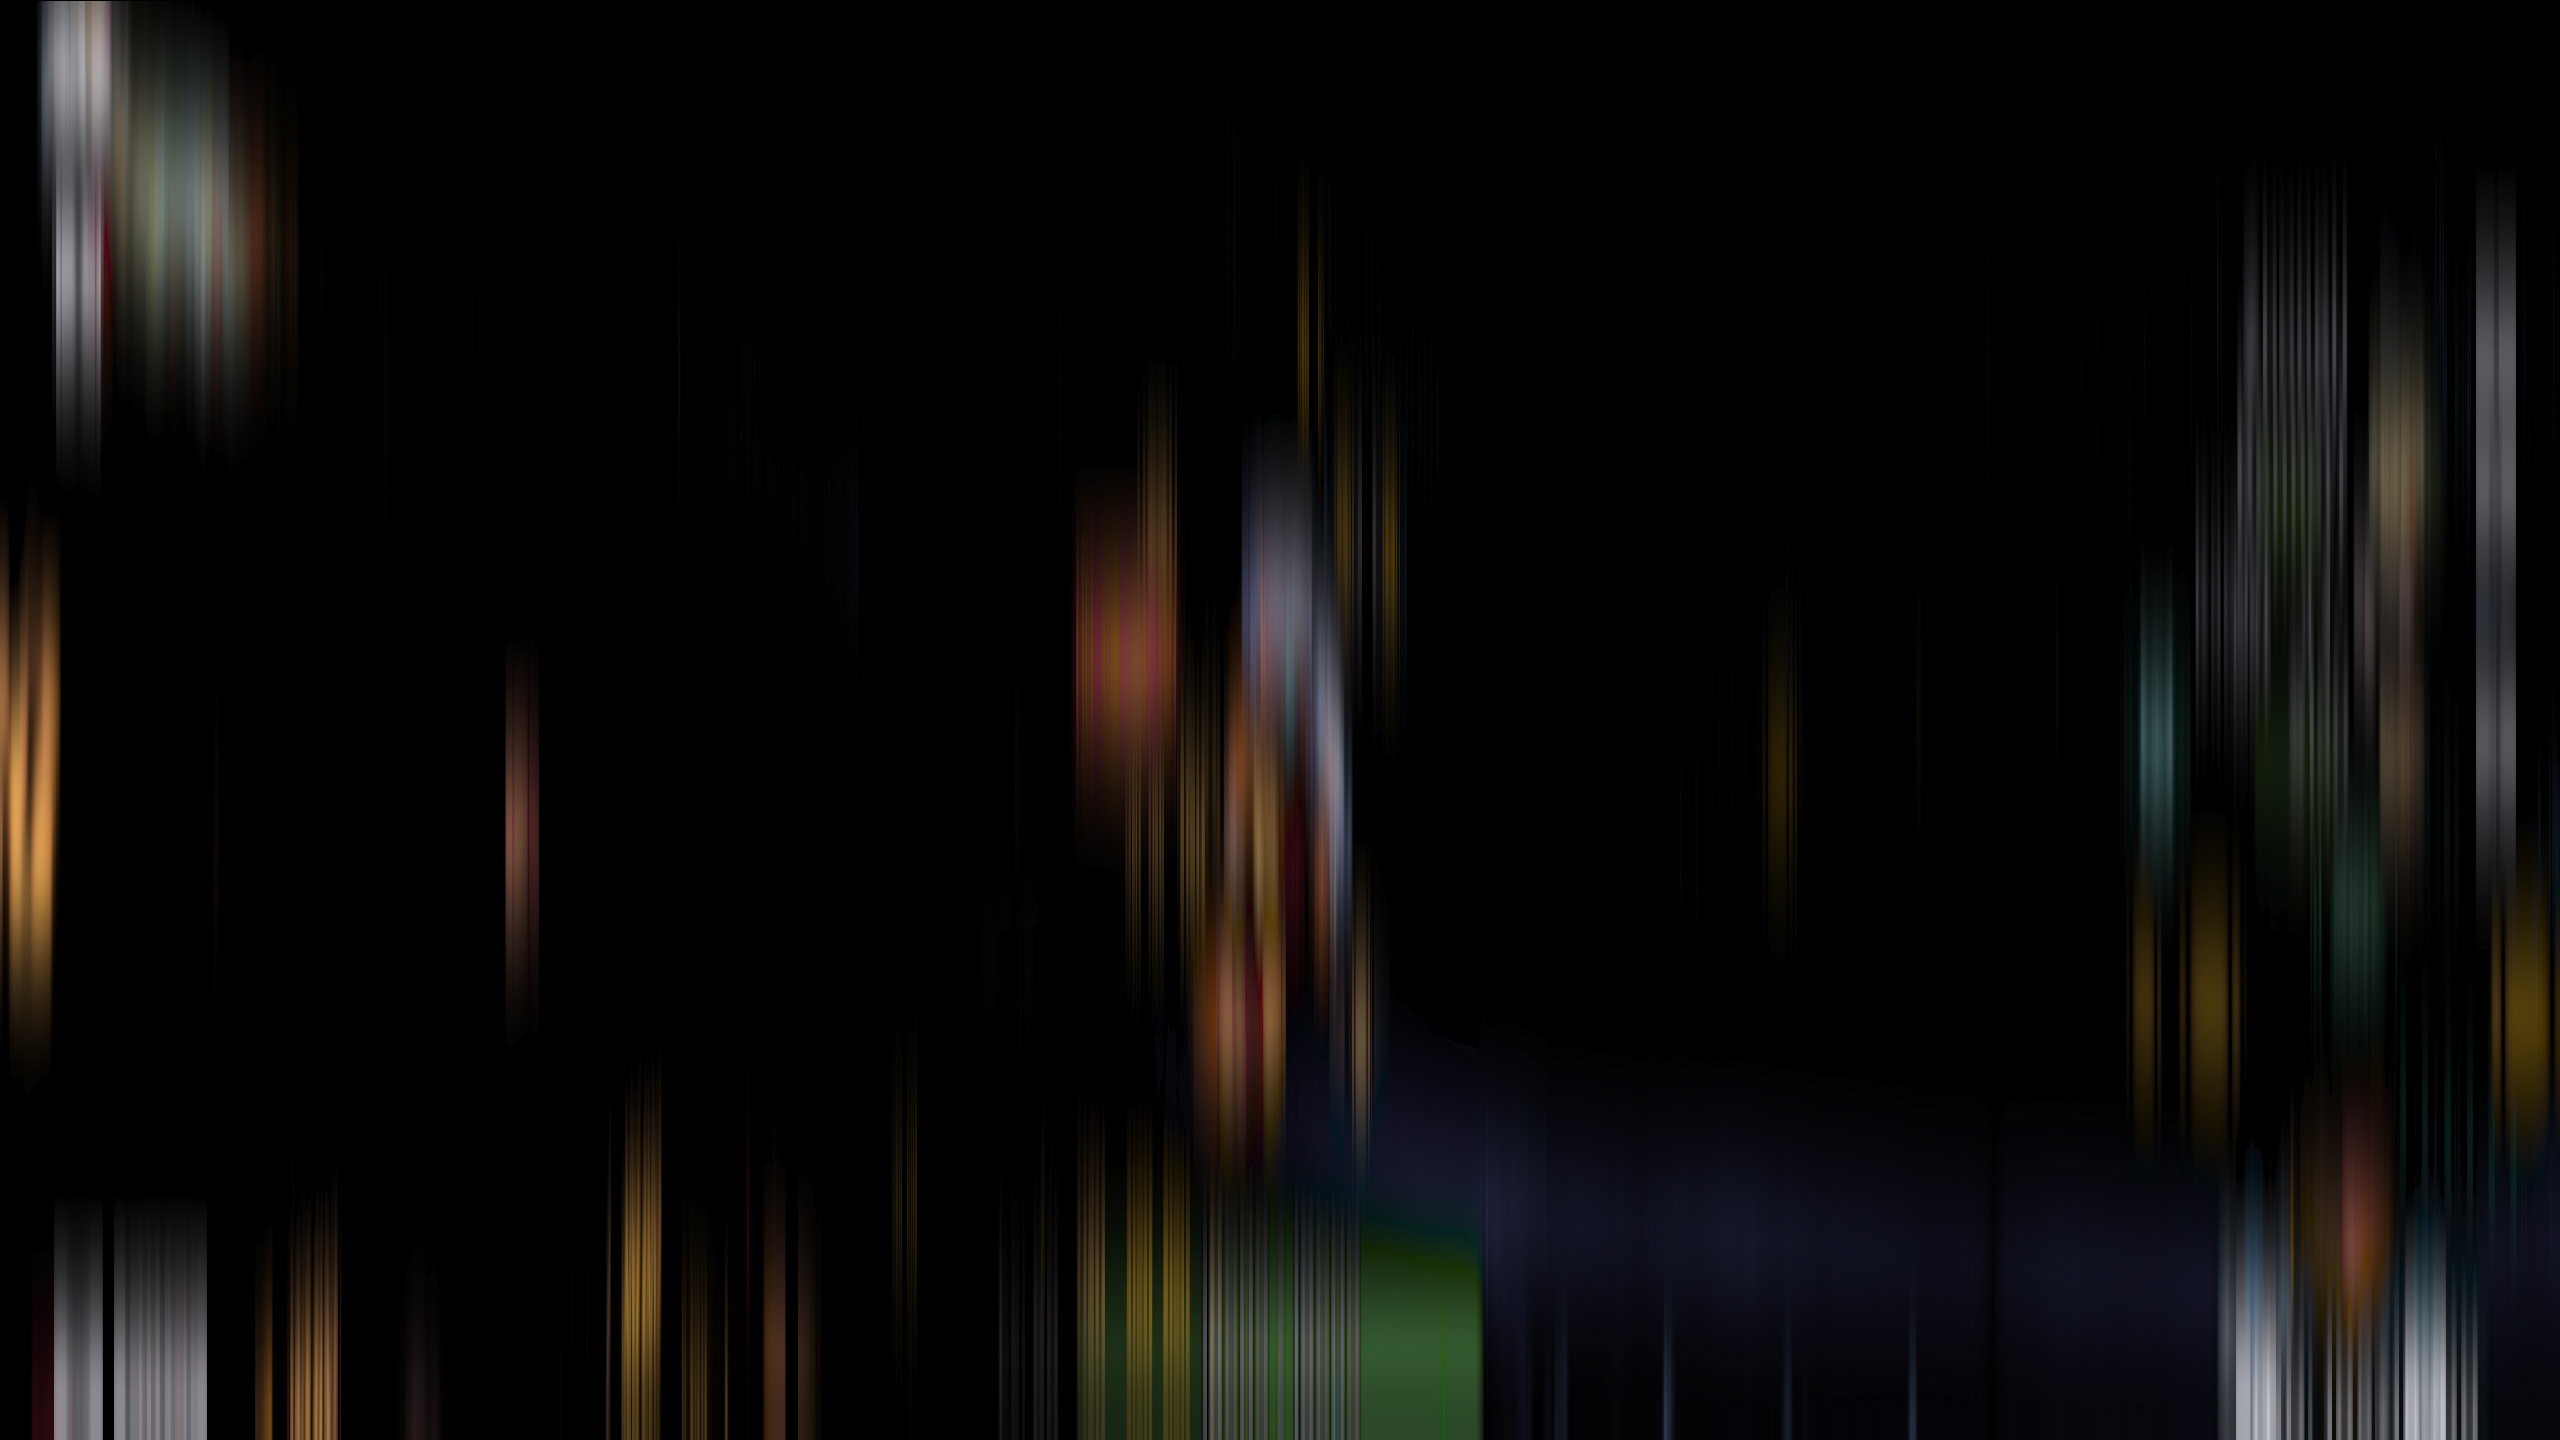 Vertical Blur
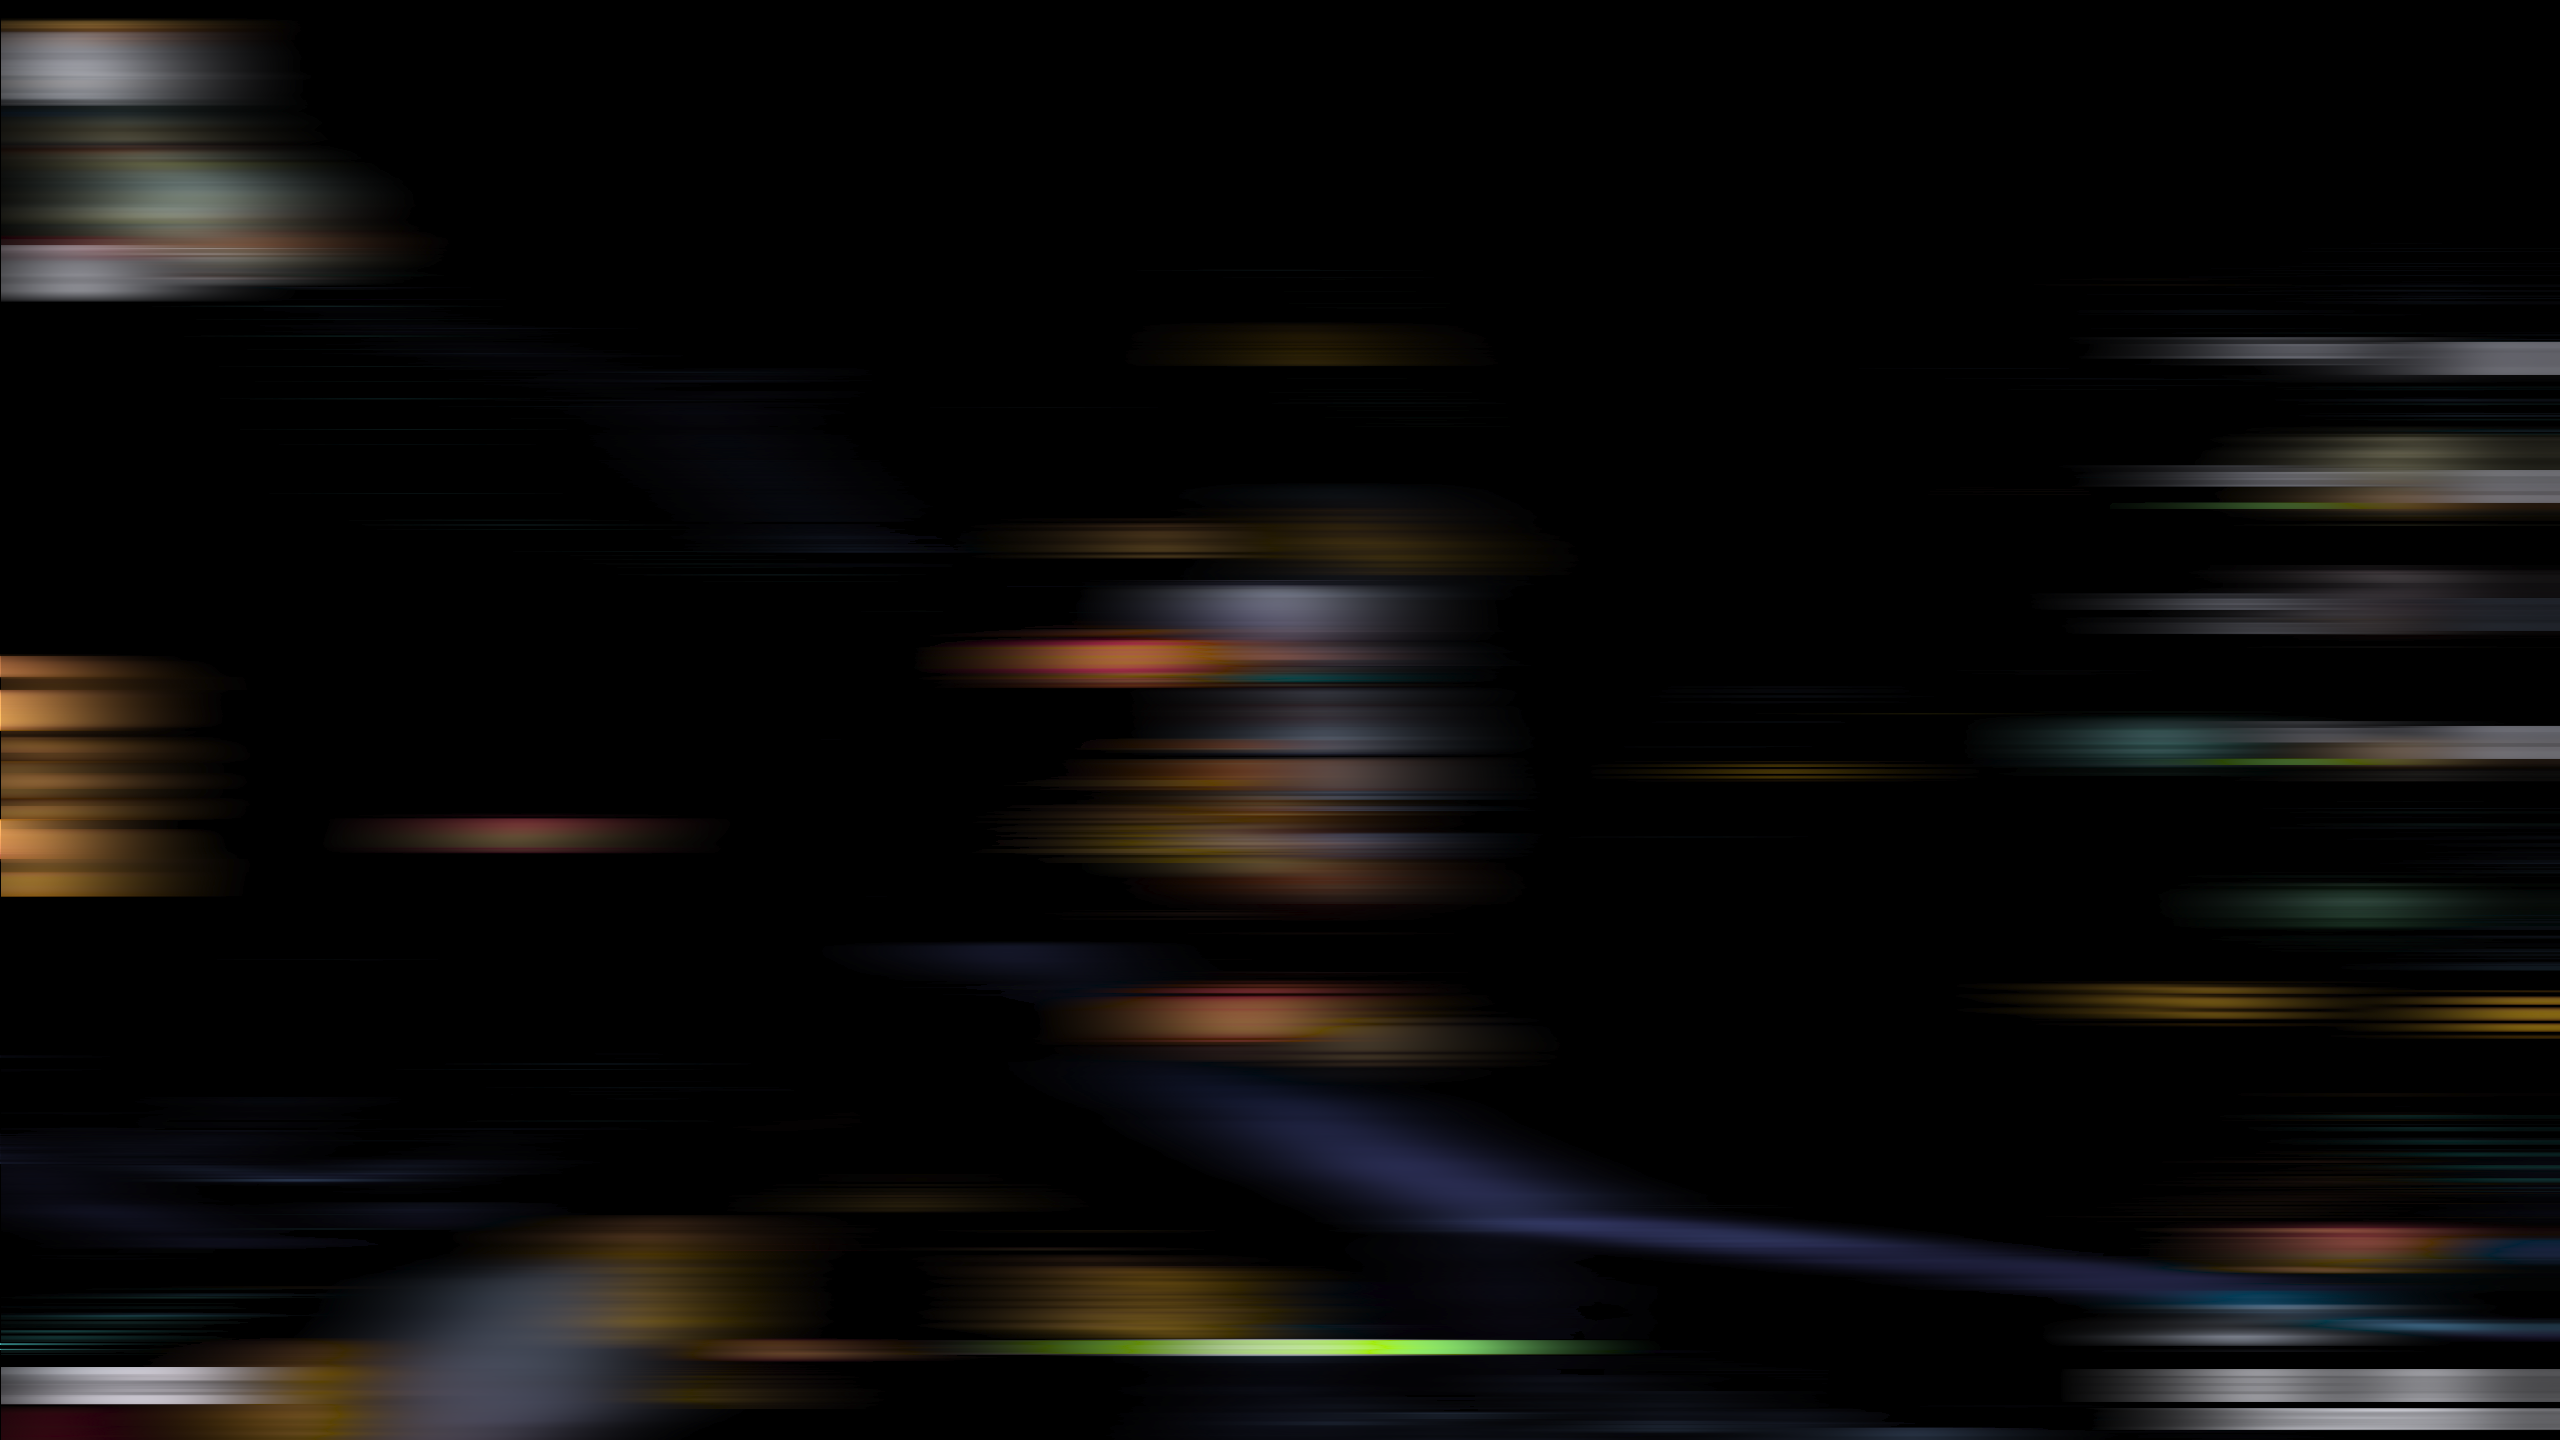 Horizontal Blur
 Bessel Filter
Several Parameters has been added to the Bessel Filter to customize the glowing effect. Similar to the depth based fog effect, there are also intensity to control how strong the effect is. The shader can also control the radius of the bloom, the situation, the density curve. The most important is that there is a threshold to control which part of the scene is applied by the filter.
Final Rendering Pipeline 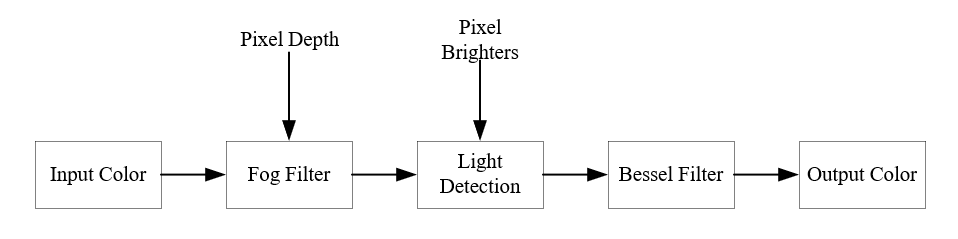
Problems We Encountered
The first problem I encountered is how to choose a filter. There are several filters could be used. The first kind of filter that came to my mind is Gaussian Filter. The initial implementation is to downsample and then upsample several layers. However, this implementation will blur up the whole scene and I cannot have specific control to the filter. There are also other filters. But I used Bessel filter because it has a gradual rolloff for blurring.
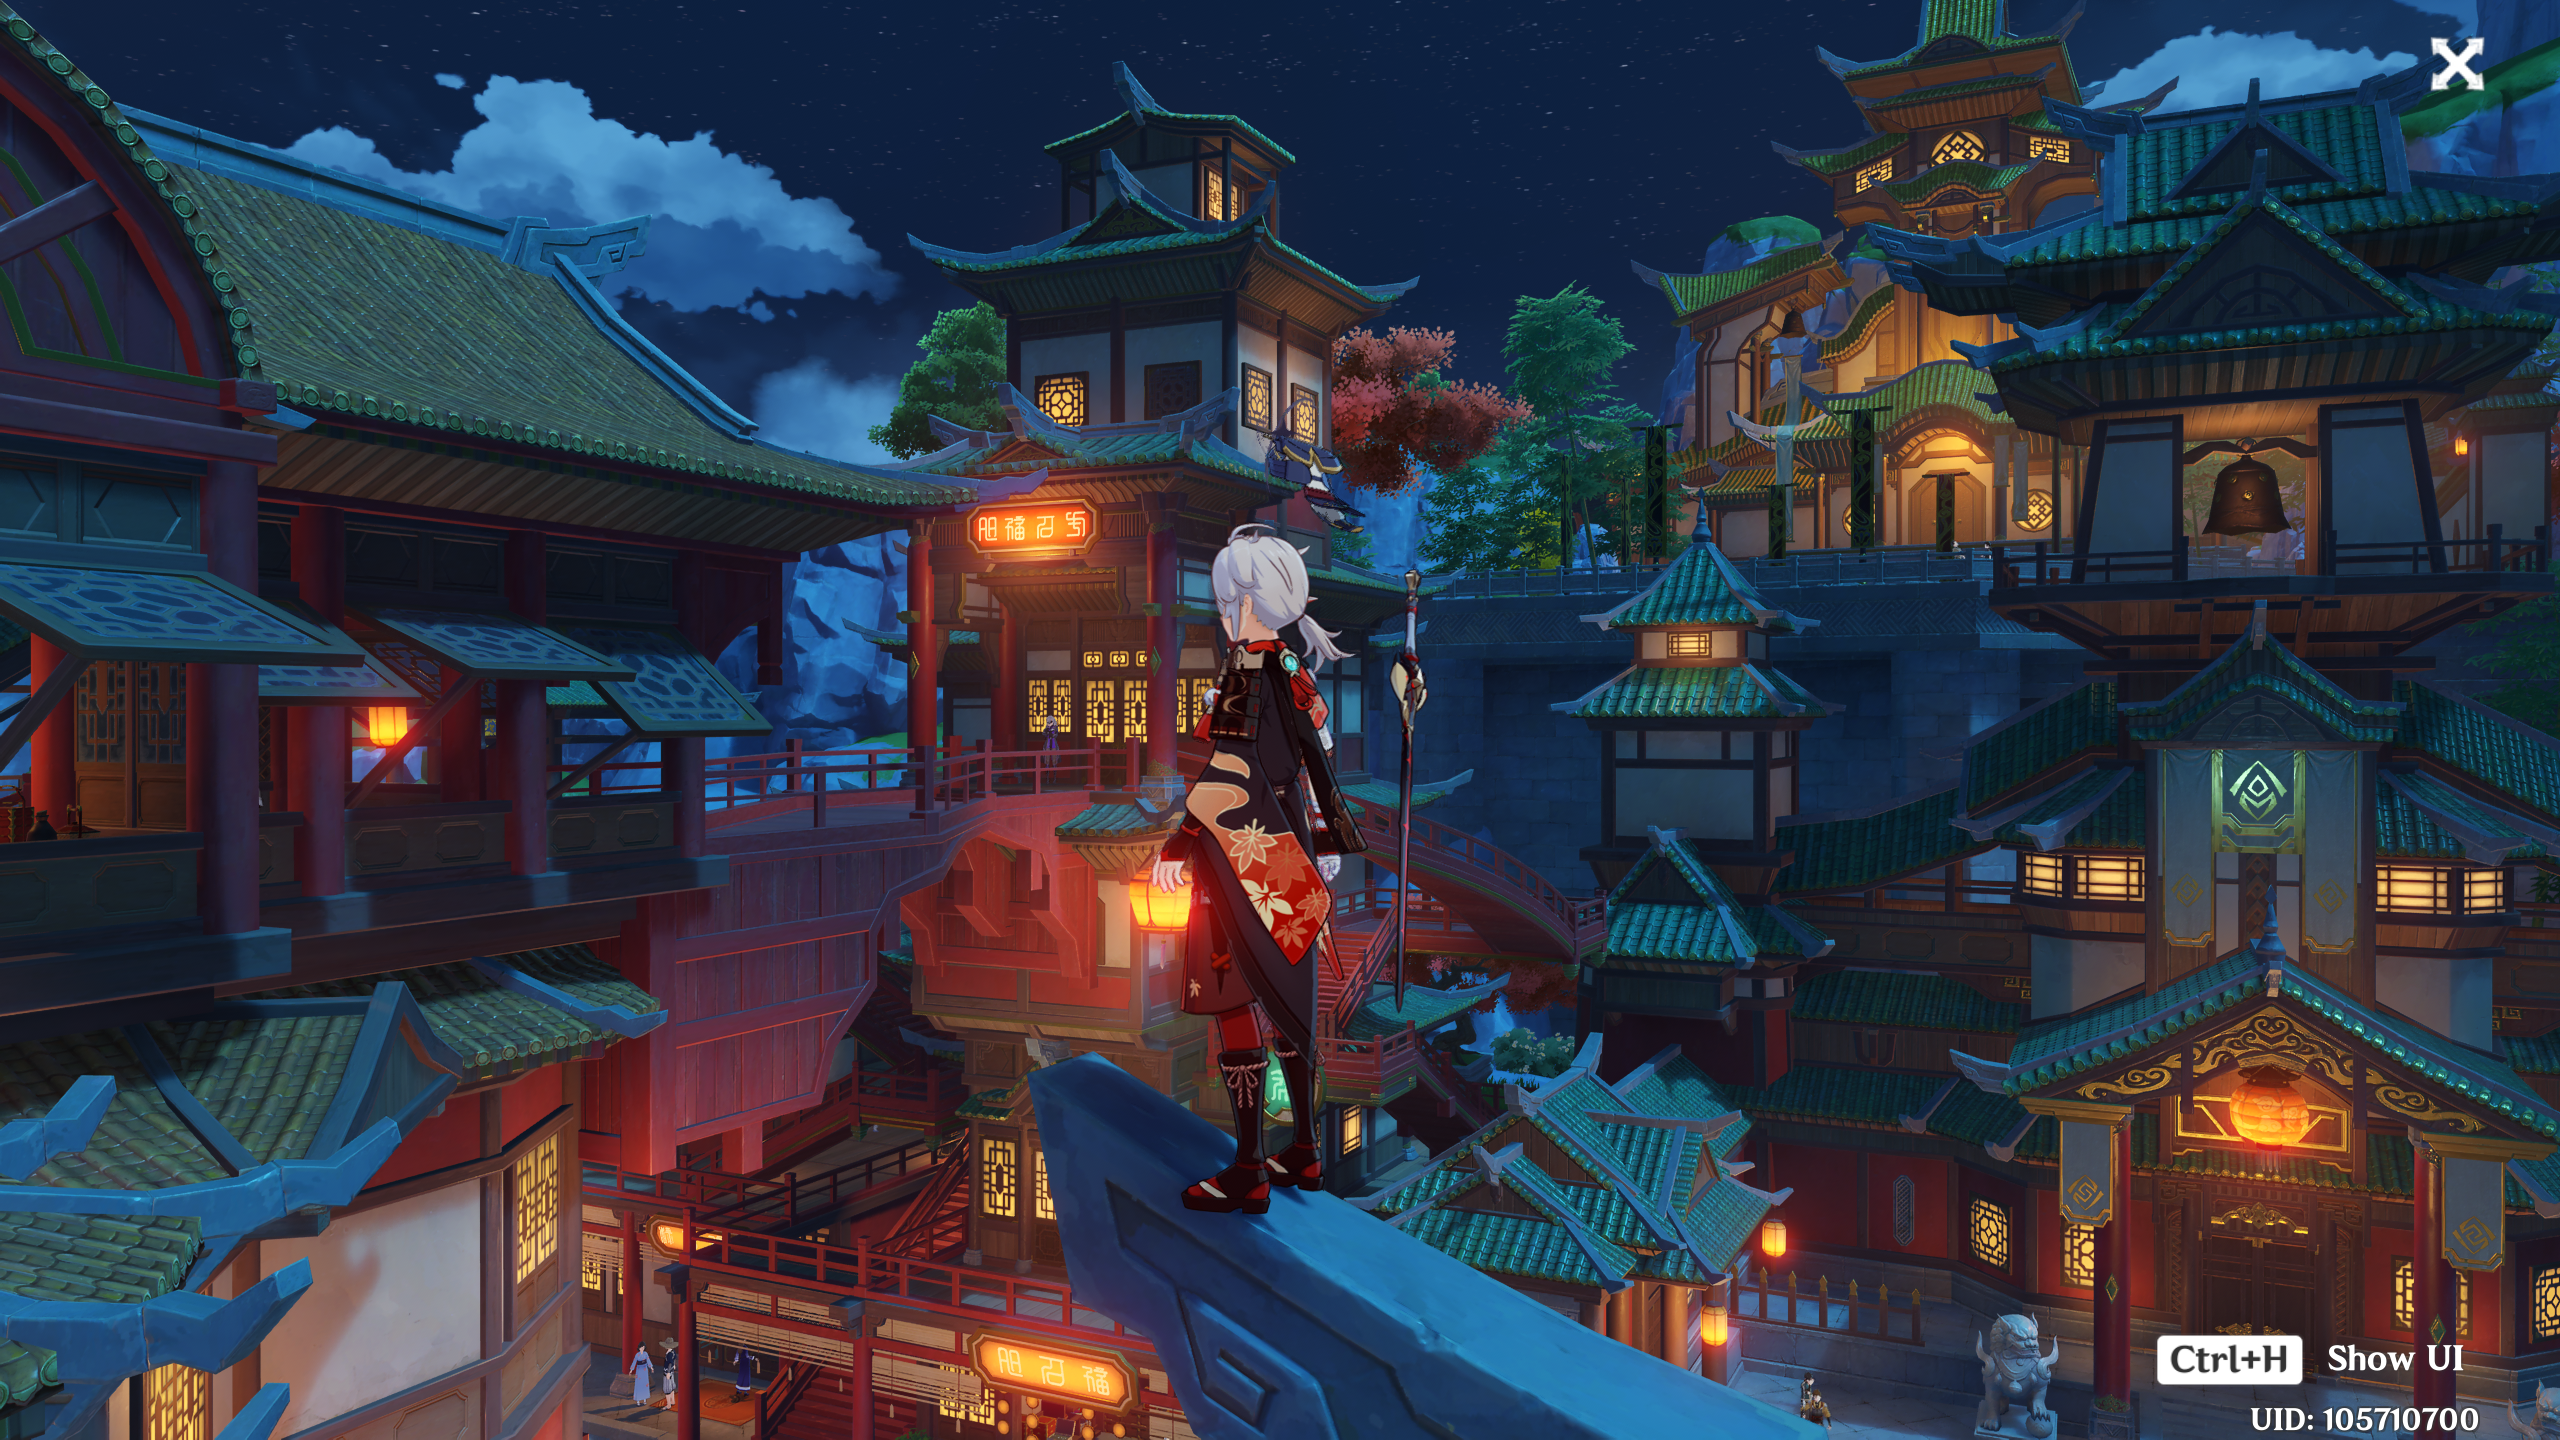
Final Results
Finally, we achieved a better simulation of a foggy night scene.
 Night Origin
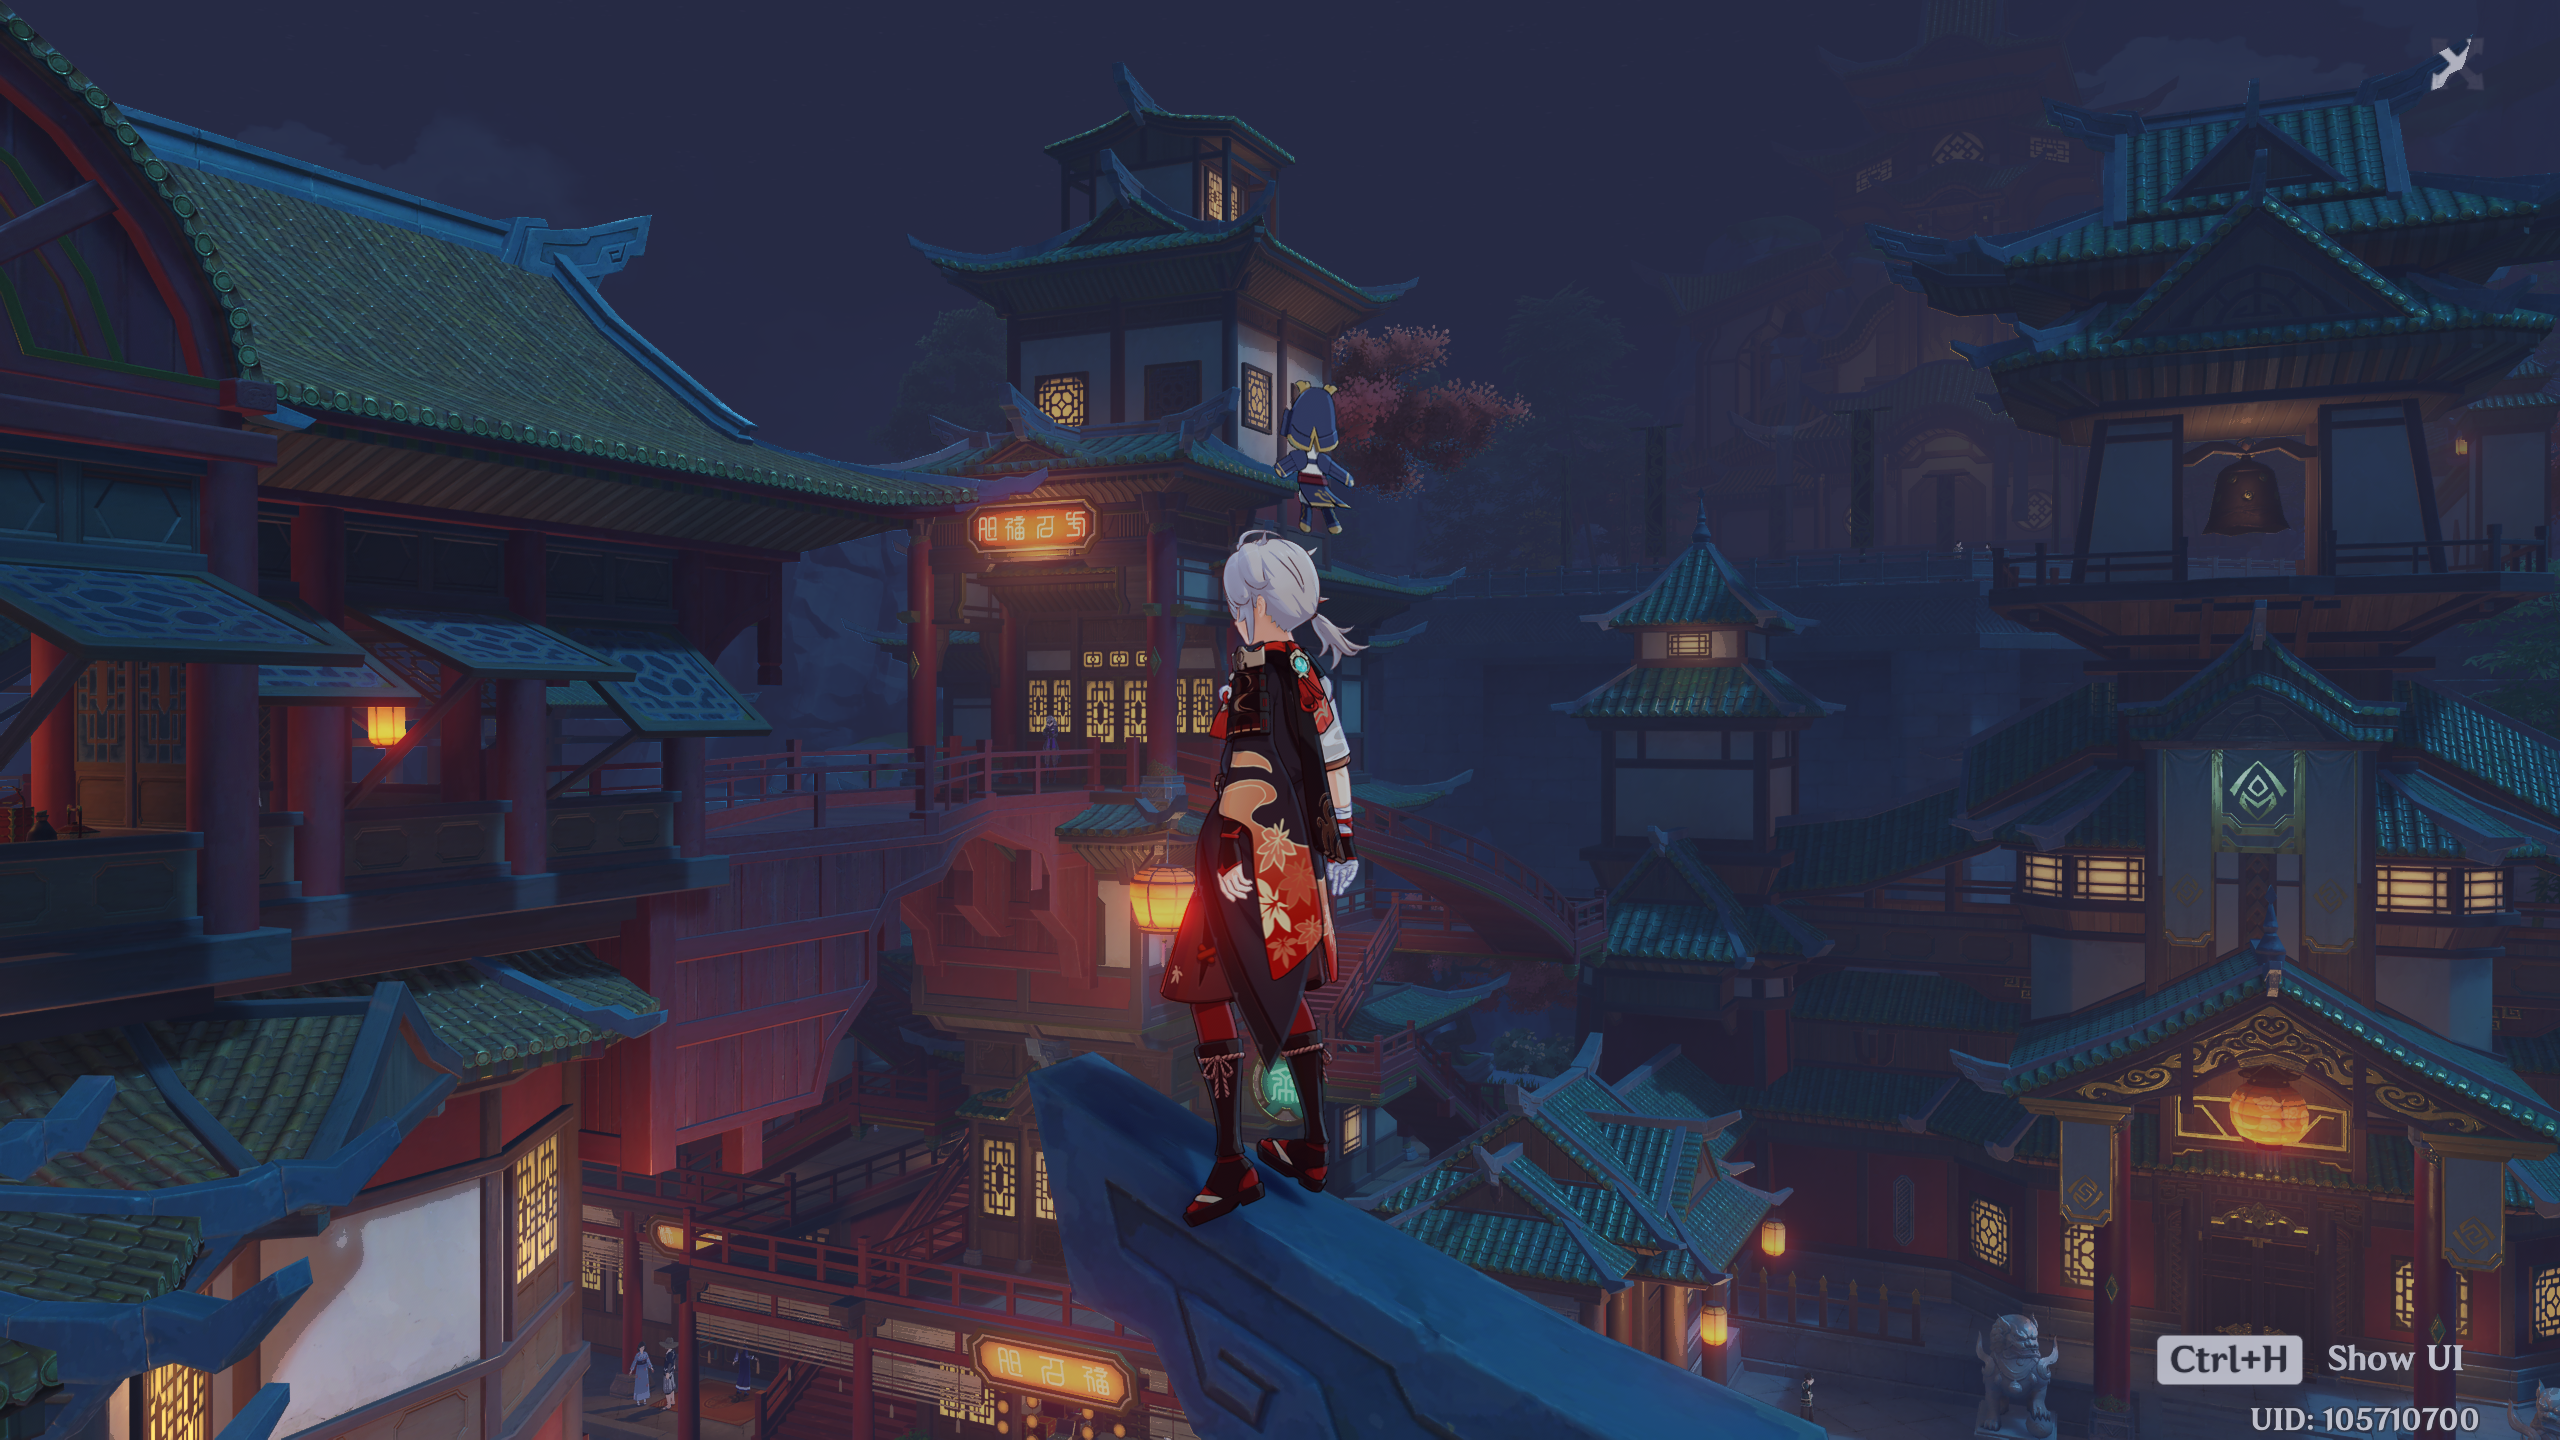
 Night Fog
 Light Detection
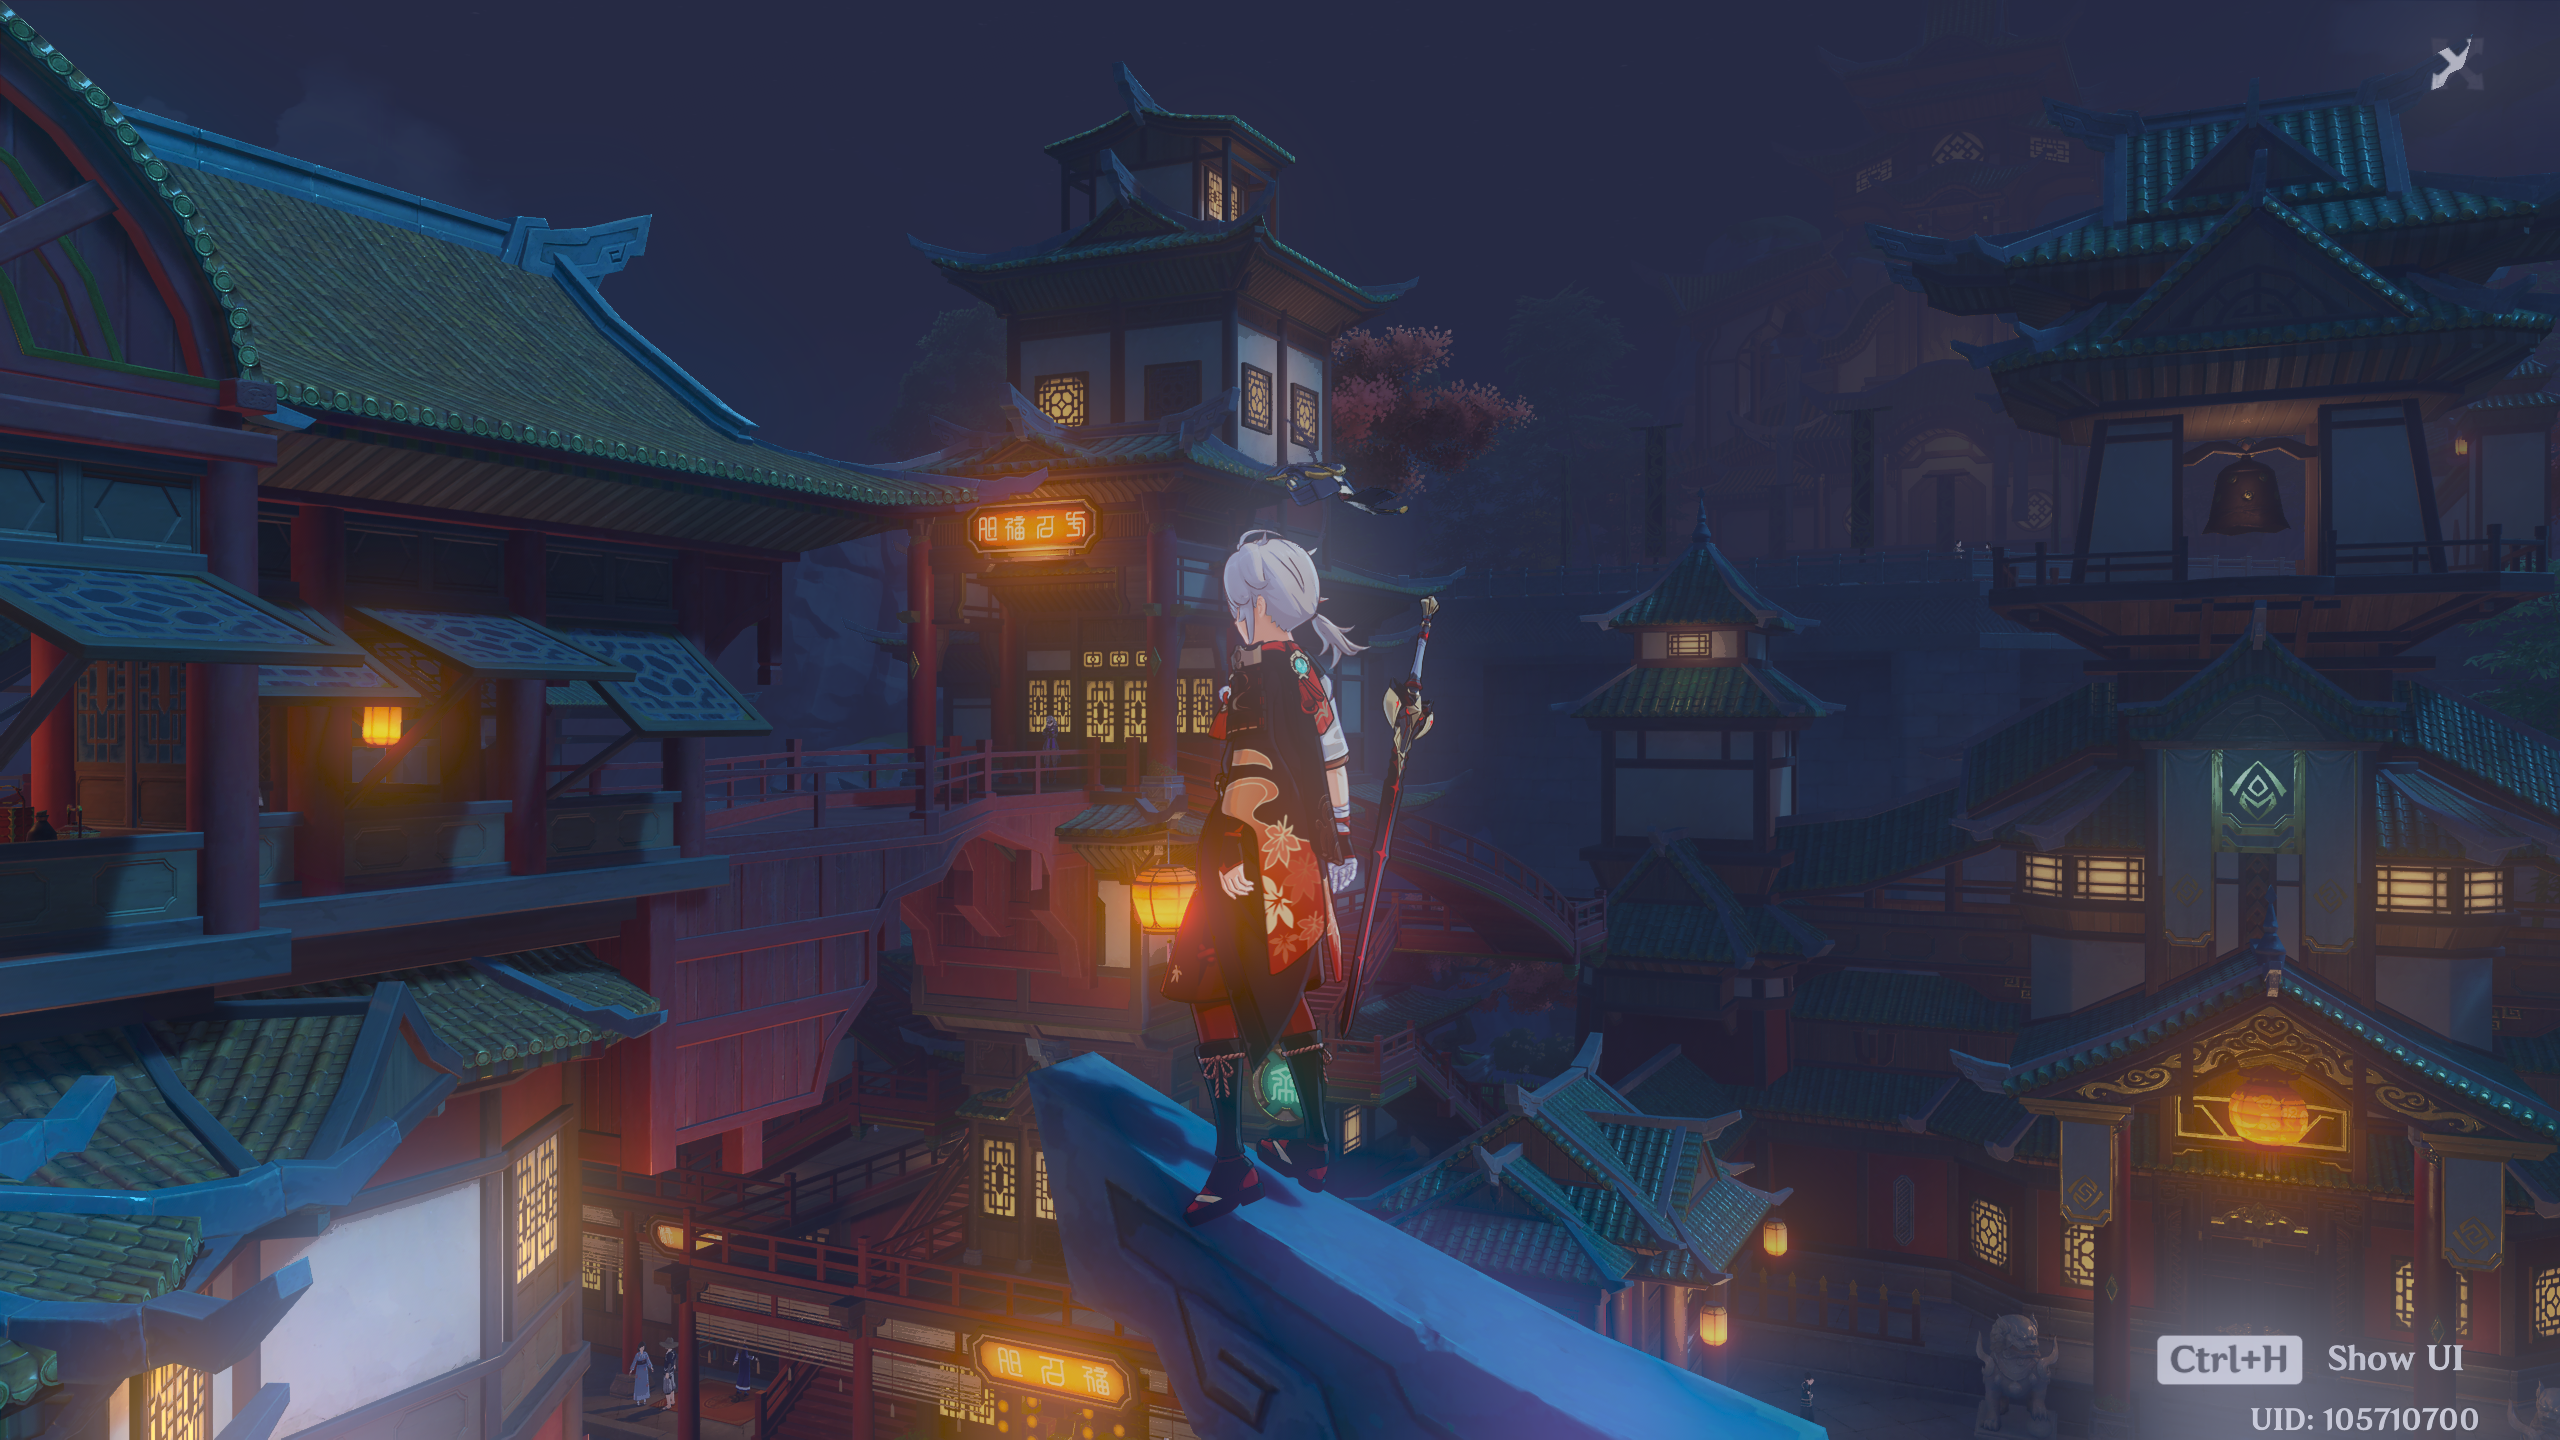 Light Glow
Lessons Learned
One of the key insights from this project was the importance of adapting visual effects algorithms to different environmental conditions. We enhanced our technical skills in shader programming and visual effects, deepening our understanding of the interplay between light, perception, and atmospheric conditions in real-time graphics. These experiences will guide our future projects.